OpenCPN is a free software (GPLv2) project to create a concise chart plotter and navigation software, for use underway or as a planning tool. OpenCPN is developed by a team of active sailors using real world conditions for program testing and refinement.
Replacement
This build (181120) replaces build 180331. Ubuntu has been upgraded to version 18.04 LTS and OpenCPN to version 4.8.8 – latest stable version released 181107. RaspEX Build 181120 is made especially for the new Raspberry Pi 3 Model B+, but can of course also be used on a Raspberry Pi 3 Model B and Raspberry Pi 2 Model B. Study the full RaspEX package list of 181120…
The Desktop environment LXDE is used. The “Lightweight X11 Desktop Environment” is an extremely fast-performing and energy-saving desktop environment. LXDE uses less CPU and less RAM than other environments. It is especially designed for cloud computers with low hardware specifications, such as netbooks, mobile devices (e.g. MIDs) or older computers.
ABOUT RaspEX Build 181120
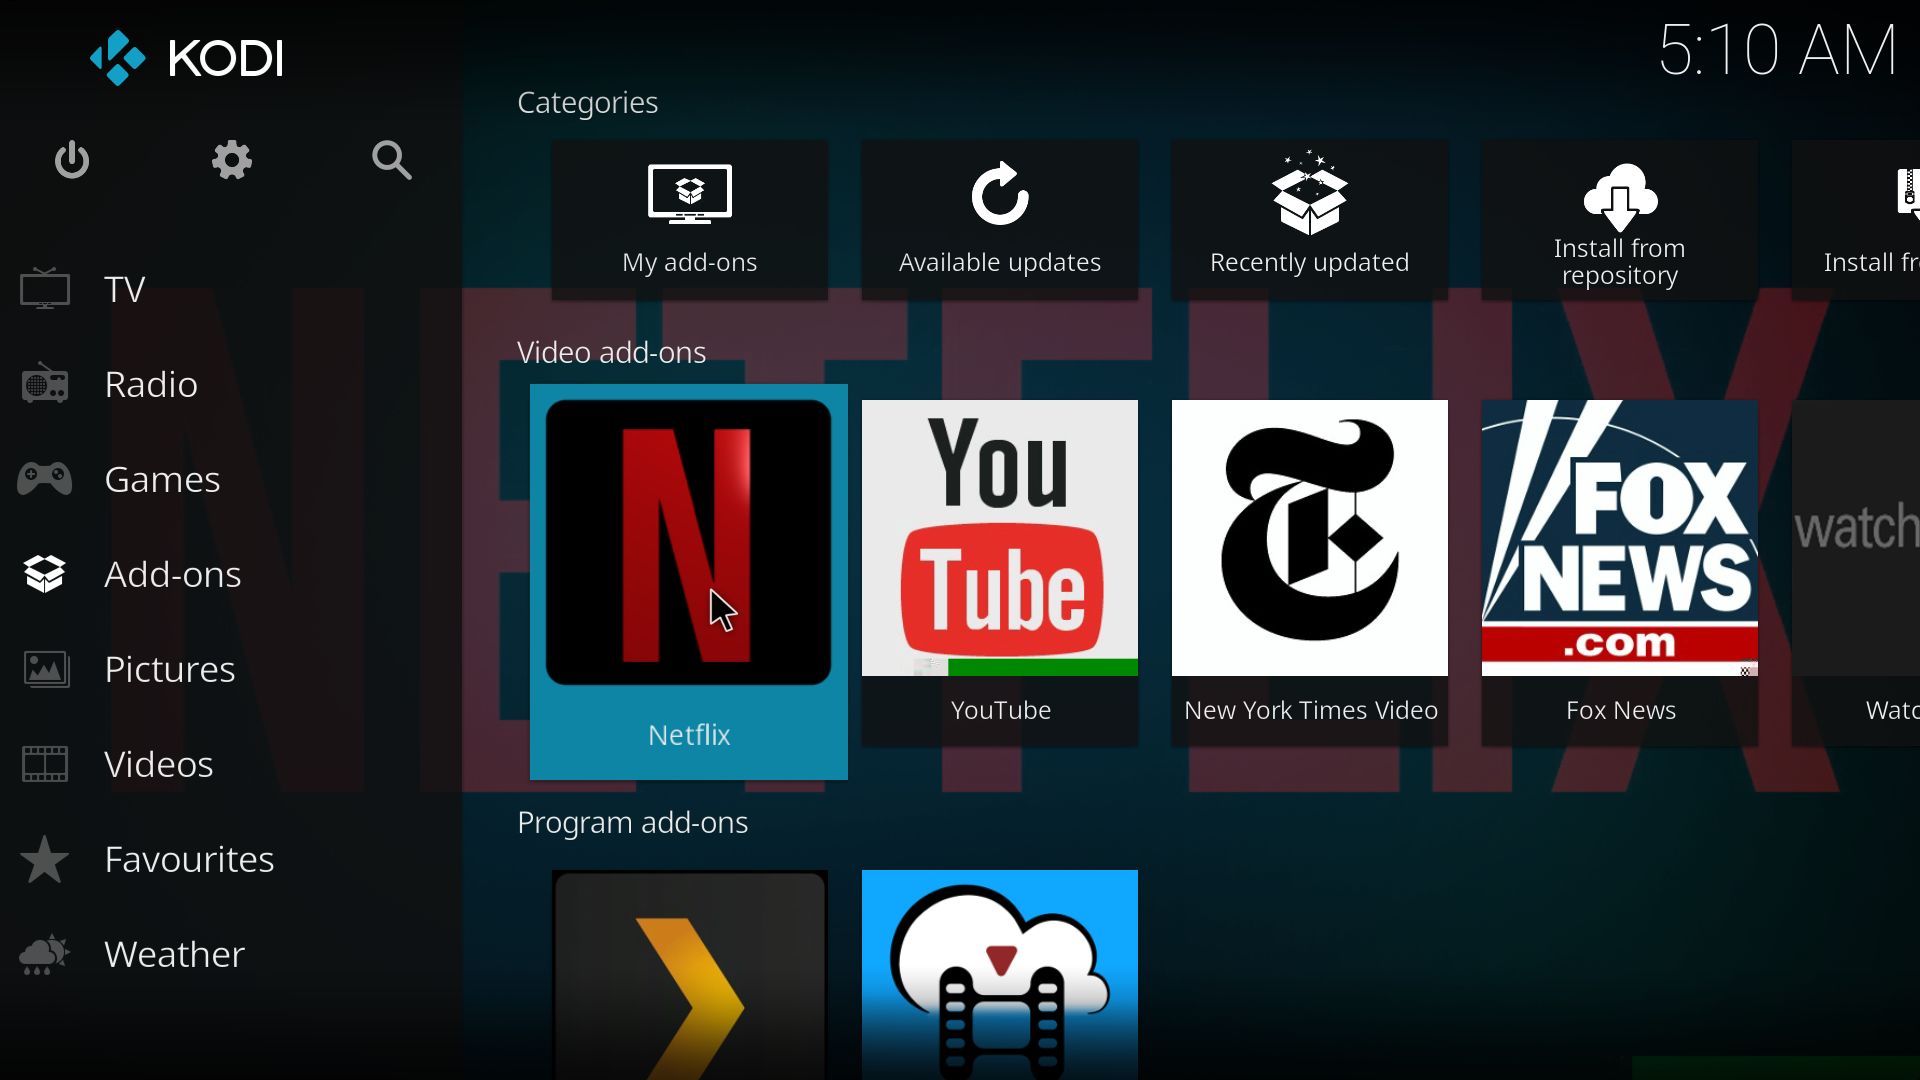
RaspEX is a Linux ARM system for Raspberry Pi 3 Model B, Model B+ and Pi 2 model B. It is based on Debian Stretch (Debian 9), Bionic Beaver (Ubuntu 18.04 LTS) and Linaro (Open Source software for ARM SoCs). In this new version (181120) I’ve installed OpenCPN 4.8.8 from source.
Read this OpenCPN Review….
How do I install RaspEX with OpenCPN?
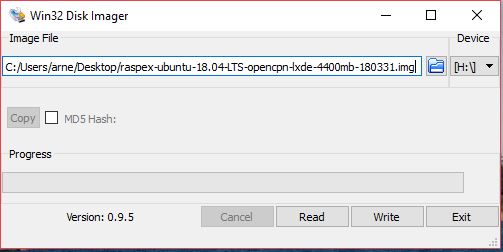
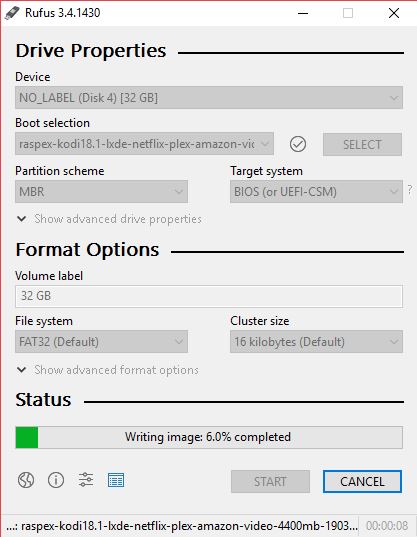
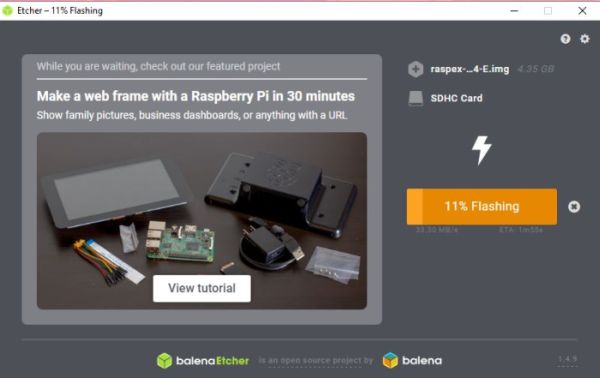
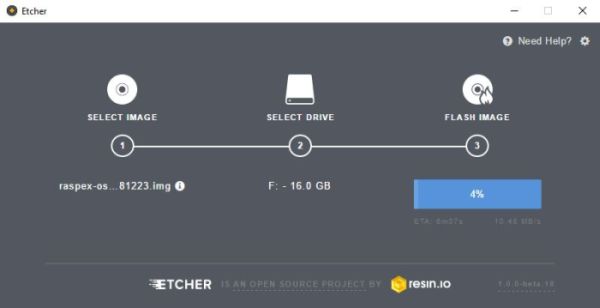
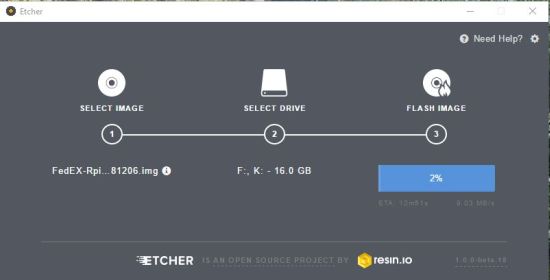
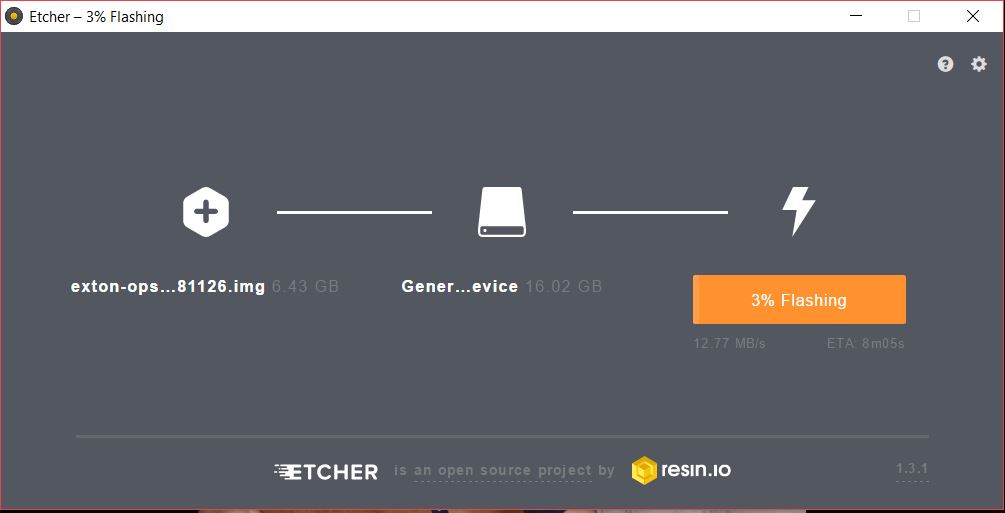
Just like any other Raspberry Pi system. I.e.: Unpack the downloaded ZIP file (raspex-ubuntu-18.04-LTS-opencpn-lxde-1240mb-181120.zip) and transfer the IMAGE file (raspex-ubuntu-18.04-LTS-opencpn-lxde-4400mb-181120.img) to your Micro SD card of at least 8GB. For that you shall use Win32 Disk Imager or Etcher in Windows. When running Win32 Disk Imager it will look like this.
Watch a YouTube video that shows the performance of OpenCPN on a Raspberry Pi…
NOTE: Please don’t ask me technical questions about how to use OpenCPN. I’m no expert on OpenCPN. You can search the Internet for answers. There is a lot written about OpenCPN and Raspberry Pi. The Cruisers Forum (World Cruising and Sailing Wiki) is a good starting point.
Kernel
Kernel 4.14.80-v7 is used.
Raspberry Pi 3 Model 3 B+: How much better is it than the Raspberry Pi 3 Model B? The tiny computer is supposed to be faster and better in every way, including upgraded processor speed, wireless internet, and Ethernet connections.
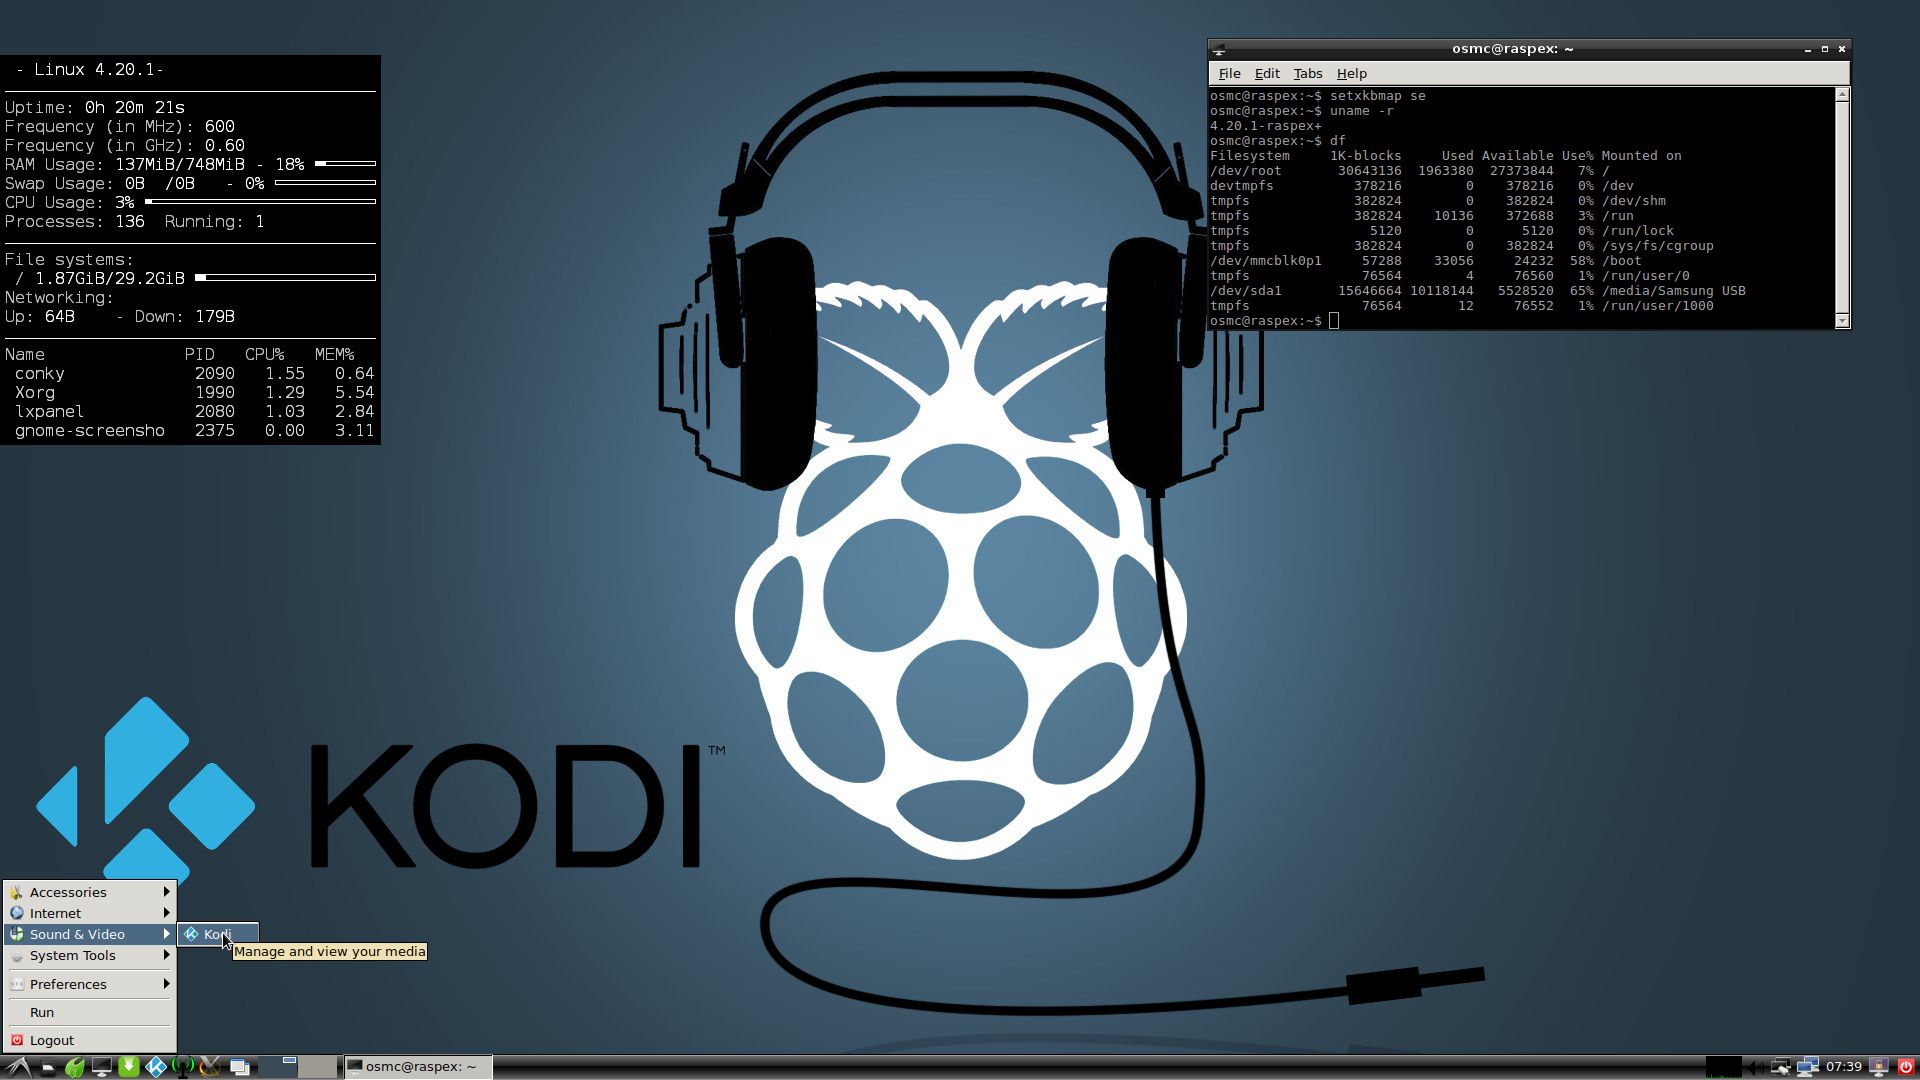
How do I use RaspEX?
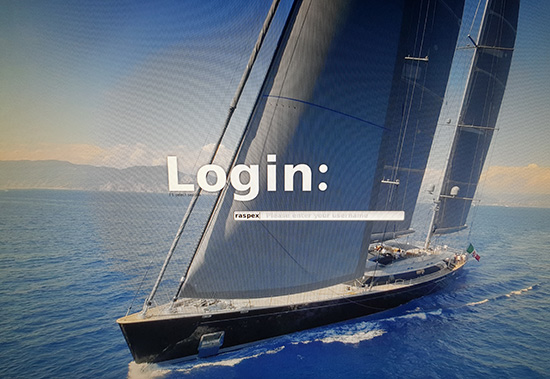
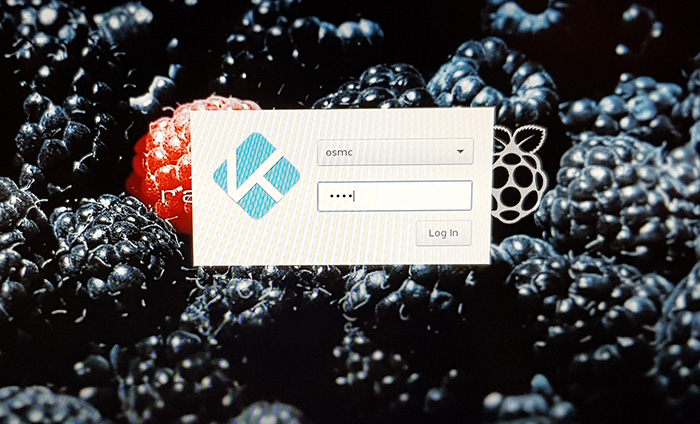
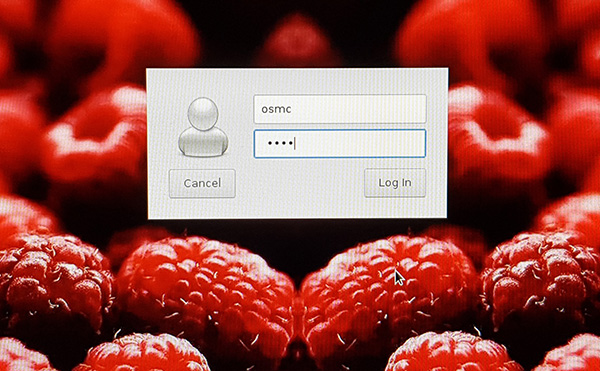
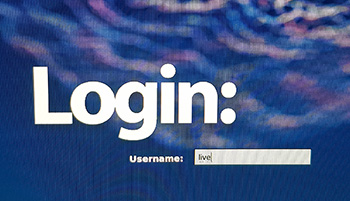
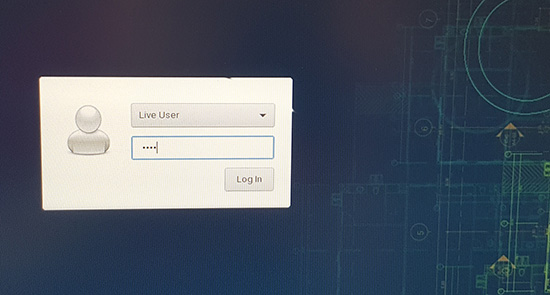
When you start up your Raspberry Pi Mini computer with RaspEX you will (after a few seconds) end up at SLiM‘s login page. The first time you start up RaspEX you shall log in as root with password root – see below under Important: First things to do. The password for raspex is raspex. When logged in as raspex you can use Sudo to become root. Example: sudo su and sudo pcmanfm. The password for root (superuser) is root. You can log out from LXDE and log in again as root (if you want). This is how it looks at SLiM‘s login page.
Important: First things to do
1) When you end up at Slim’s login page for the first time you shall log in as root with password root.
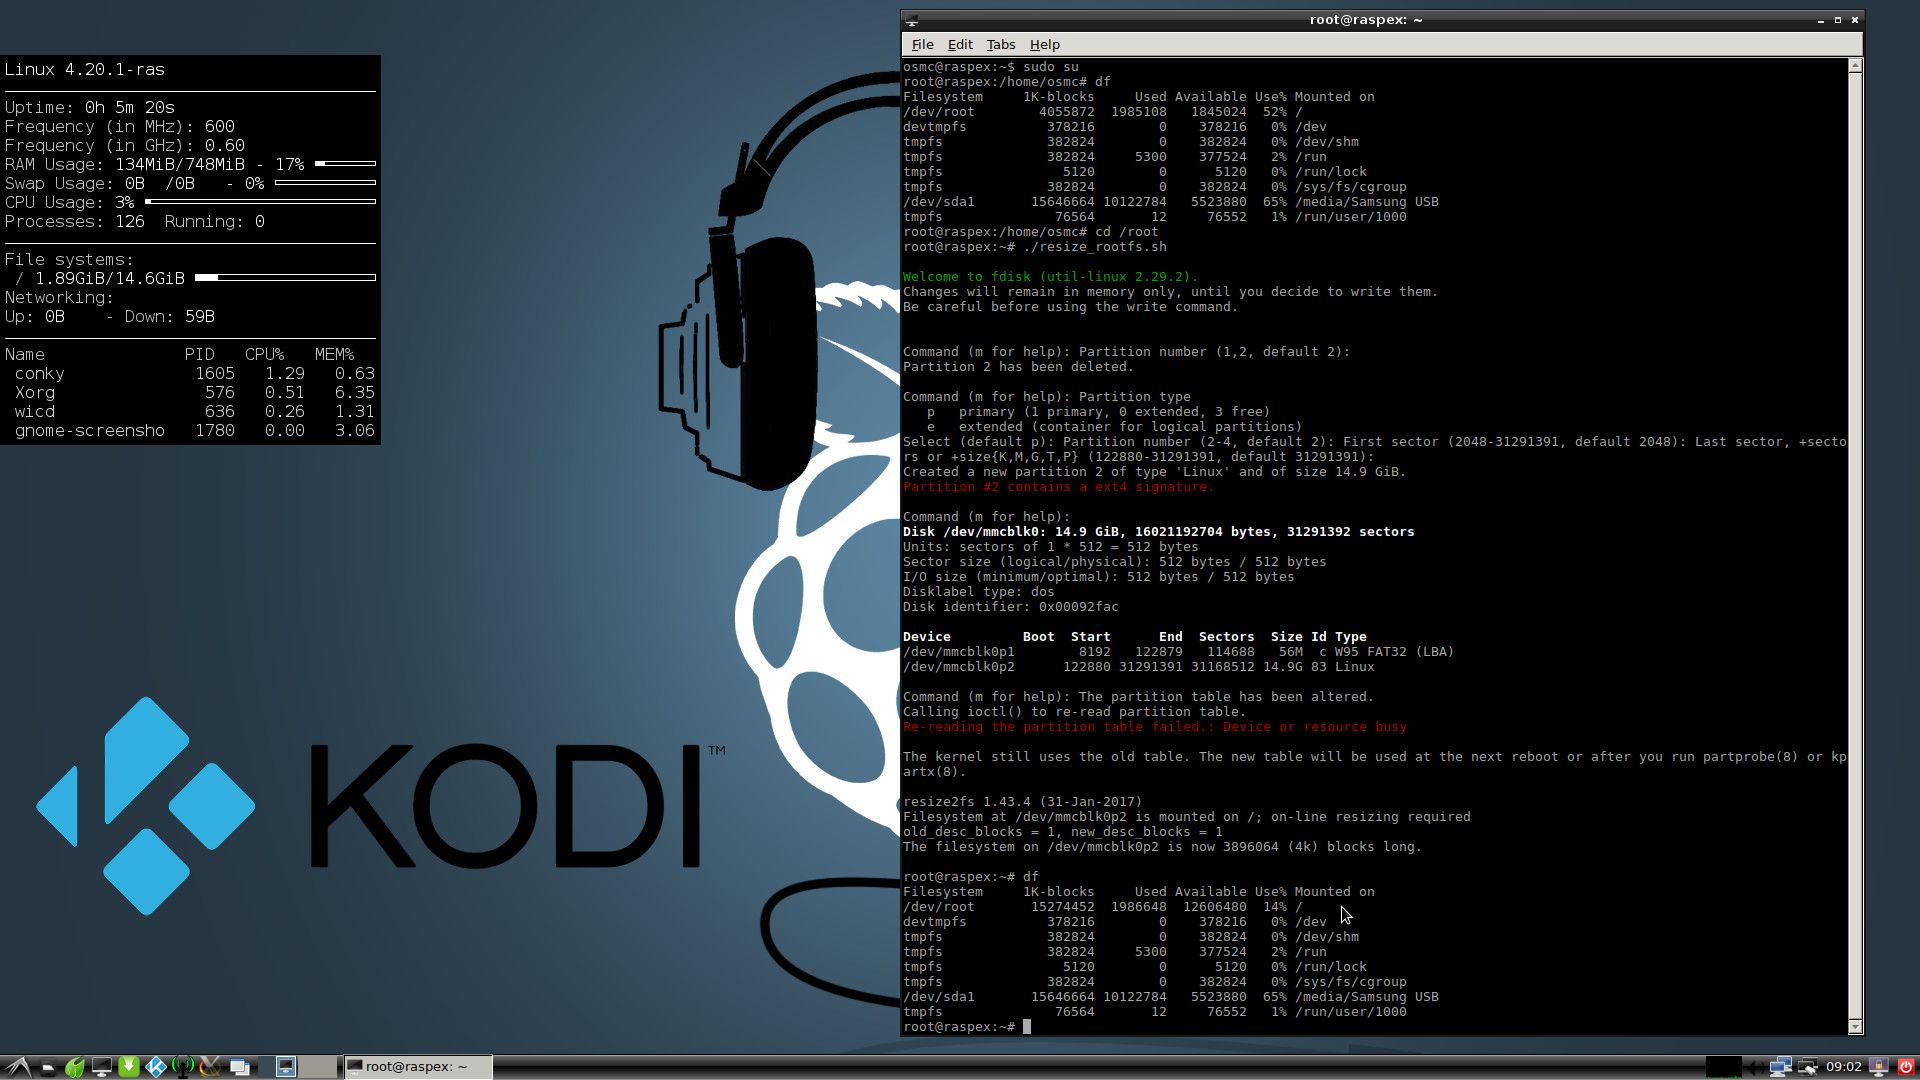
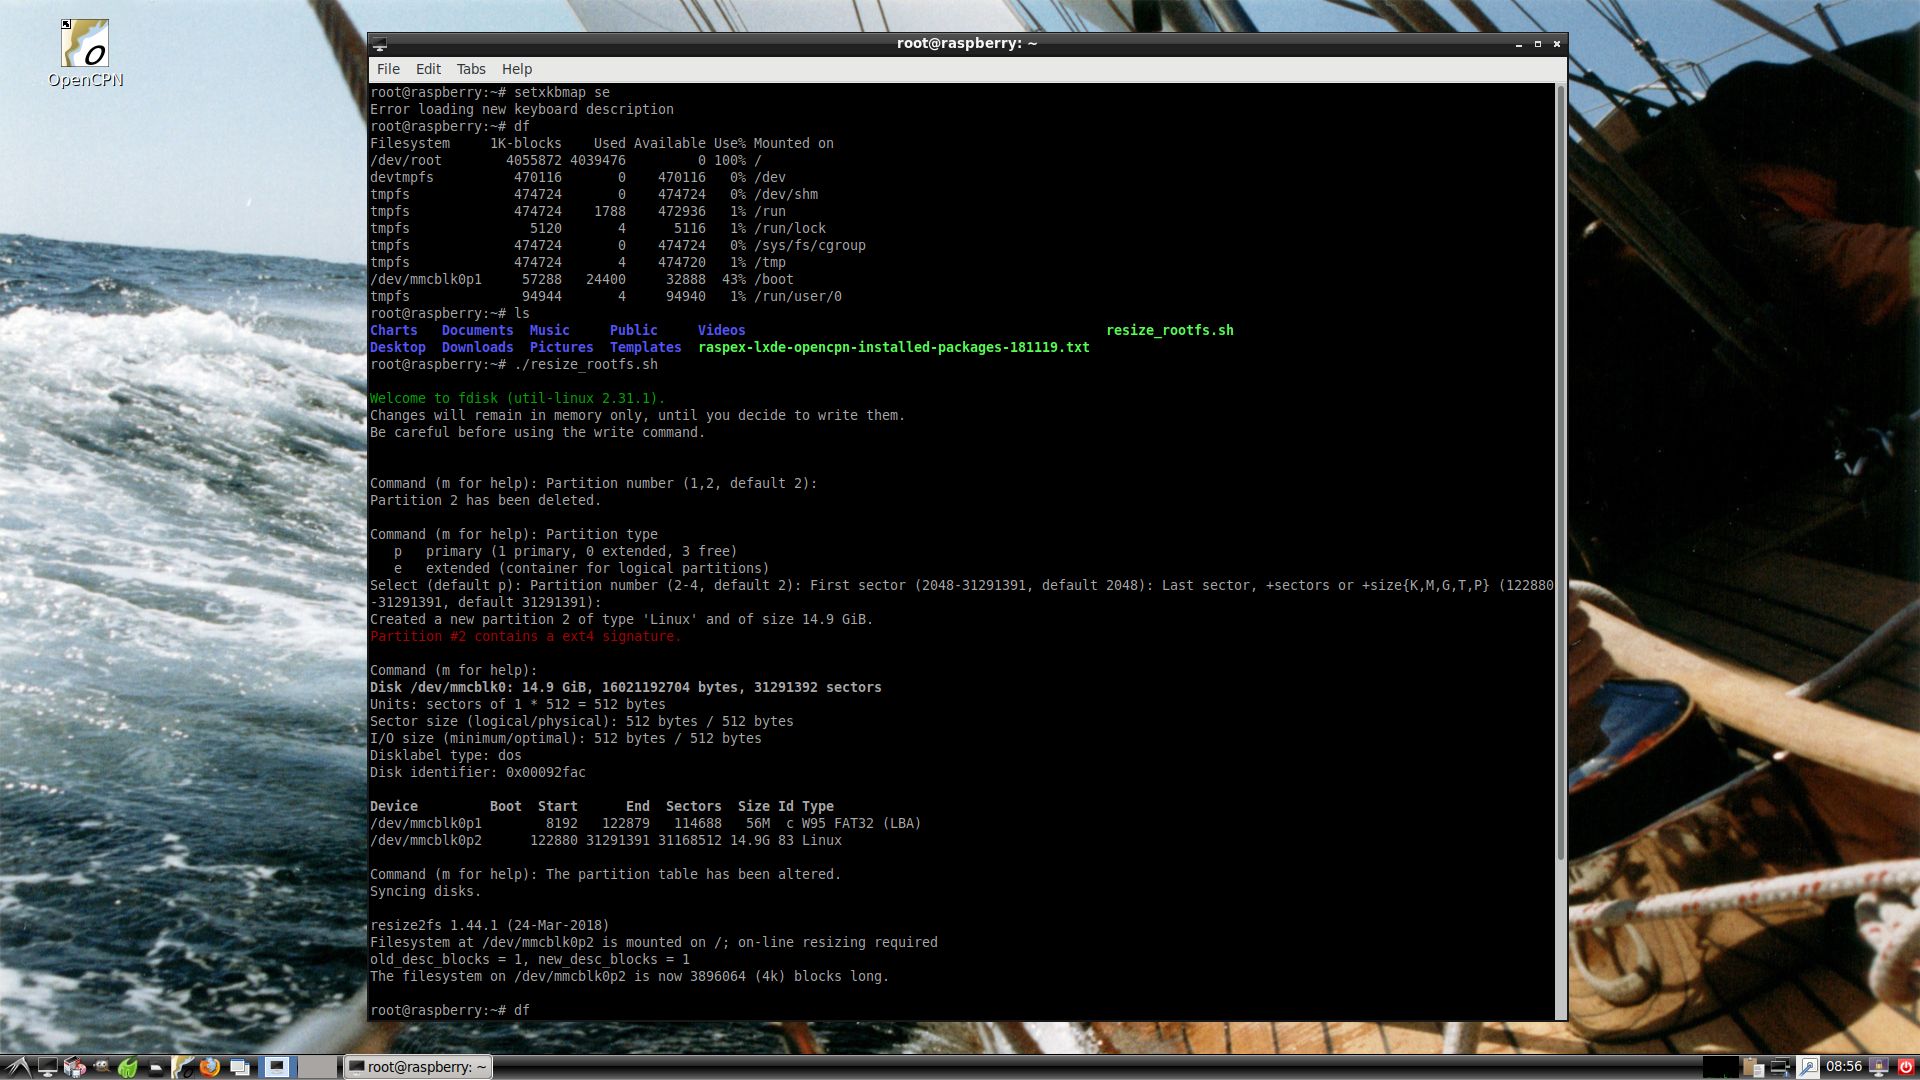
2) Start up a terminal and run the command ./resize_rootfs.sh
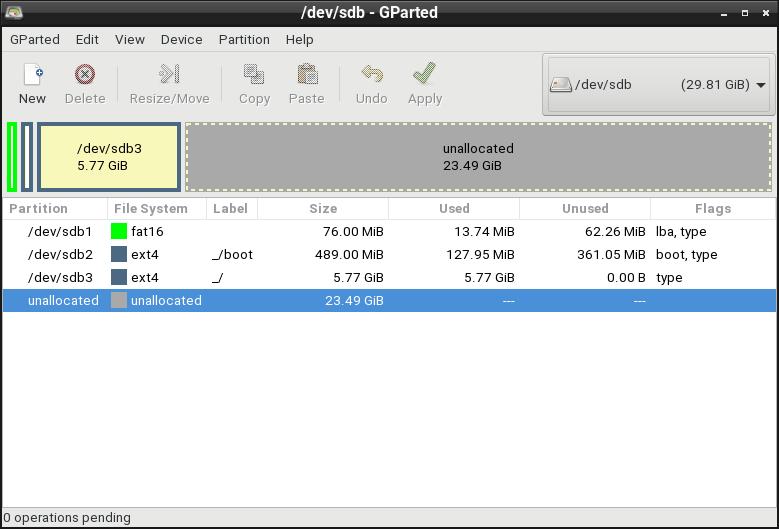
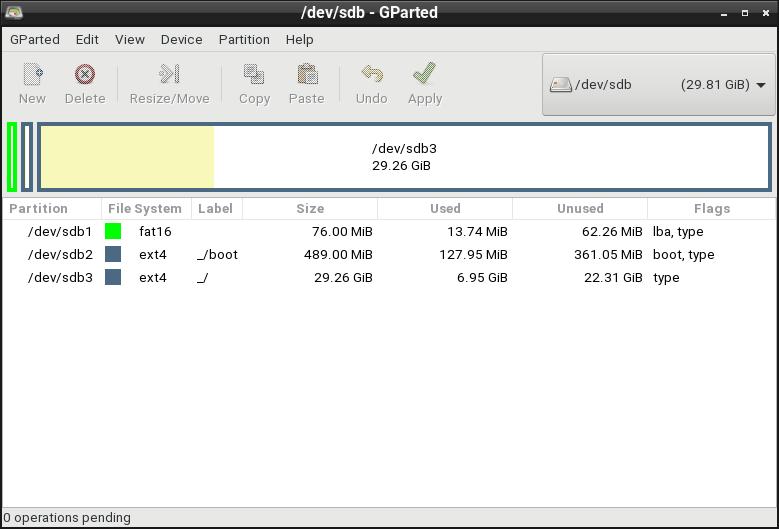
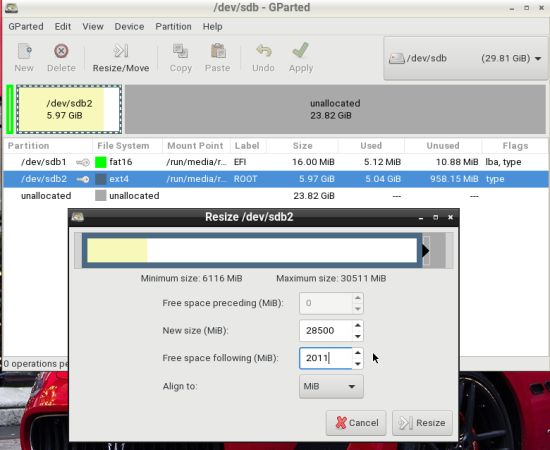
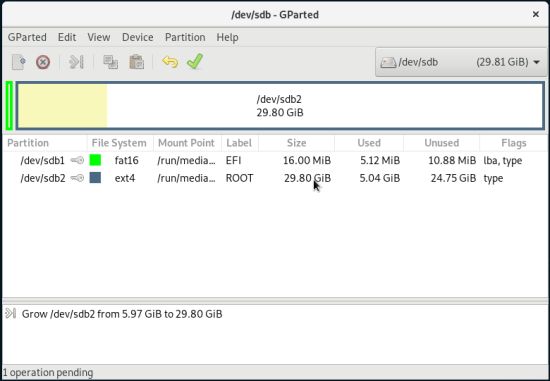
Before doing that you can’t do anything because the system is full (100 %) – watch this screenshot. That’s all you have to do. Just wait for the script to fix everything. If you use a SD card of 16 GB all the space on it will be used afterwards – watch this screenshot.
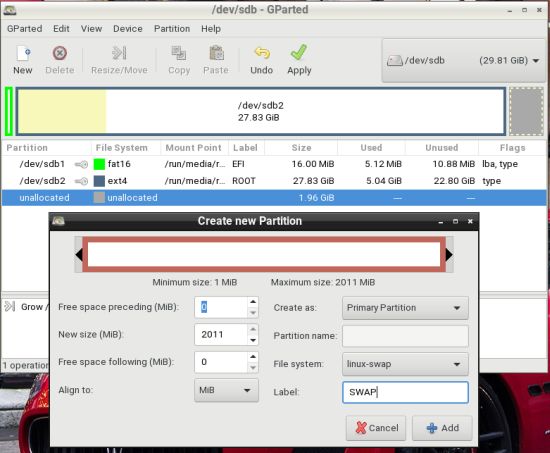
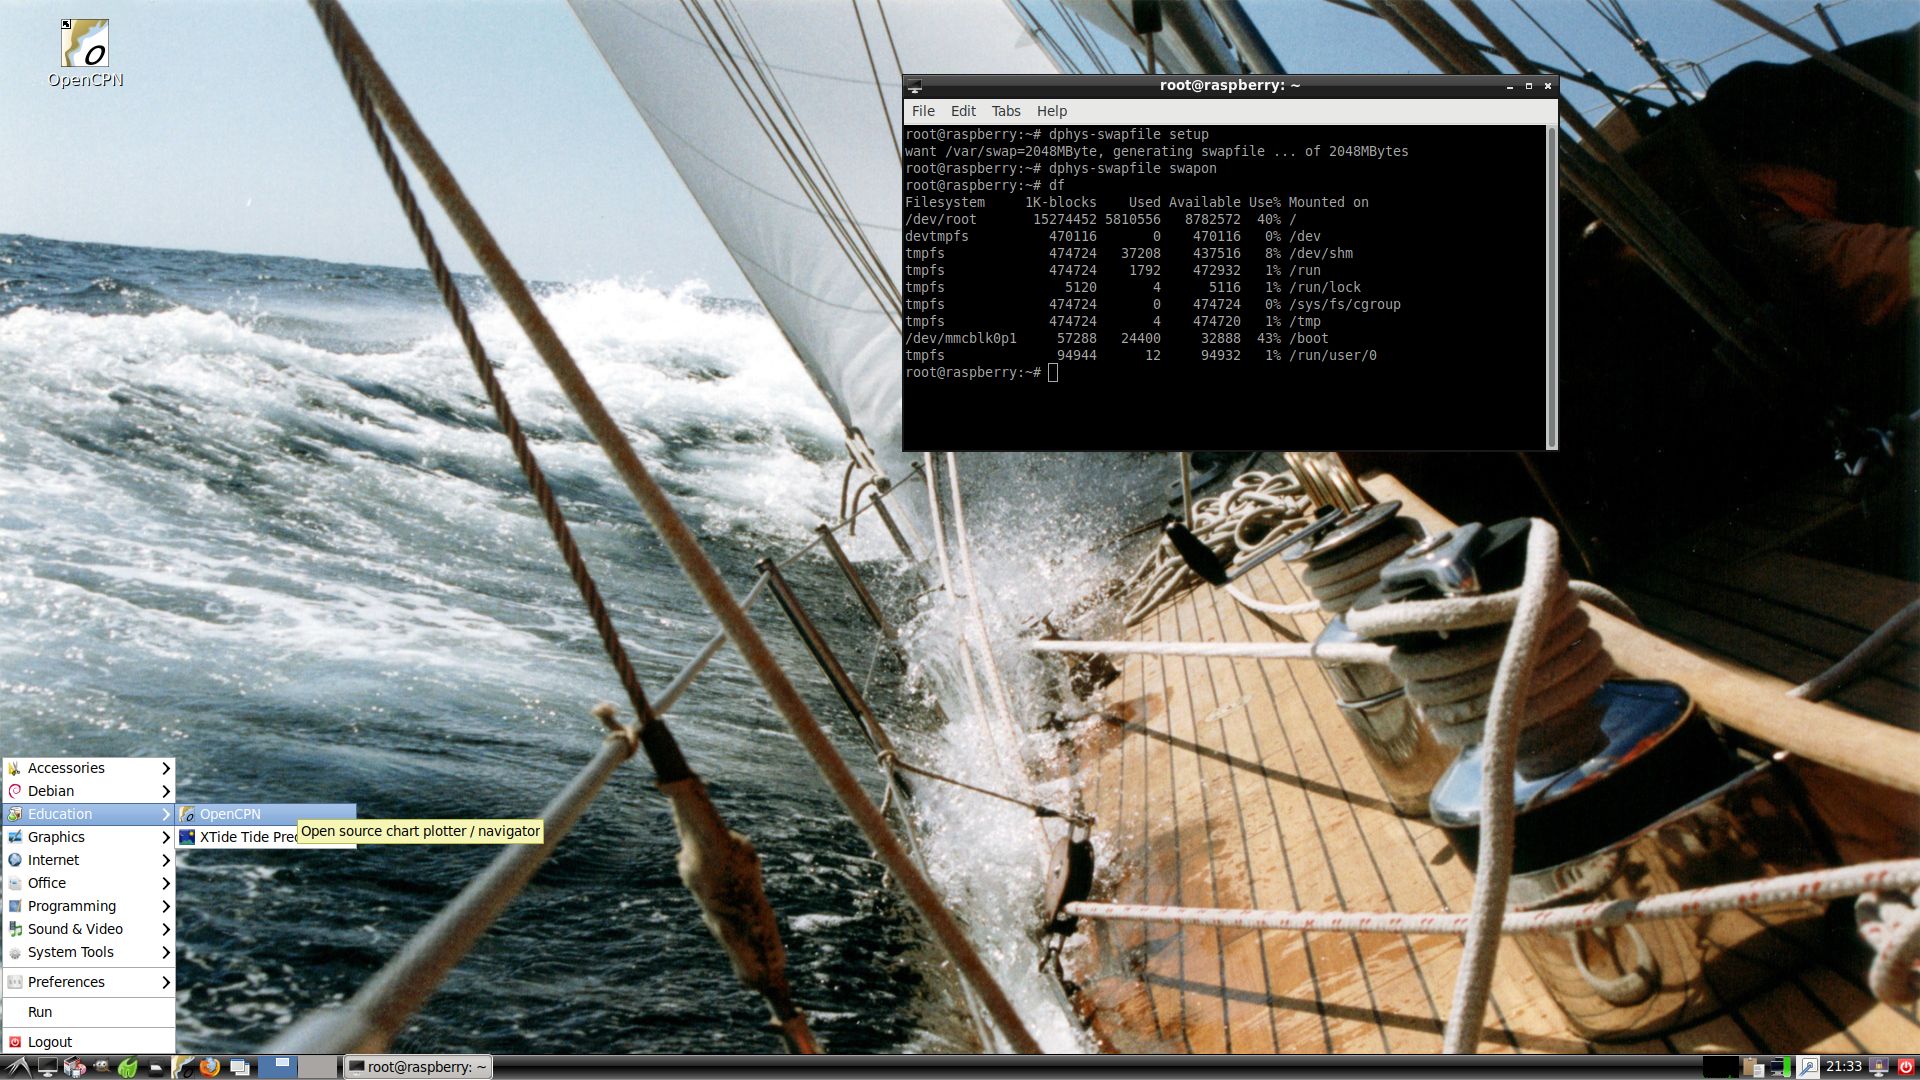
3) Run the command dphys-swapfile setup. A SWAP file of 2 GB will be created. Then run the command dphys-swapfile swapon. Very useful if you want to run many programs at the same time – watch this screenshot. If you get error messages when trying to create a SWAP file just reboot your Rpi and try again. Maybe you’ll have to delete the file /var/swap first.
Root logins
You can log in as root with password root. You can of course also create a new ordinary user if you want. Command: sudo /usr/sbin/adduser MyNewUser. If you don’t want to be automatically logged in as raspex you shall edit /etc/slim.conf.
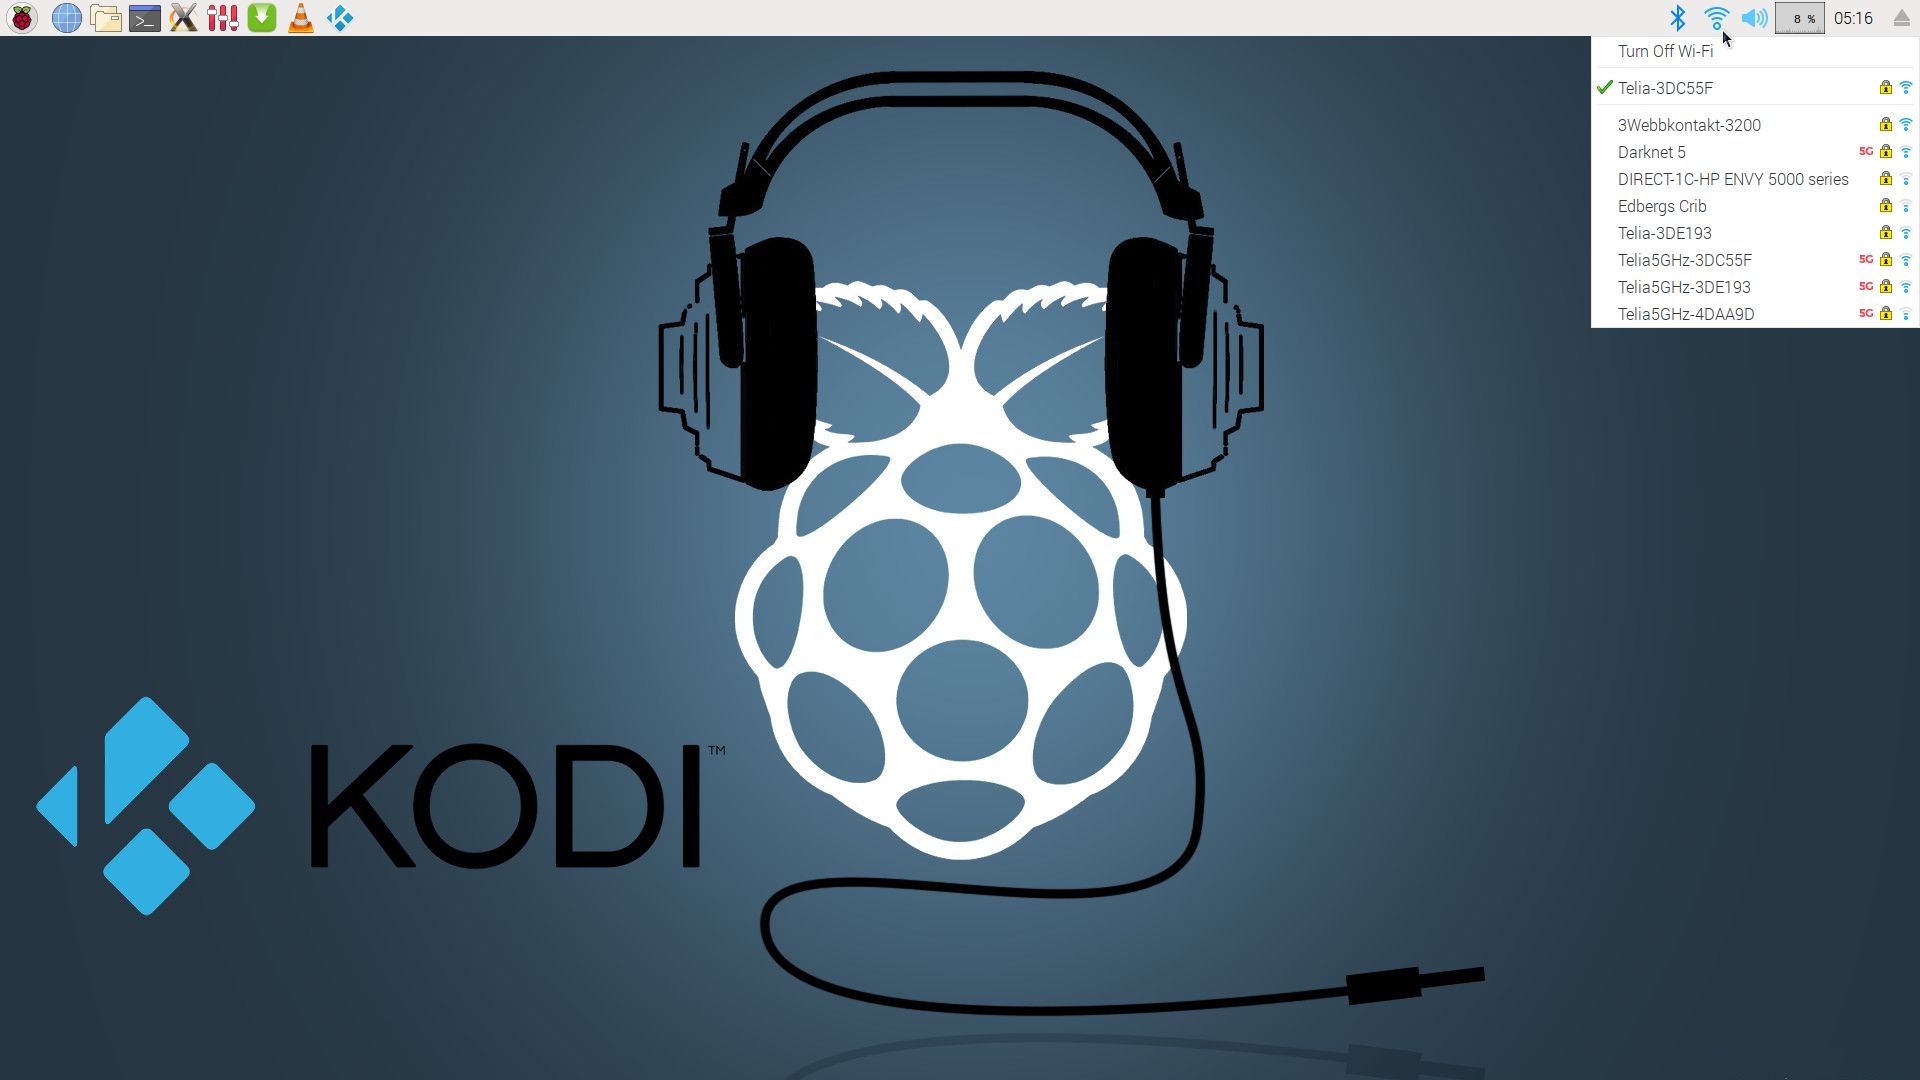
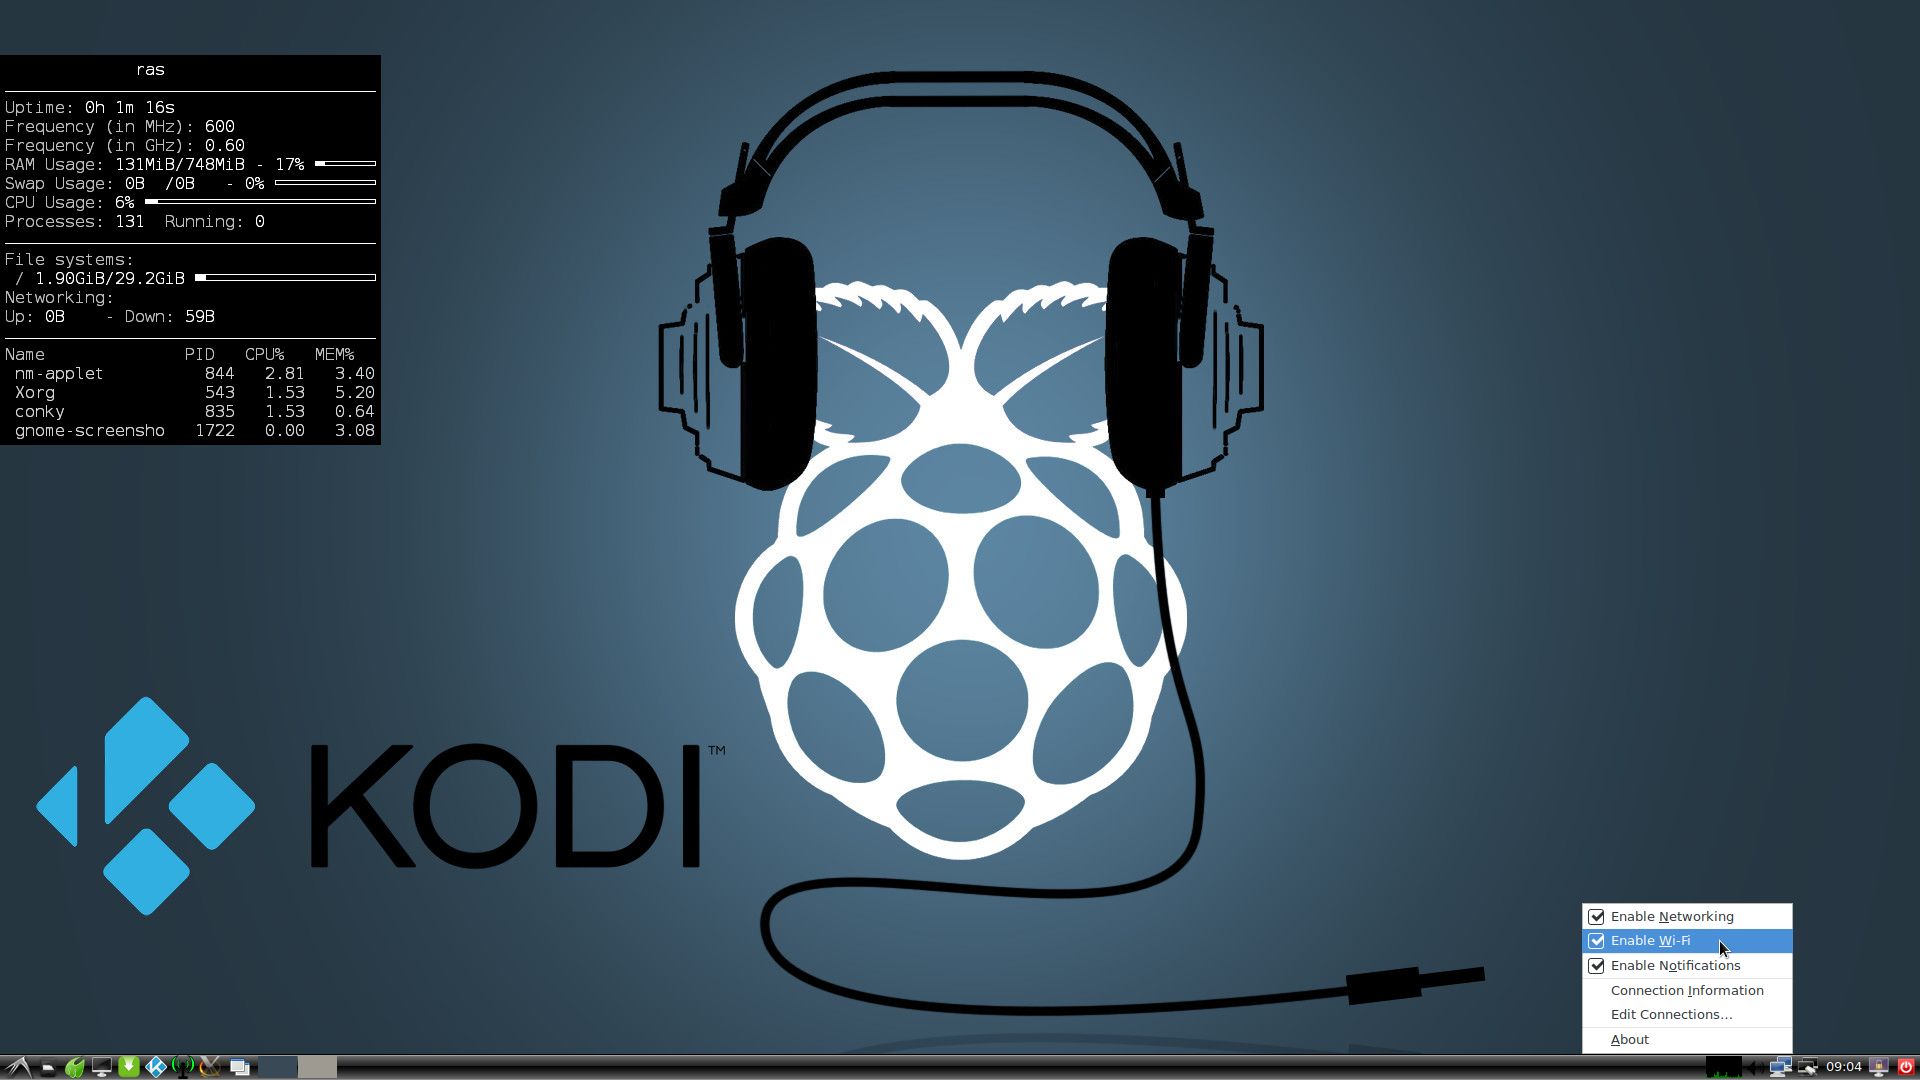
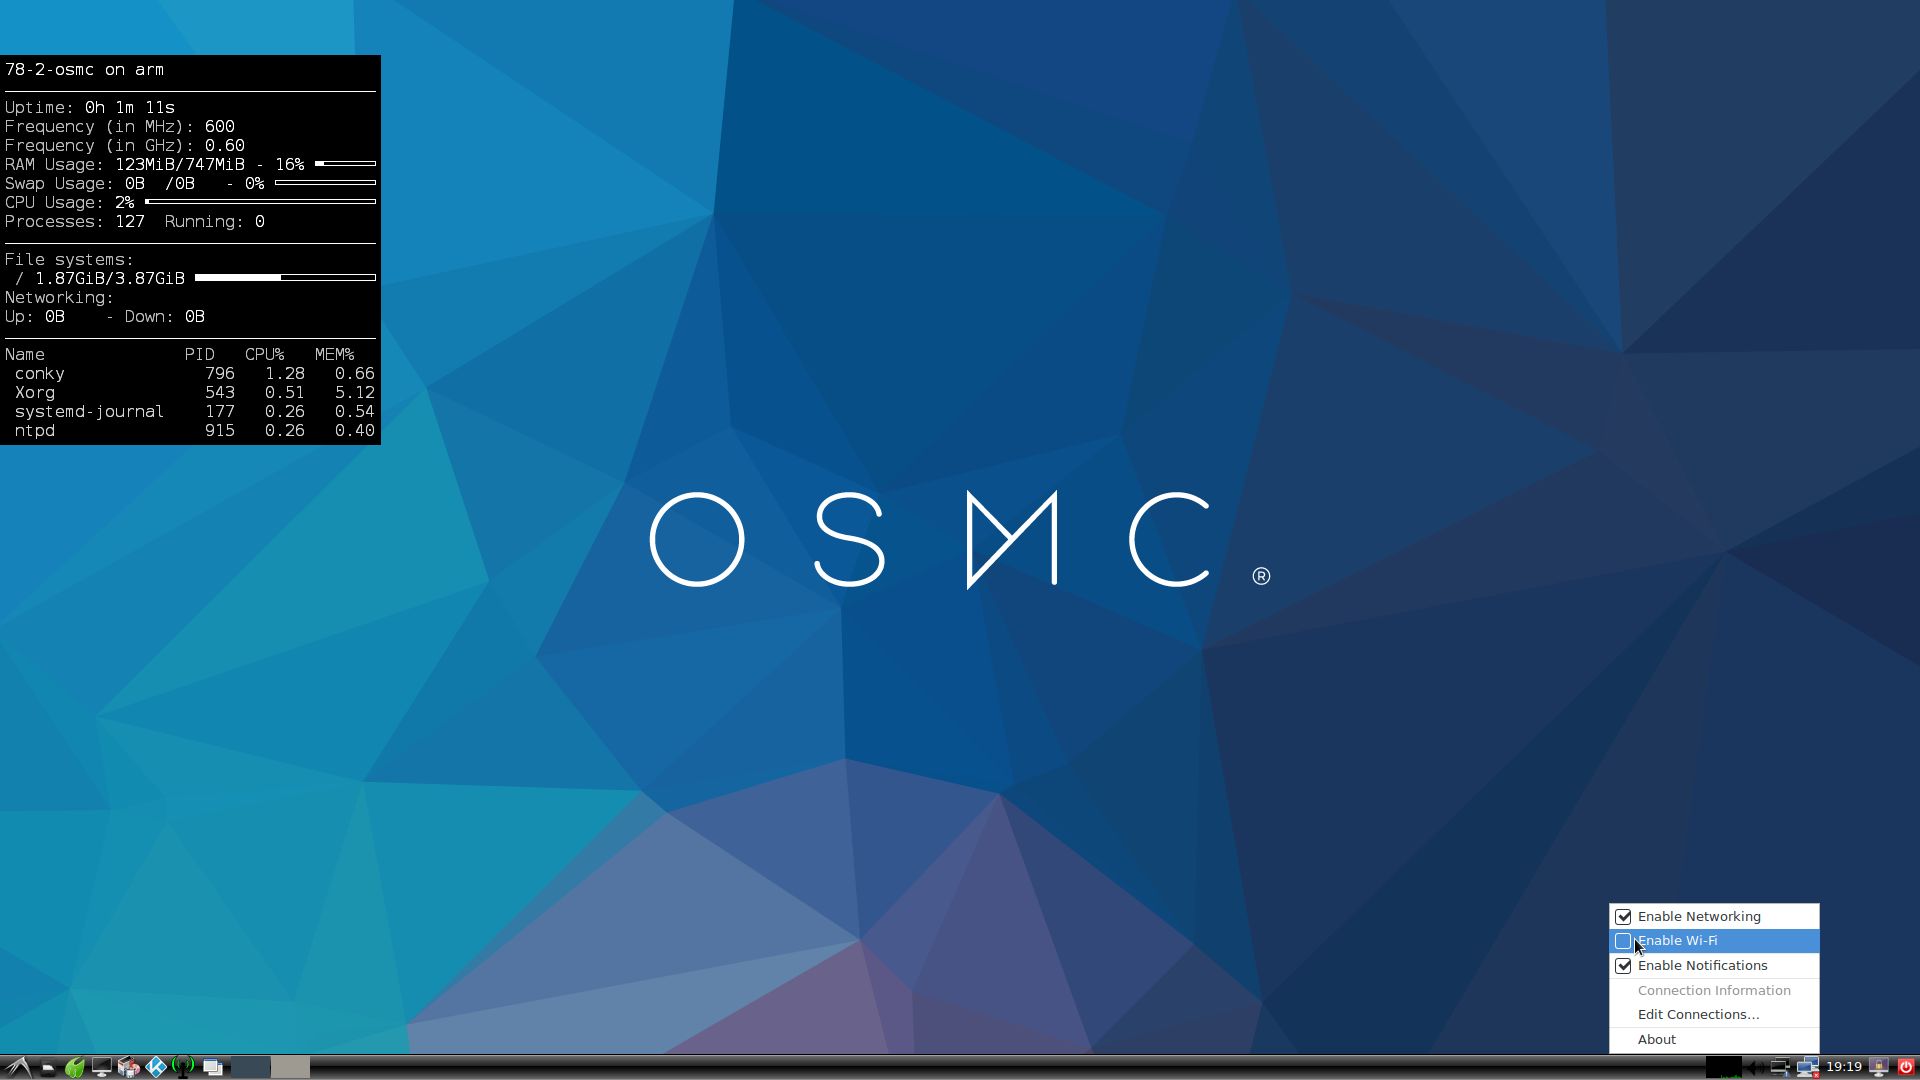
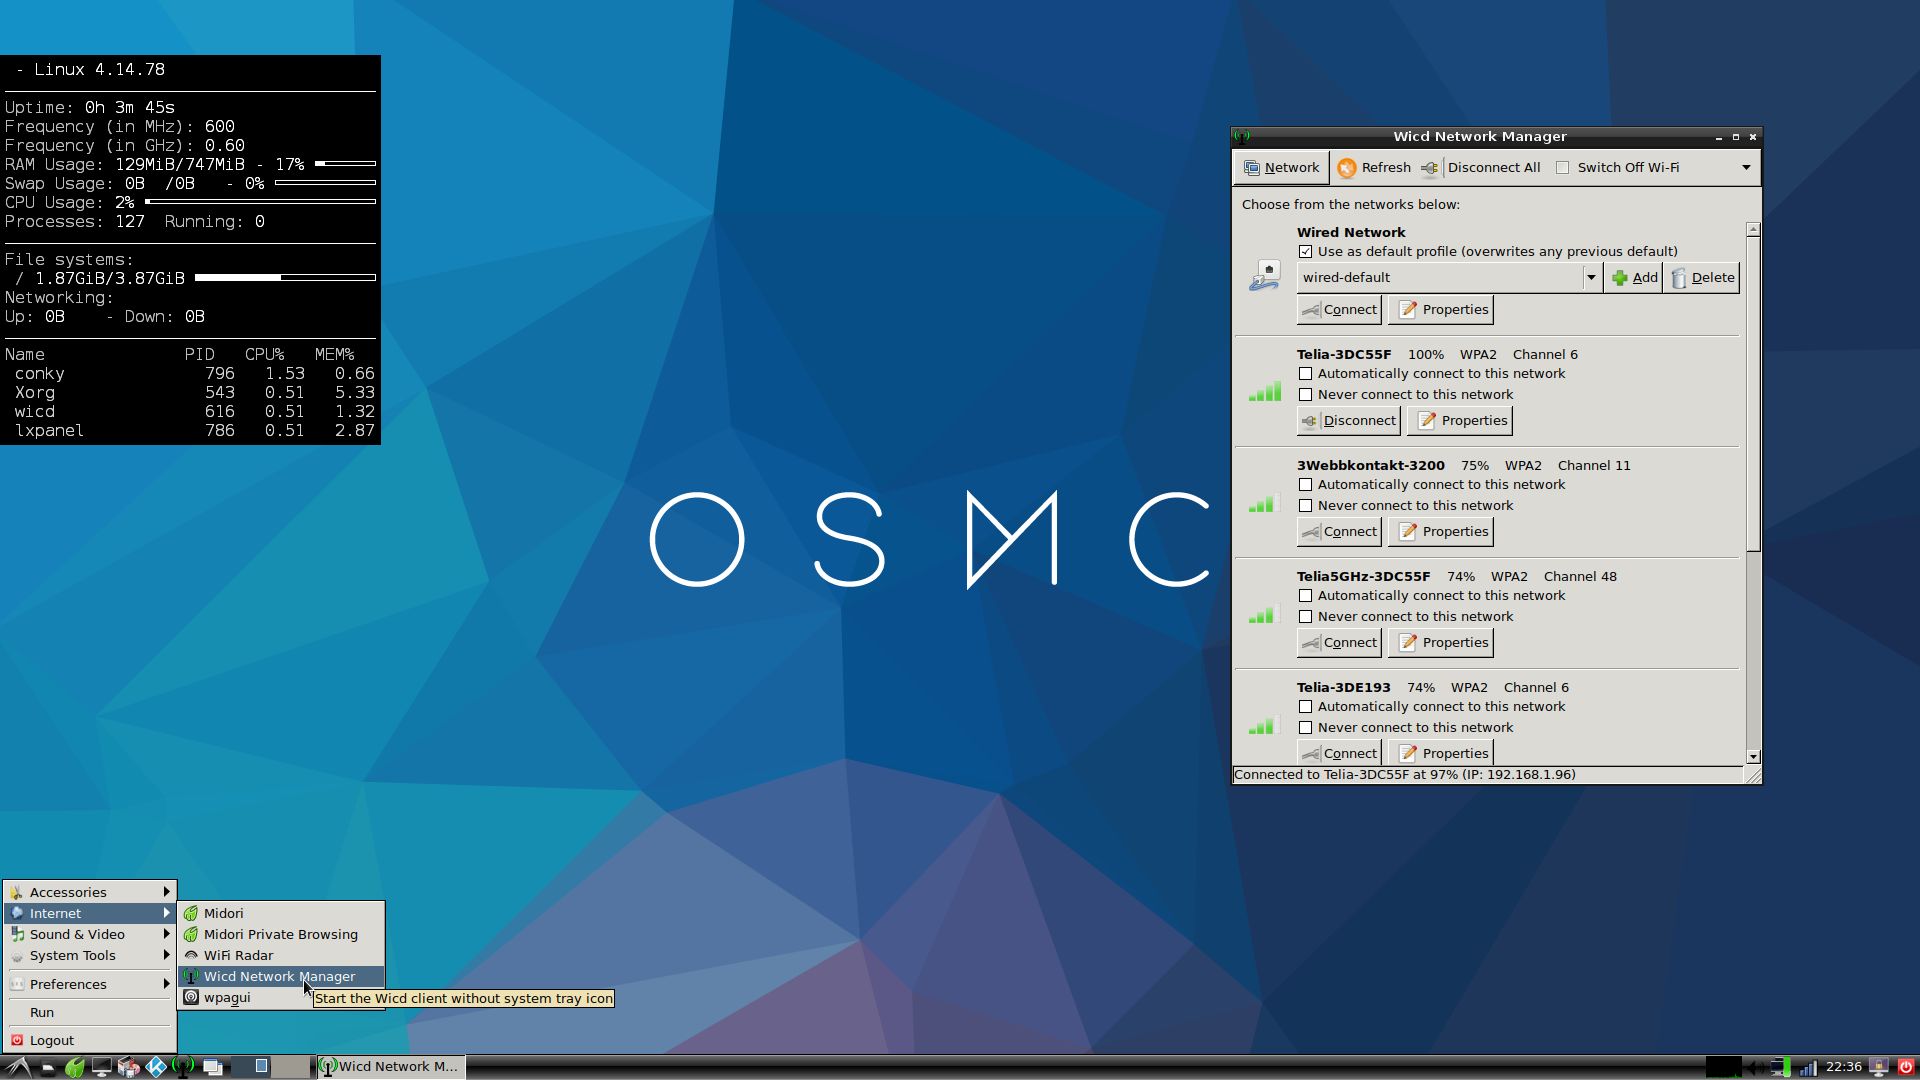
Wireless connections
The new Raspberry Pi 3 Model B and Model B+ computer has “built in” 802.11n Wireless LAN. Using Raspberry Pi 2 you have to have a Wireless USB Adapter. The only one which works for Raspberry Pi 2 is Edimax EW-7811Un (as far as I know).
About SSH, PuTTY, Samba, VNC4Server and VNC Viewer
SSH, Samba and VNC4Server are pre-installed in RaspEX Build 181120. You need to install PuTTy and and VNC Viewer in your Windows system if you want to connect to RaspEX/Raspberry Pi 3/2 from Windows. (Please read the developers information about how to configure PuTTy and VNC Viewer).
The 7″ Touchscreen Monitor for Raspberry Pi
To my great joy also this version of RaspEX work together with the 7″ Touchscreen Monitor for Raspberry Pi “out of the box”. Some fixes to be done:
#####################
Adding a virtual keyboard – Matchbox
Install it with sudo apt-get install matchbox-keyboard
Screenshot when Matchbox Keyboard is running
How do I enable right click?
Paste in the following lines in /etc/X11/xorg.conf.
Section “InputClass”
Identifier “calibration”
Driver “evdev”
MatchProduct “FT5406 memory based driver”
Option “EmulateThirdButton” “1”
Option “EmulateThirdButtonTimeout” “750”
Option “EmulateThirdButtonMoveThreshold” “30”
EndSection
Rotate the touch screen
Depending on your display stand you might find that the LCD display defaults to being upside-down, you can fix this by rotating it in /boot/config.txt.
Add: lcd_rotate=2
Scrolling with a finger in Firefox and/or Chromium Browser
Can’t be fixed. It is also not working in Raspbian.
#############################
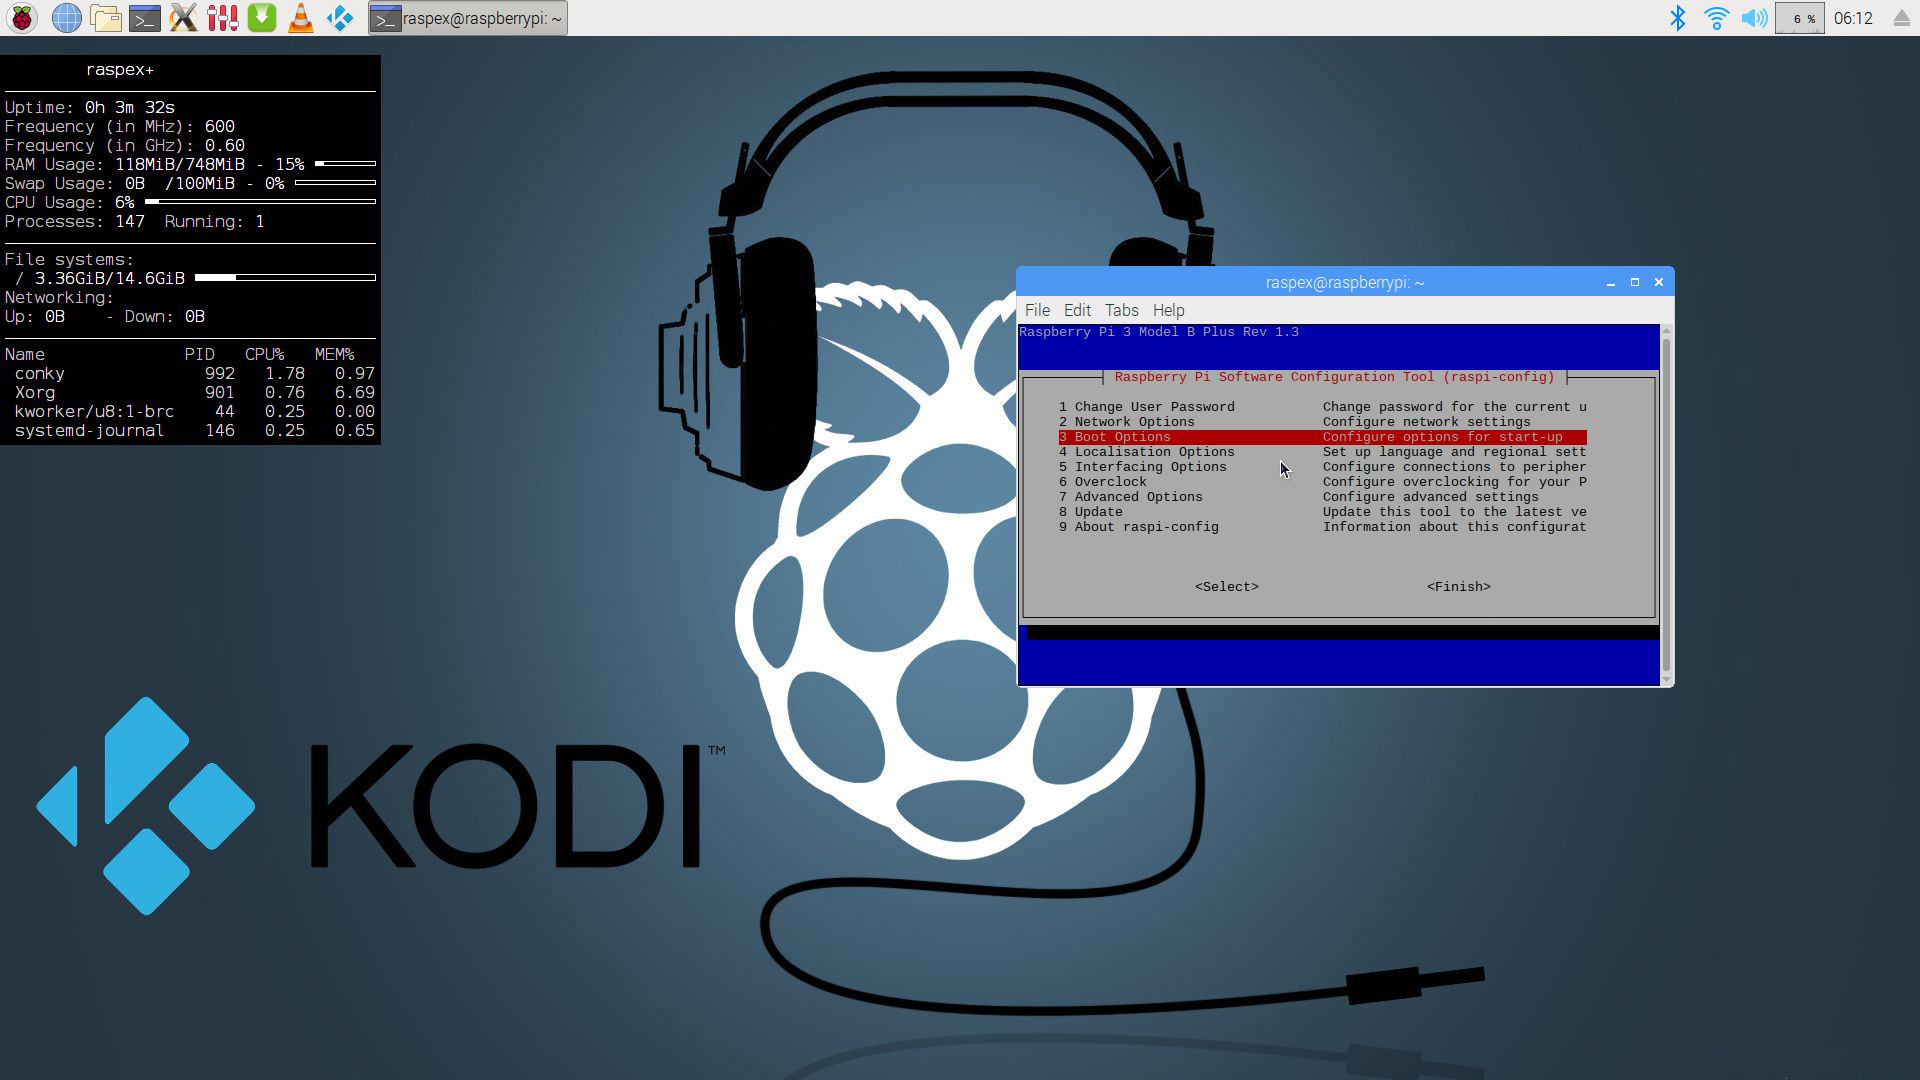
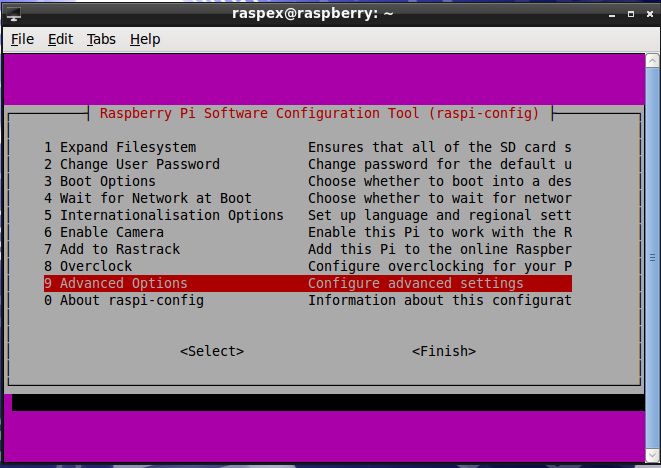
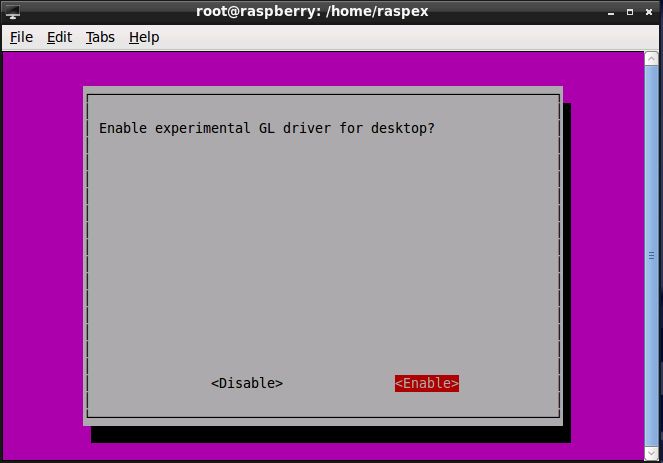
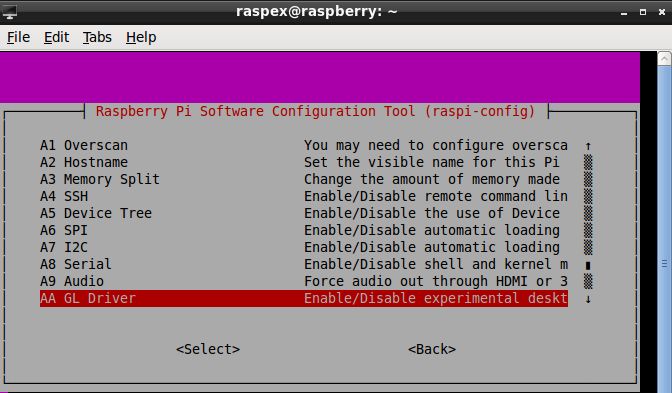
Advanced configuration with raspi-config
Run the command sudo raspi-config and you will get a menu with different configuration alternatives. You can for example expand the filesystem on the SD card. You can also enable an experimental GL driver for the Desktop. Perhaps useful if you have a big screen/monitor. You can also enable overscan. Useful if you use the 7″ touchscreen. See under Advanced Options.
Expand the filesystem on the SD card
If you install many new big programs and/or download large files (for example videos) you may run out of space on the SD card. That is best fixed by running the following command: sudo sh /root/resize_rootfs.sh
NOTE: That’s all you have to do. Just wait for the script to fix everything. If you use a SD card of 64 GB all the space on it will be used afterwards. See also above under Important: First things to do.
Installed packages
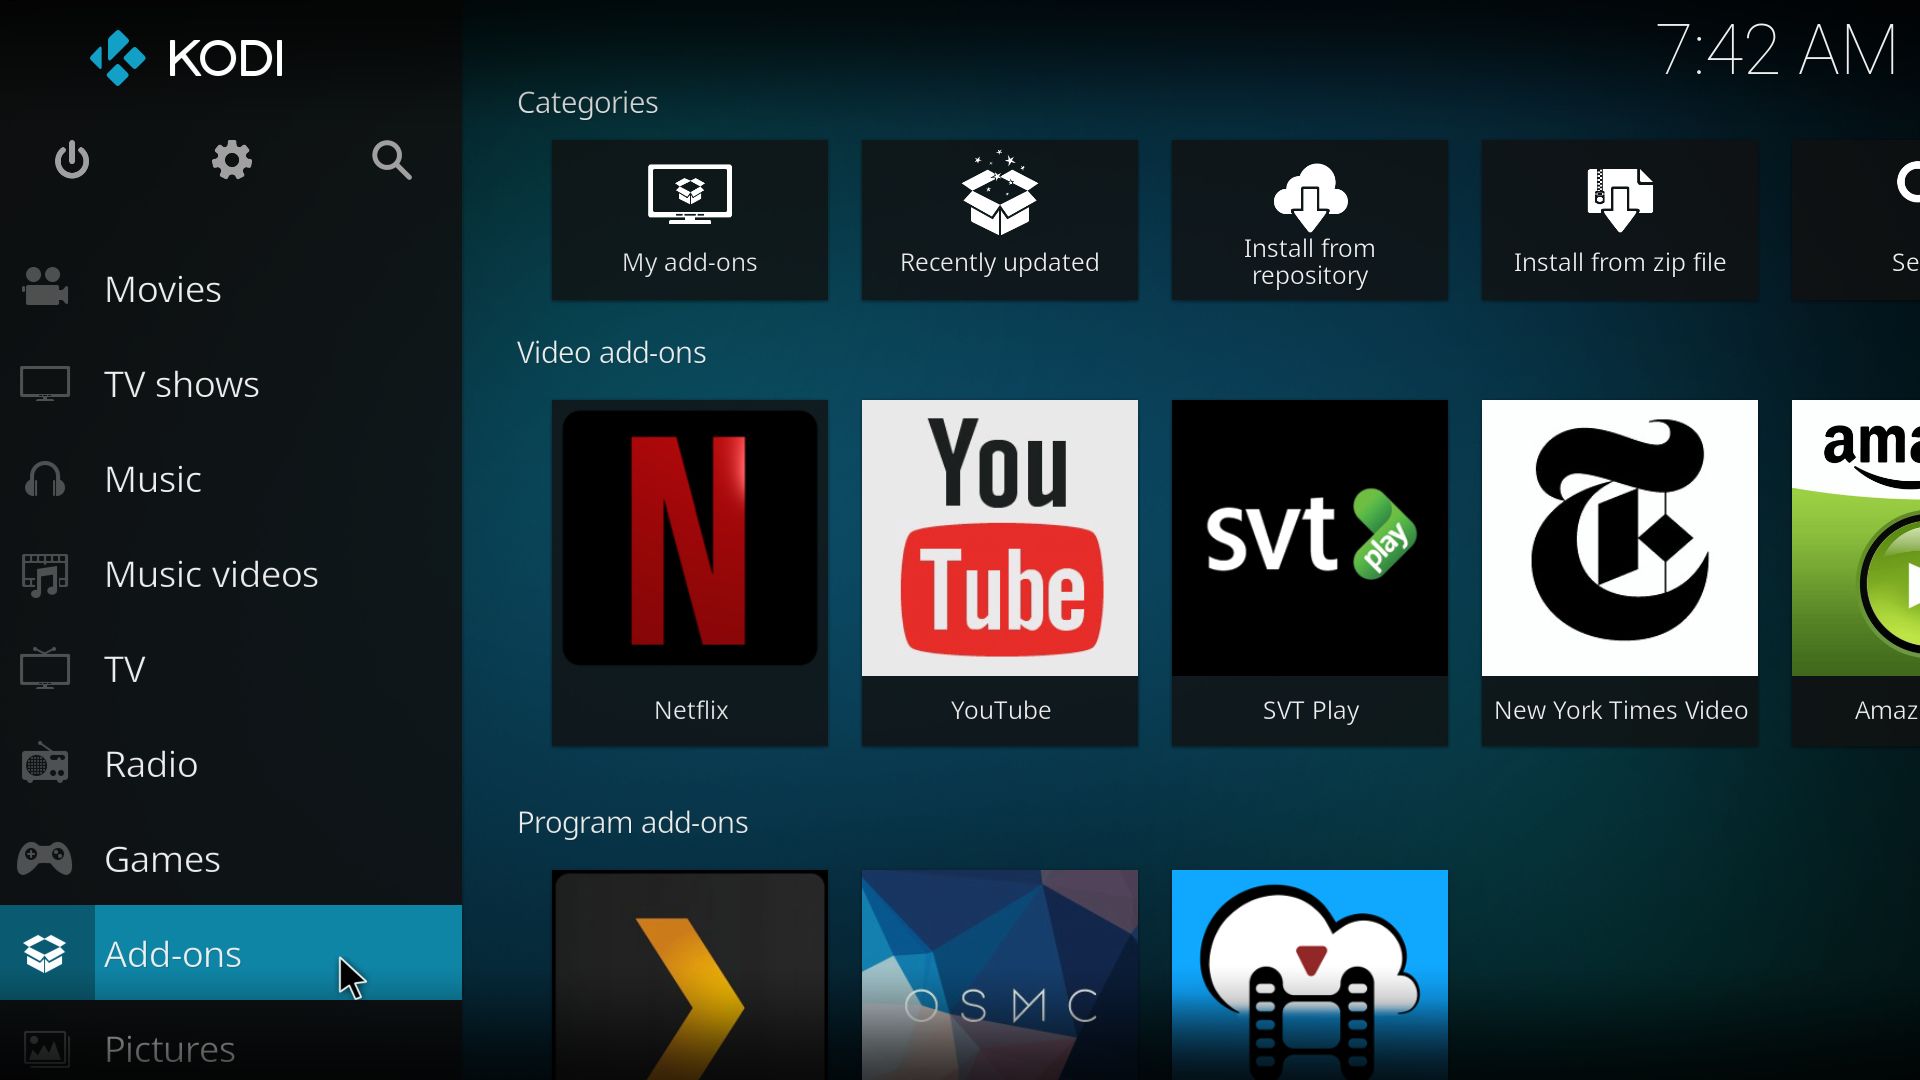
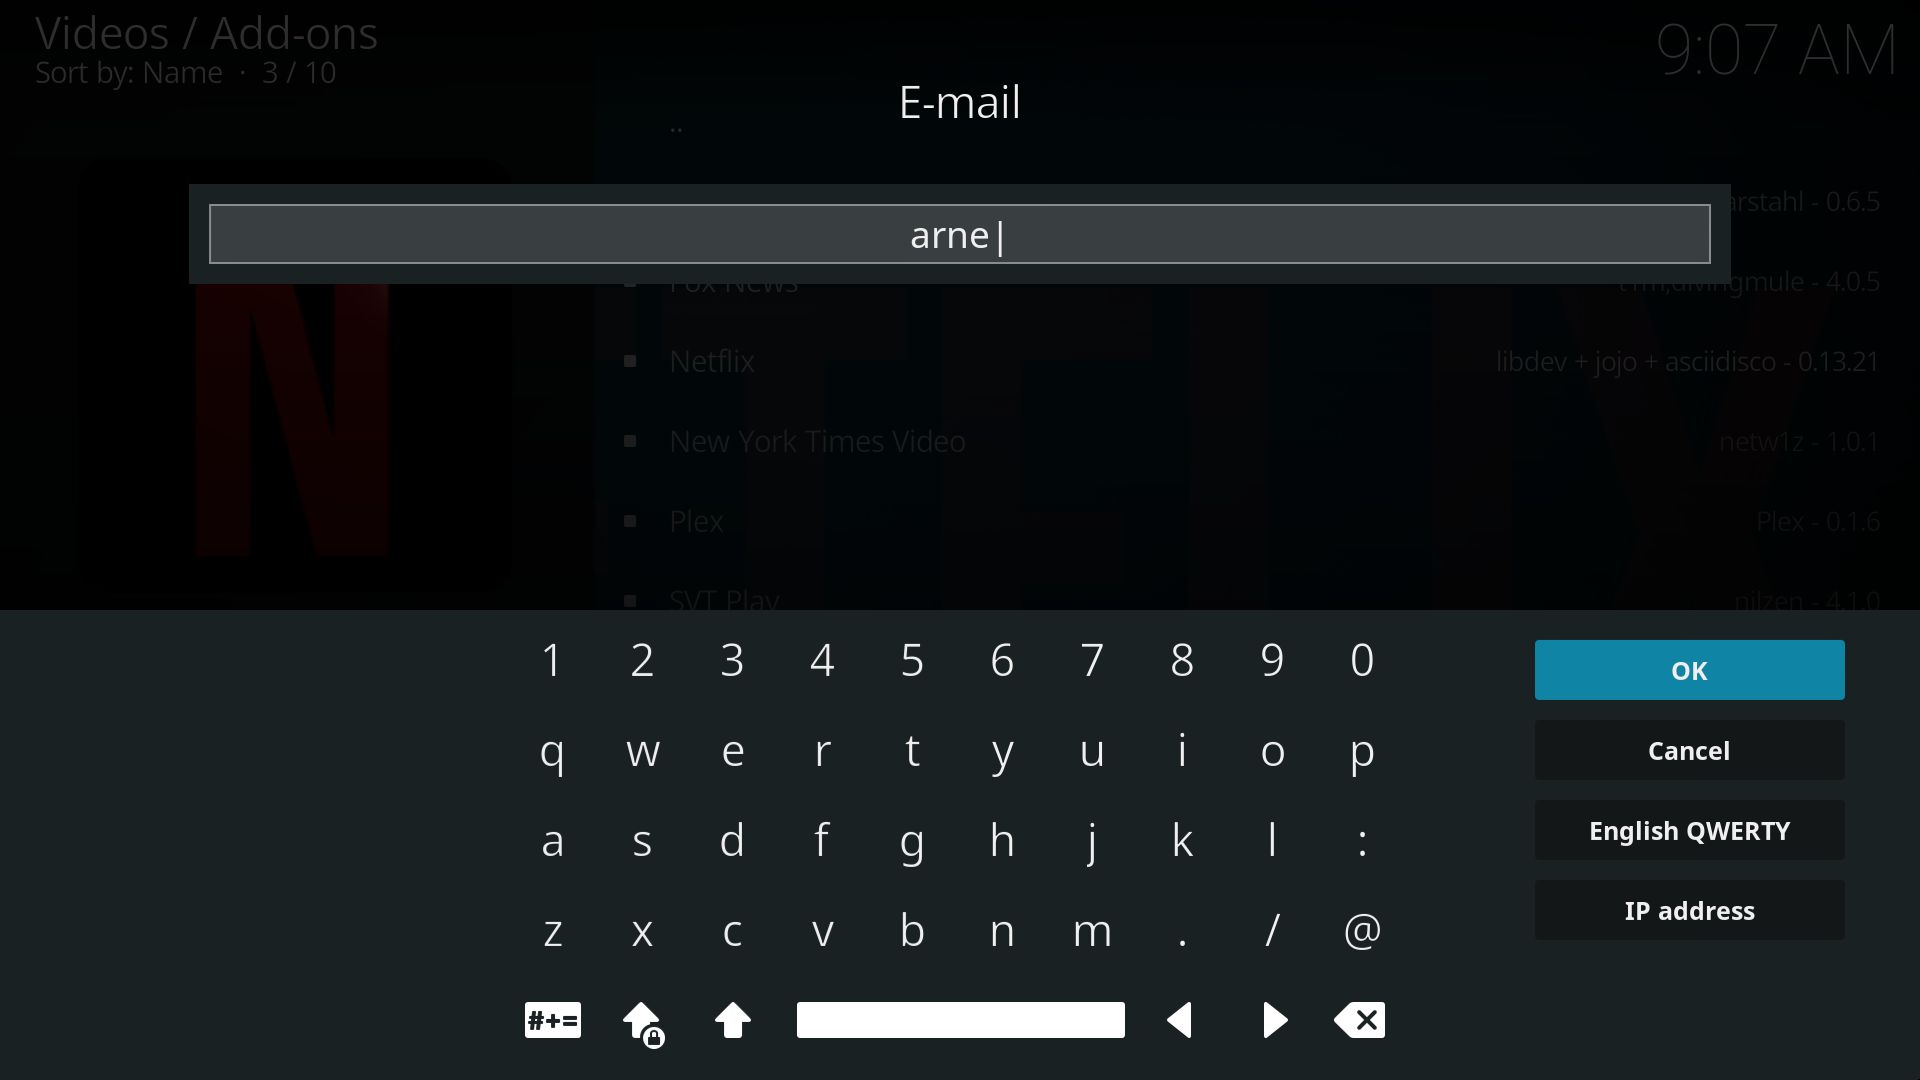
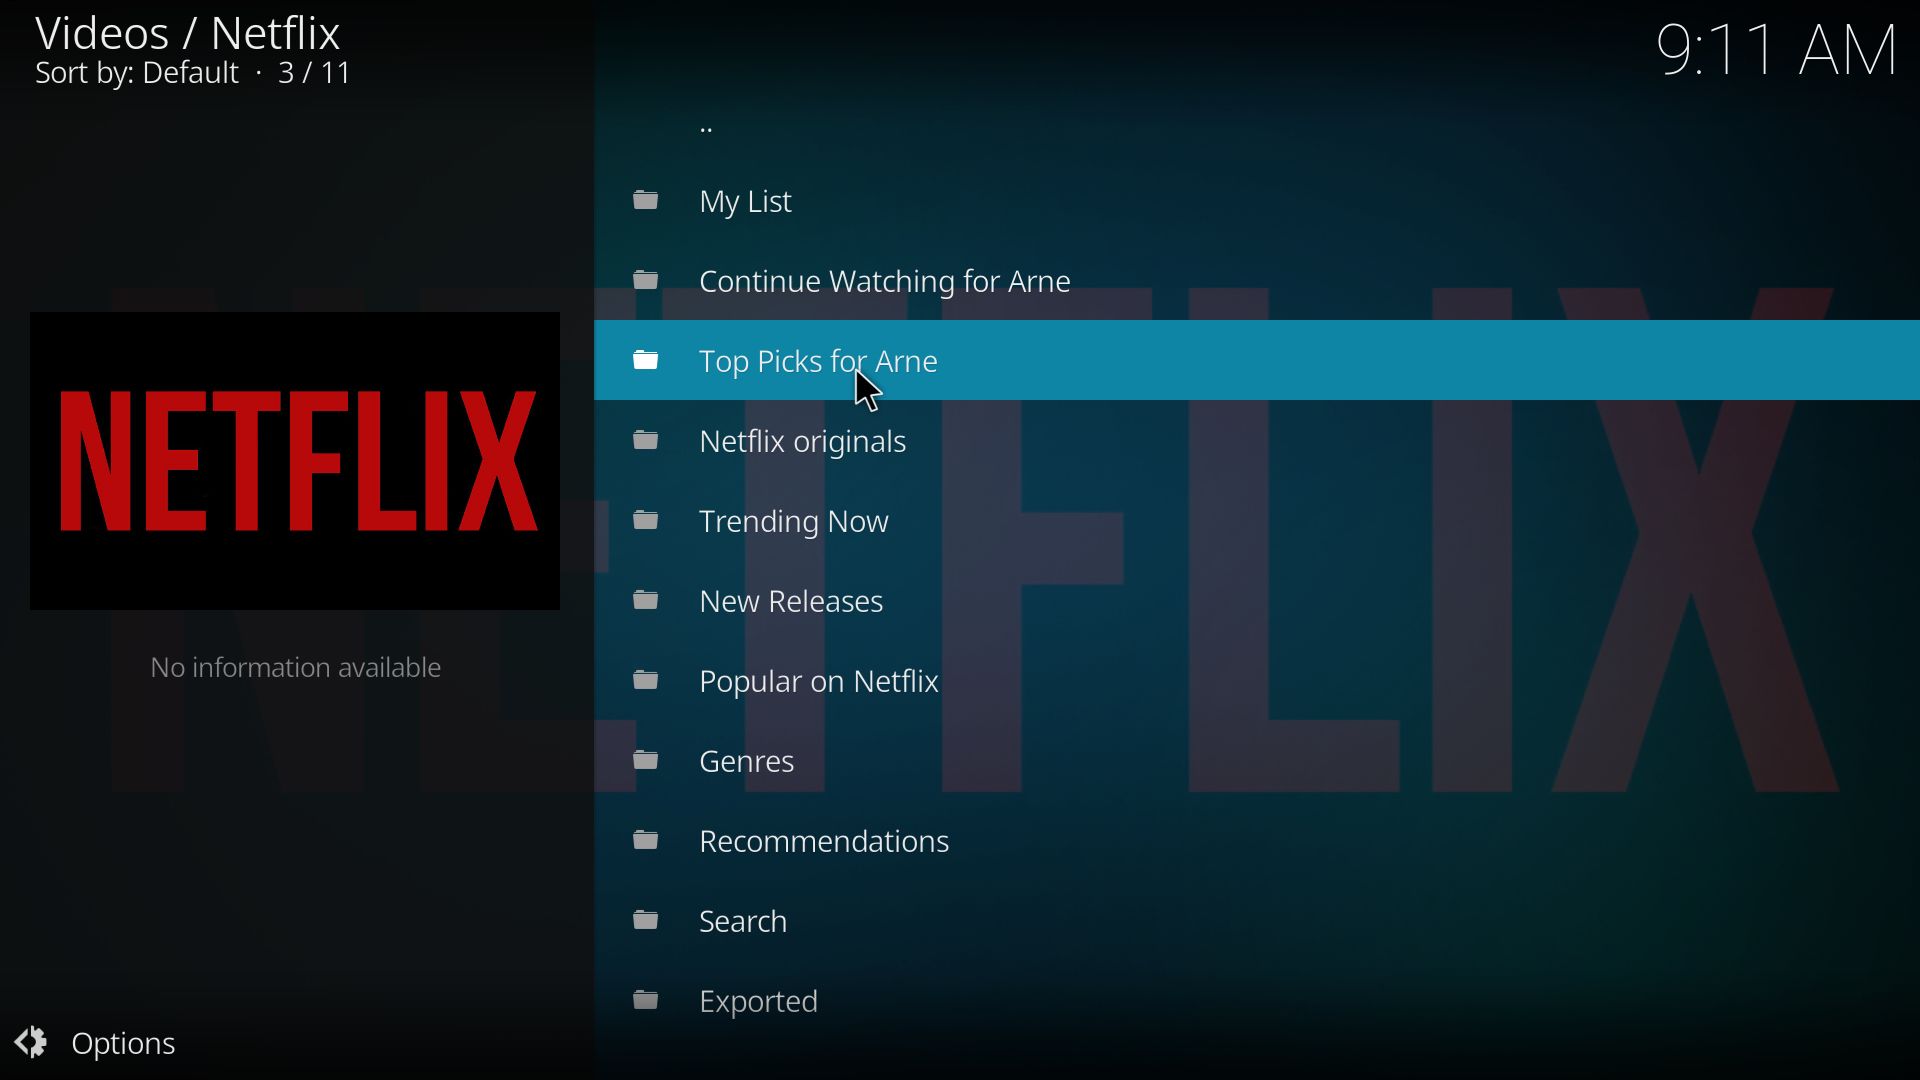
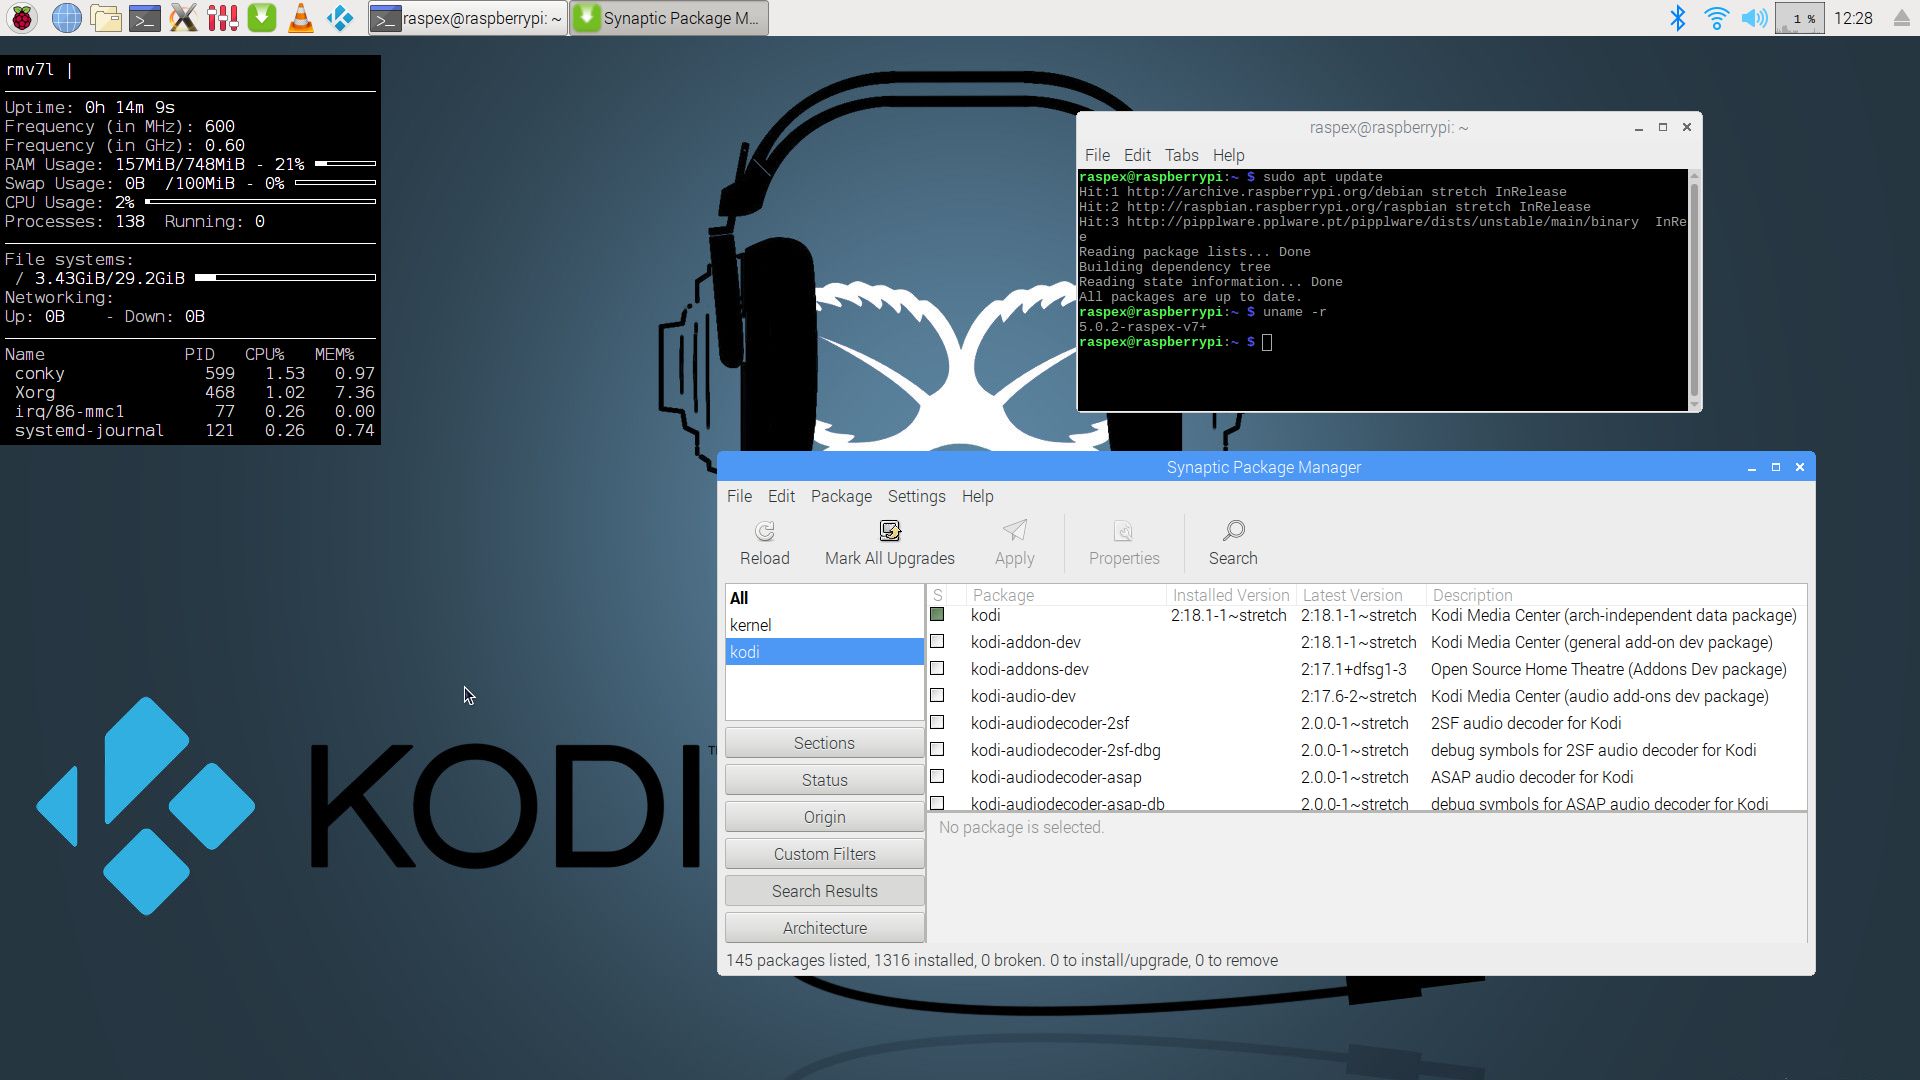
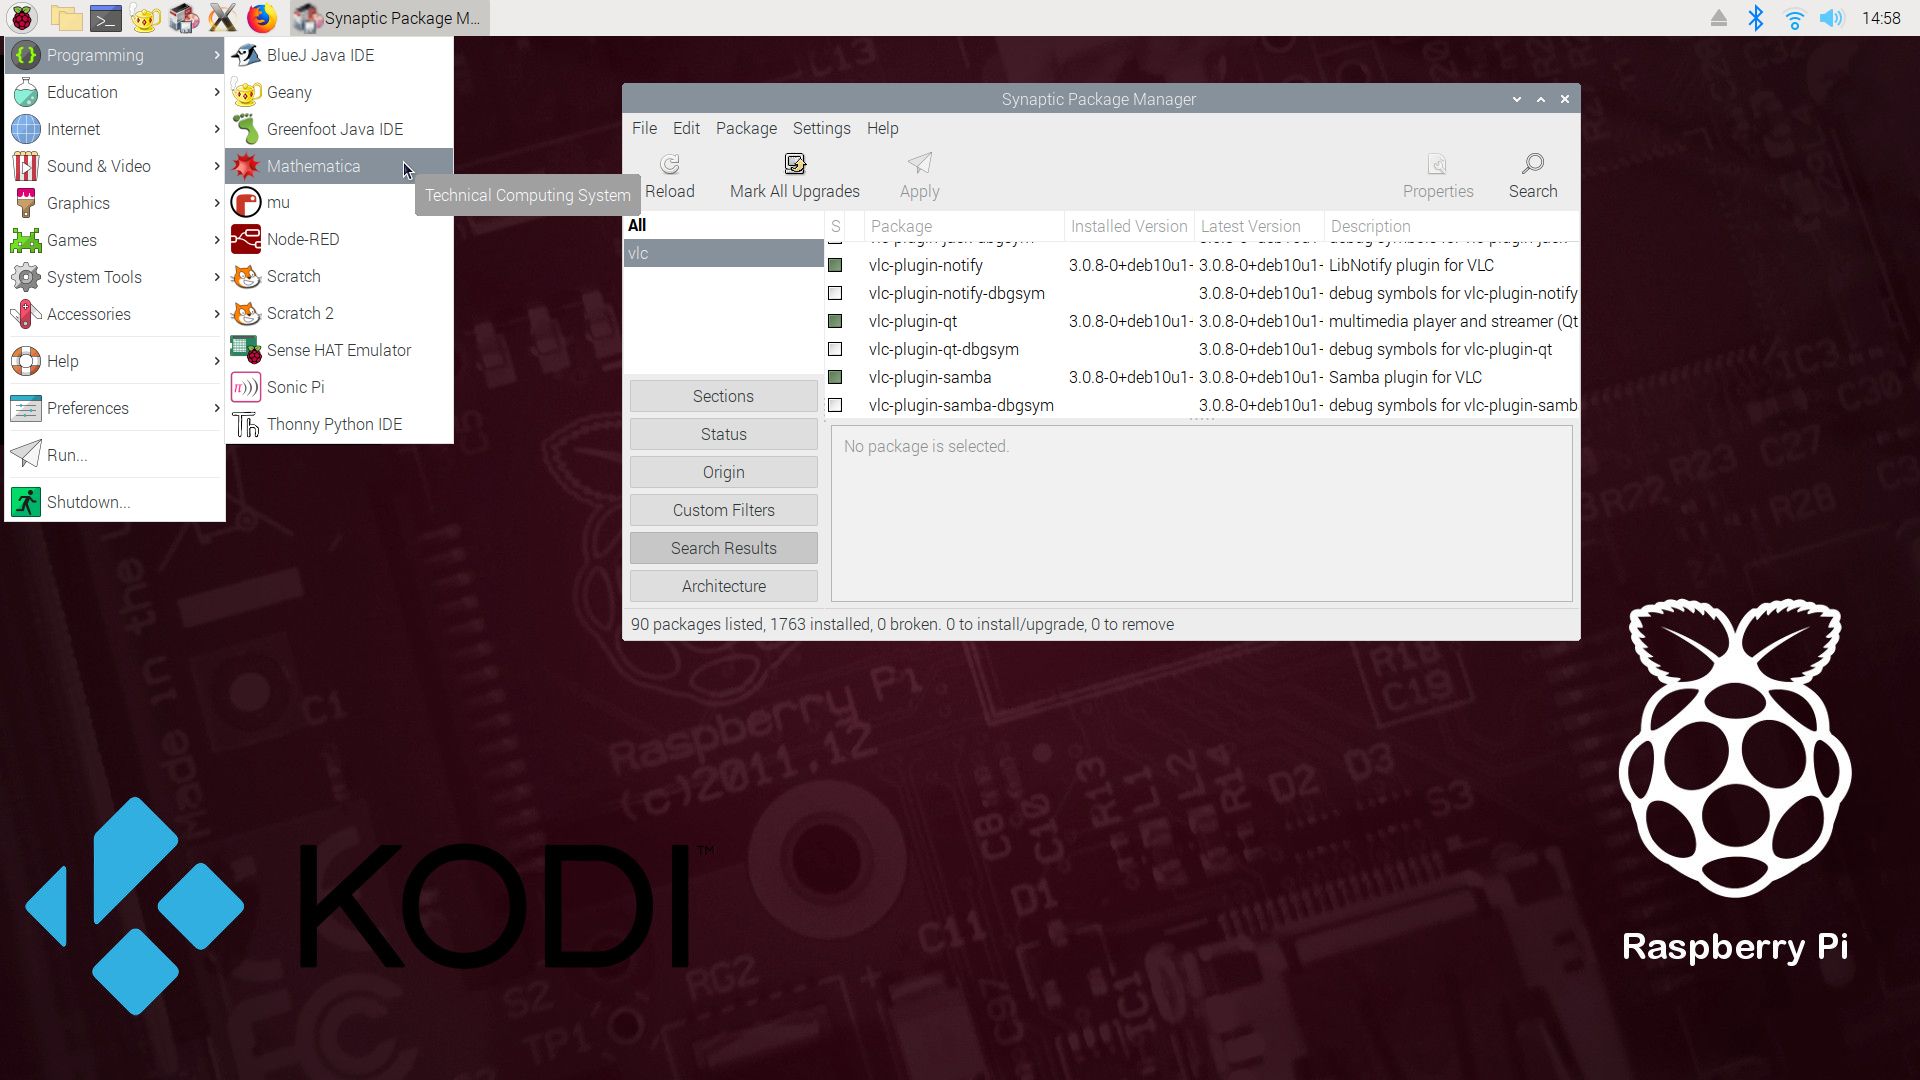
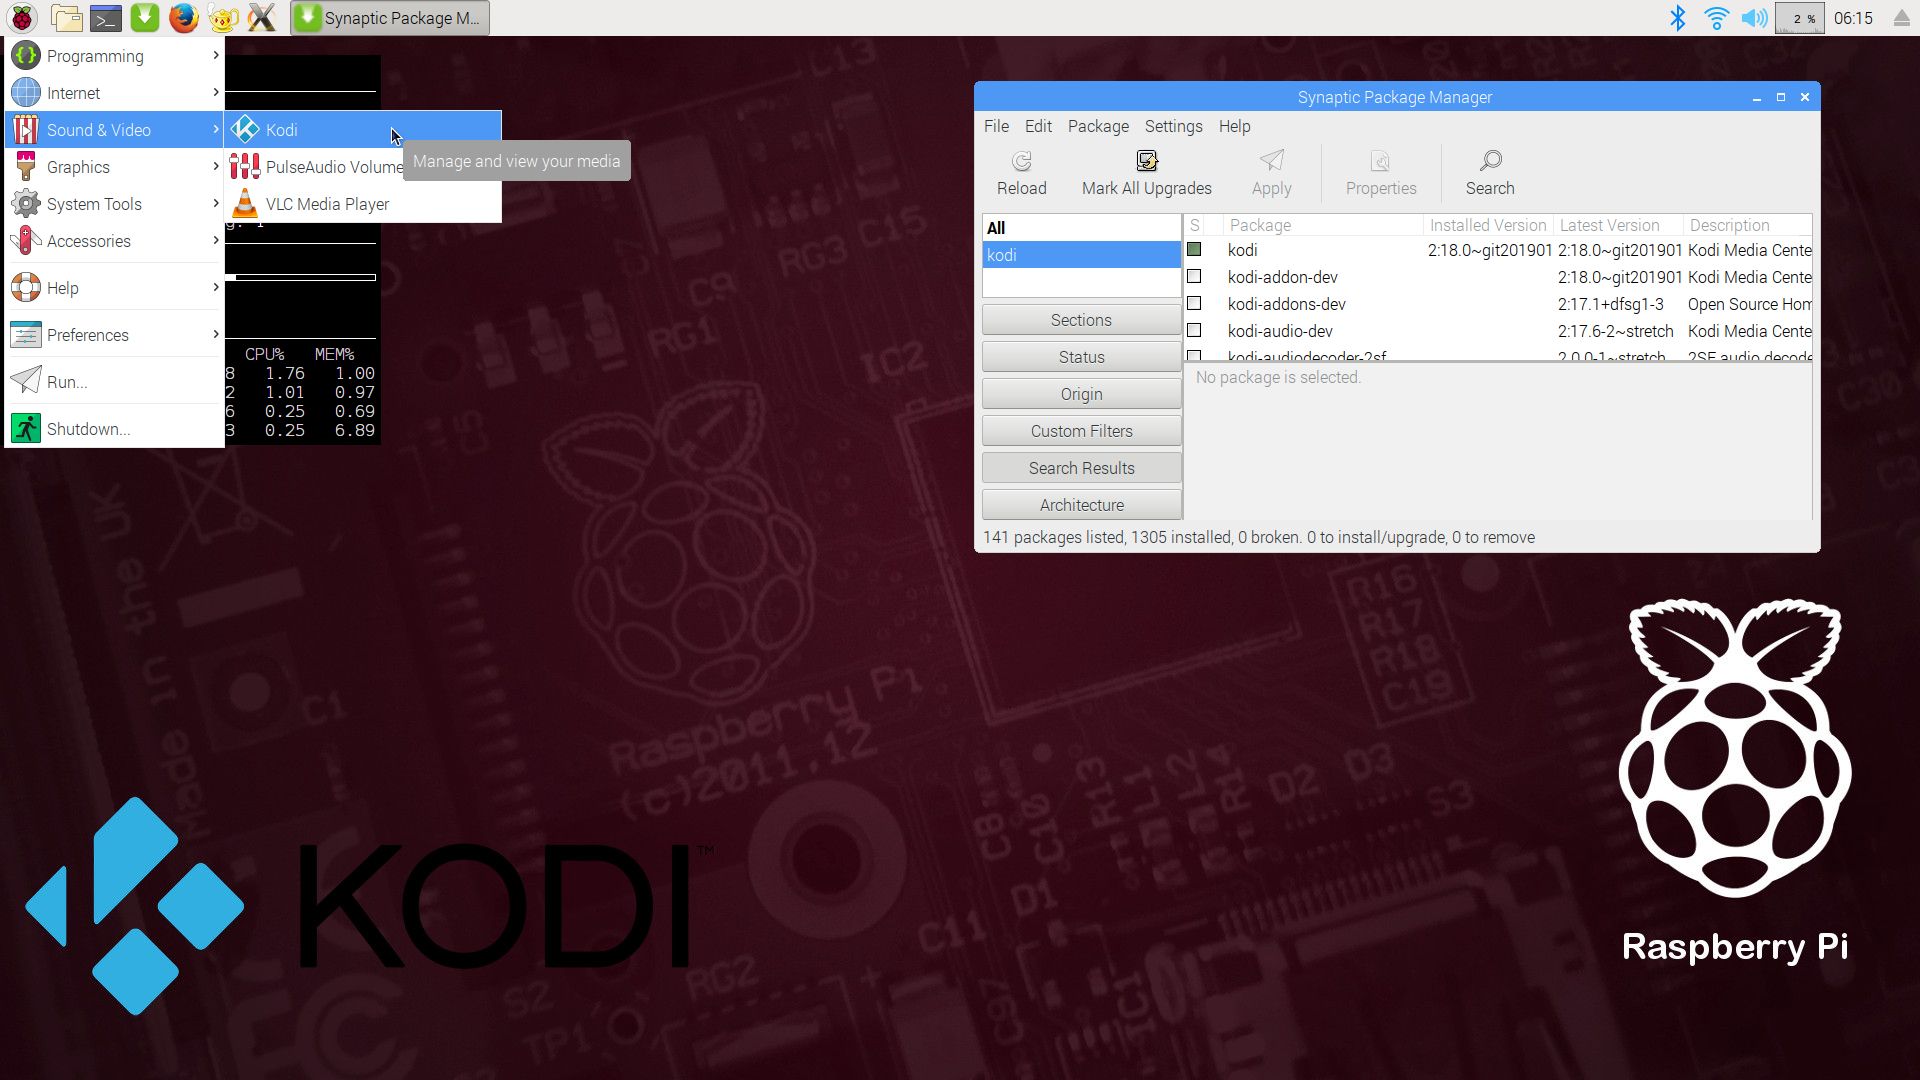
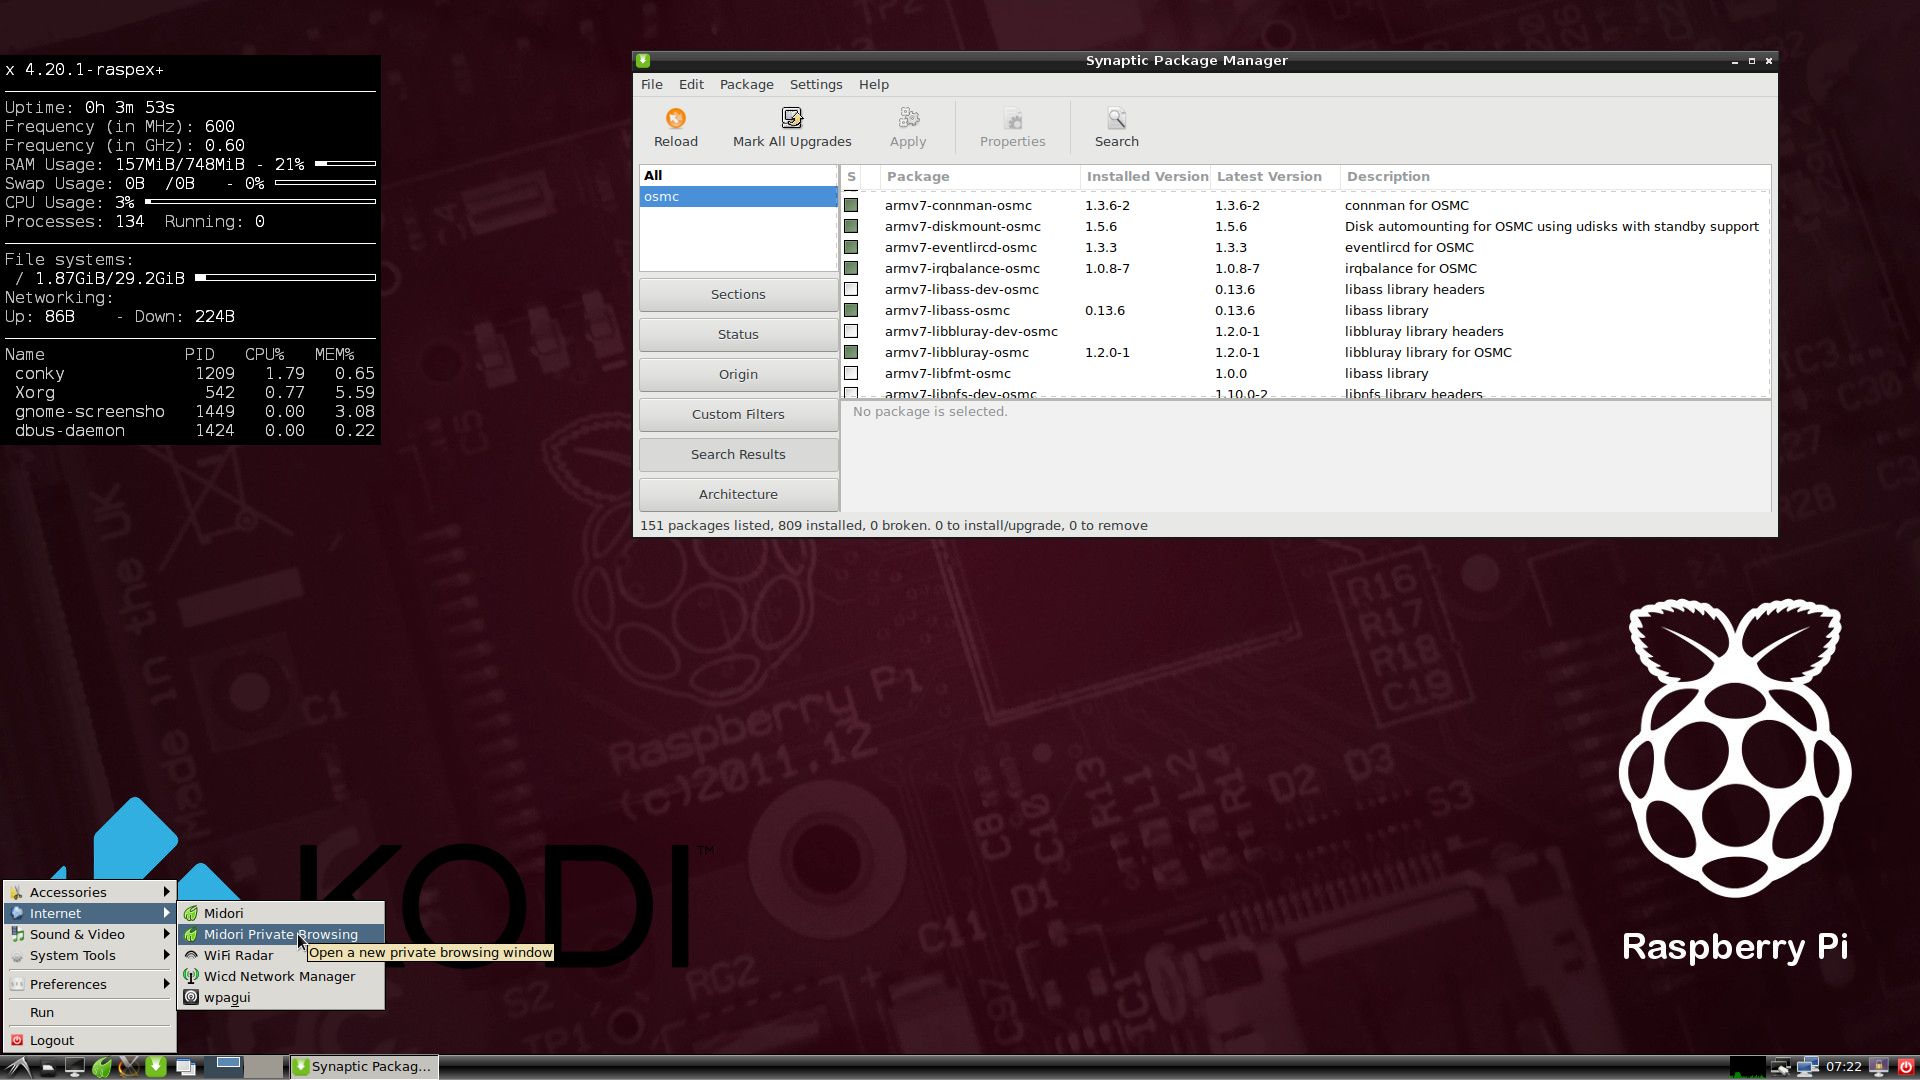
Besides from LXDE and OpenCPN a lot of ordinary Debian/Ubuntu packages are pre-installed. I can mention Firefox, Chromium Web Browser, Midori Private Browser, SMTube (YouTube browser which allows to browse, search and play YouTube videos), PulseAudio for better sound in YouTube, Synaptic Package Manager and Gimp. Study the full package list of 181120…
Error no_pubkey when trying to upgrade the system
When you run the command sudo apt-get update it can happen that you can’t update the sources due to missing pub_keys. The solution is to run the following commands.
$ cd /var/lib/apt
$ sudo mv lists lists.old
$ sudo mkdir -p lists/partial
$ sudo apt-get update
After that you can run apt-get update with success even though you still will get the same “no_pubkey” errors.
Why shall I use RaspEX?
Eight Operating Systems are recommended by Raspberrypi.org. Among them Noobs, Raspbian (Debian Stretch) and Snappy Ubuntu Core. RaspEX is faster (“fast as lightning”), more useful and more fun to use. (In my opinion). One member at this site thought that running RaspEX (for Raspberry Pi 2 Model B) was like running Raspberry Pi on “steroids“. RaspEX Build 181022, 181010 (with BunsenLabs Desktop) and 181120 (current with OpenCPN) are of course even faster, especially if you run the systems on a Raspberry Pi 3 Model B+ computer.
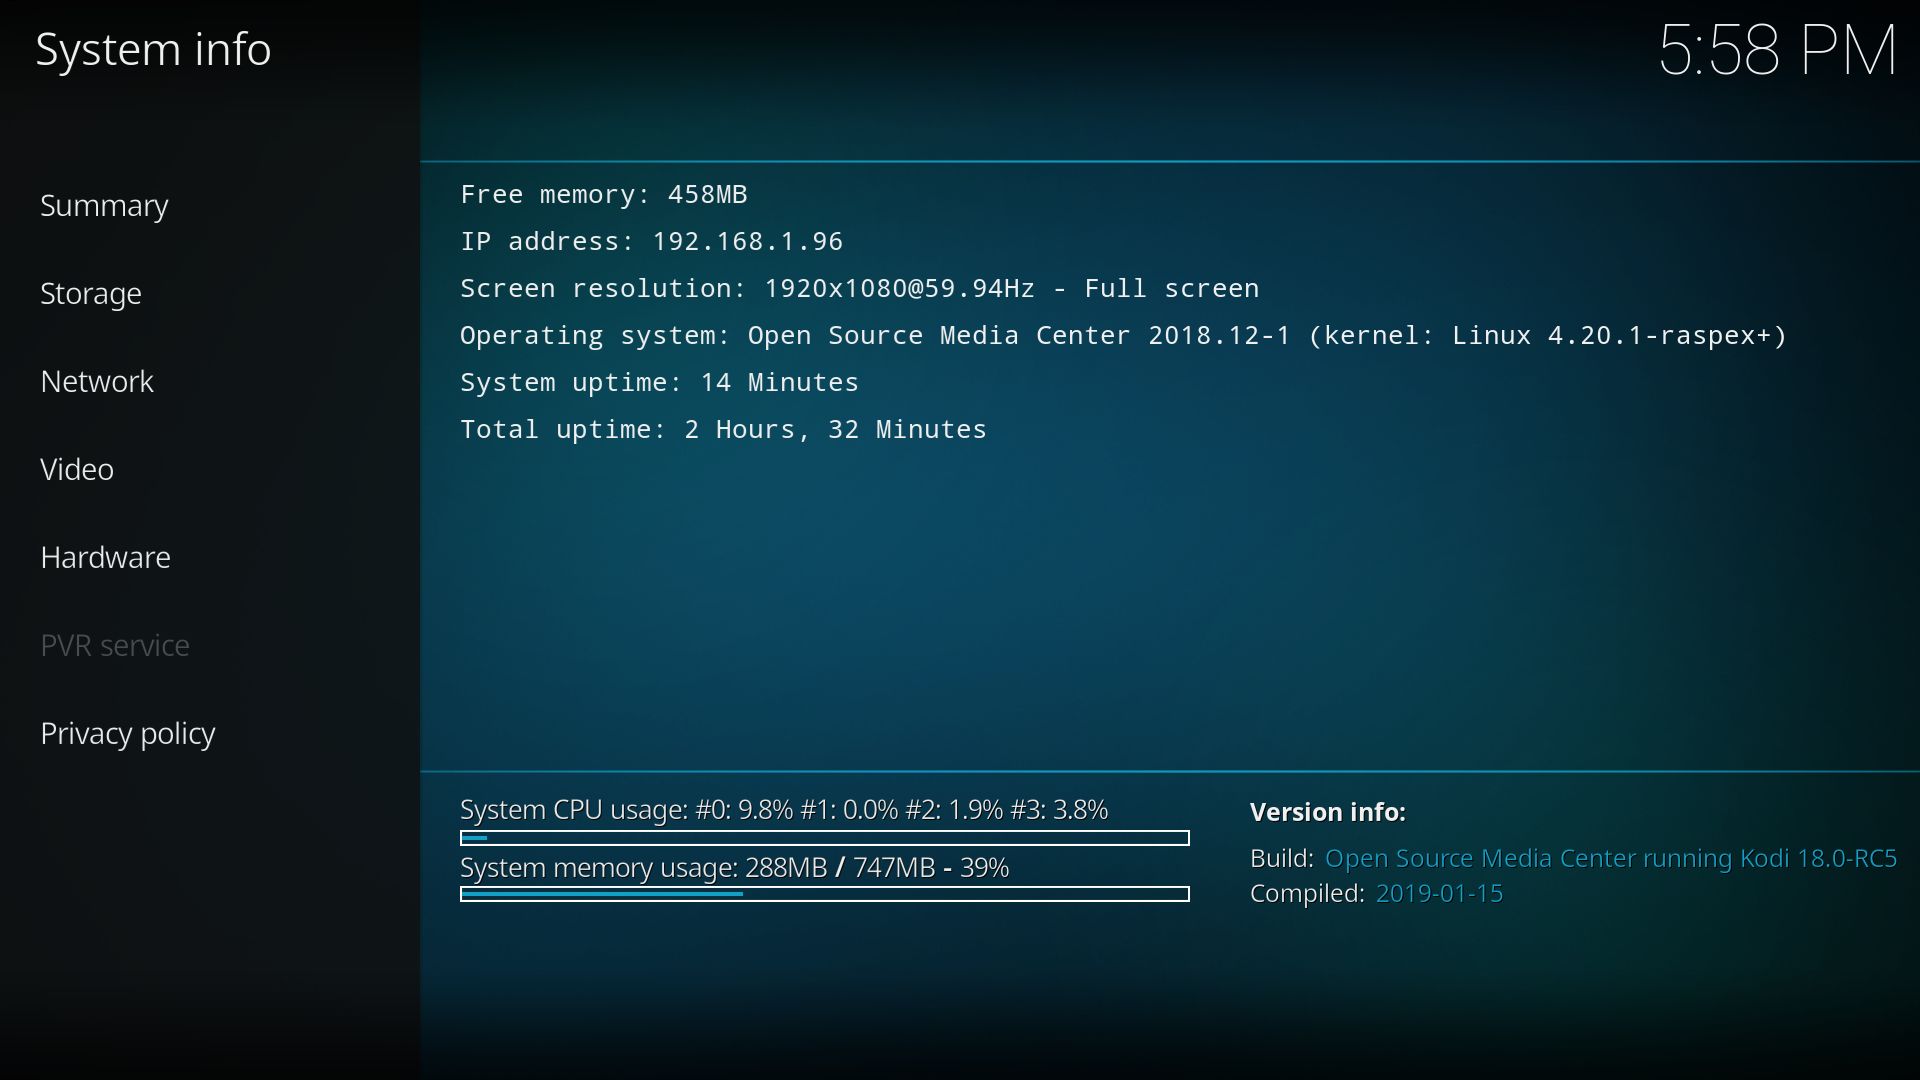
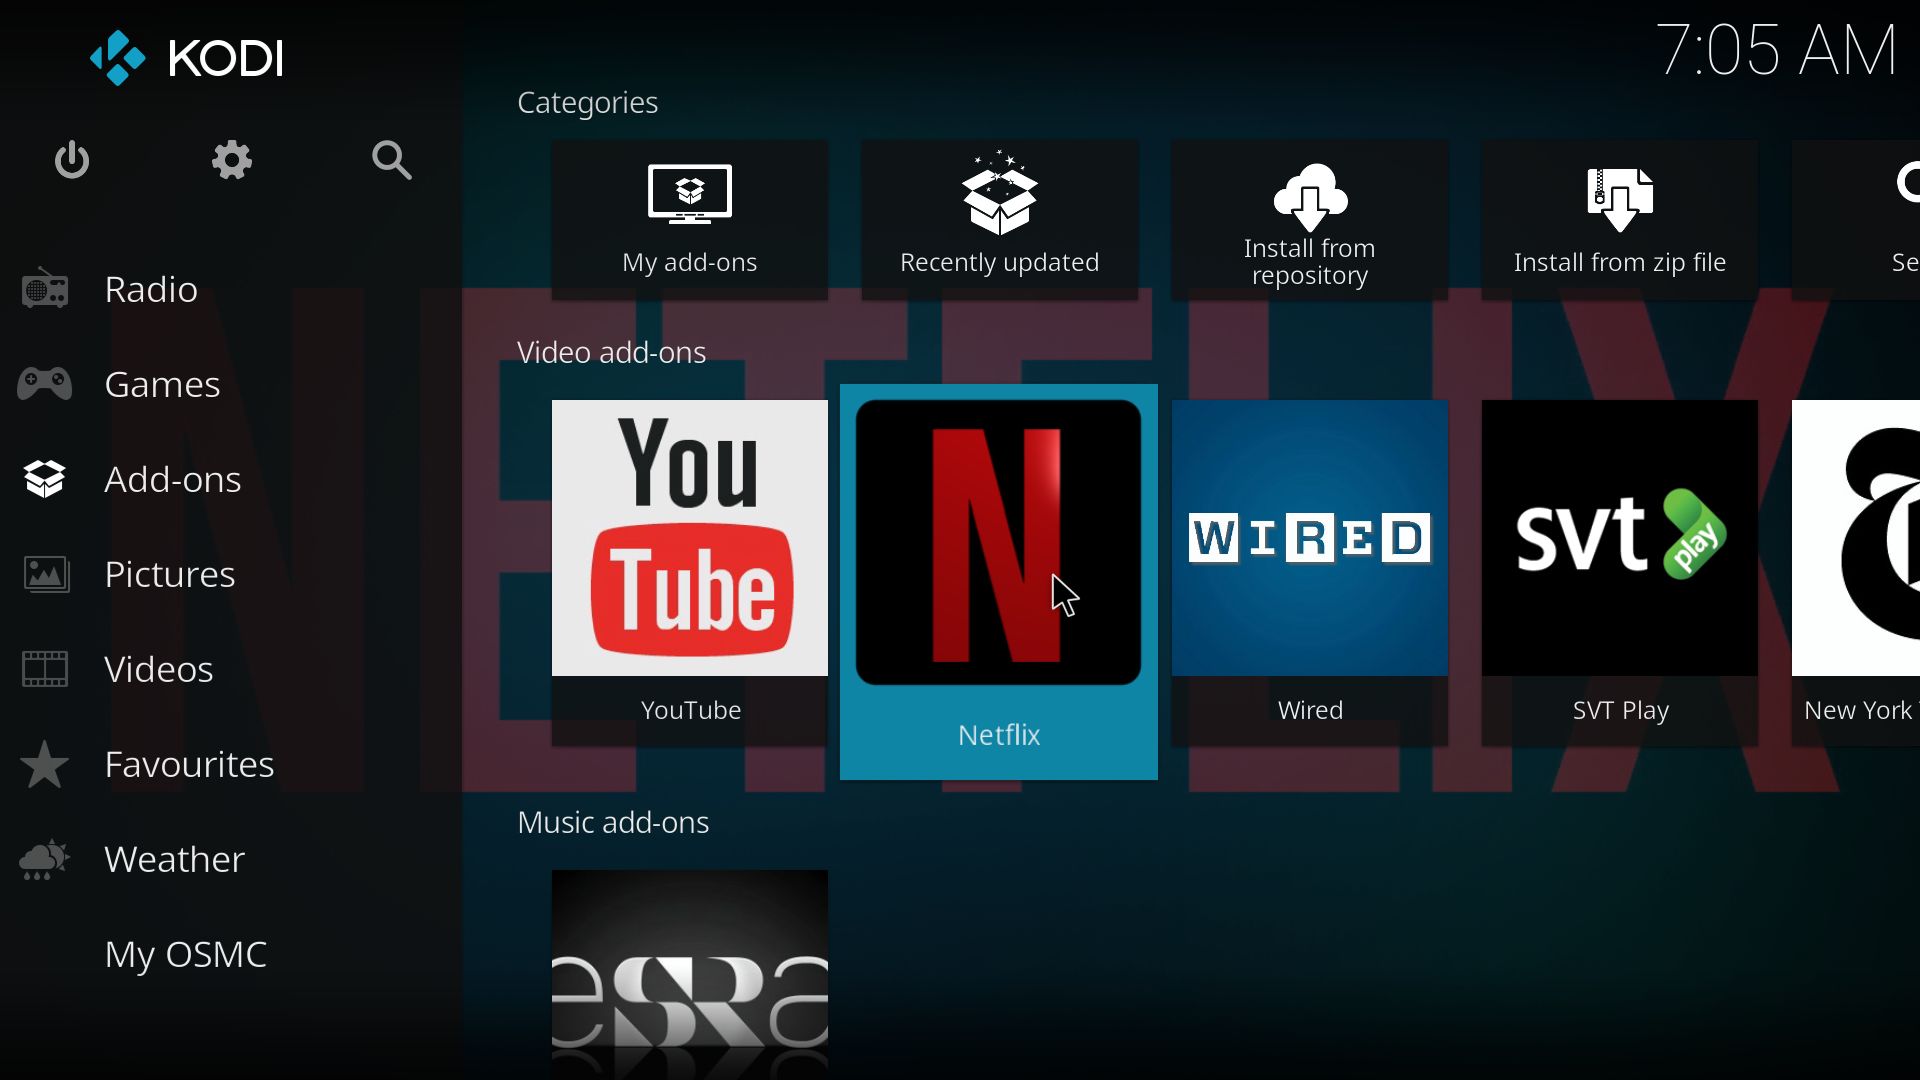
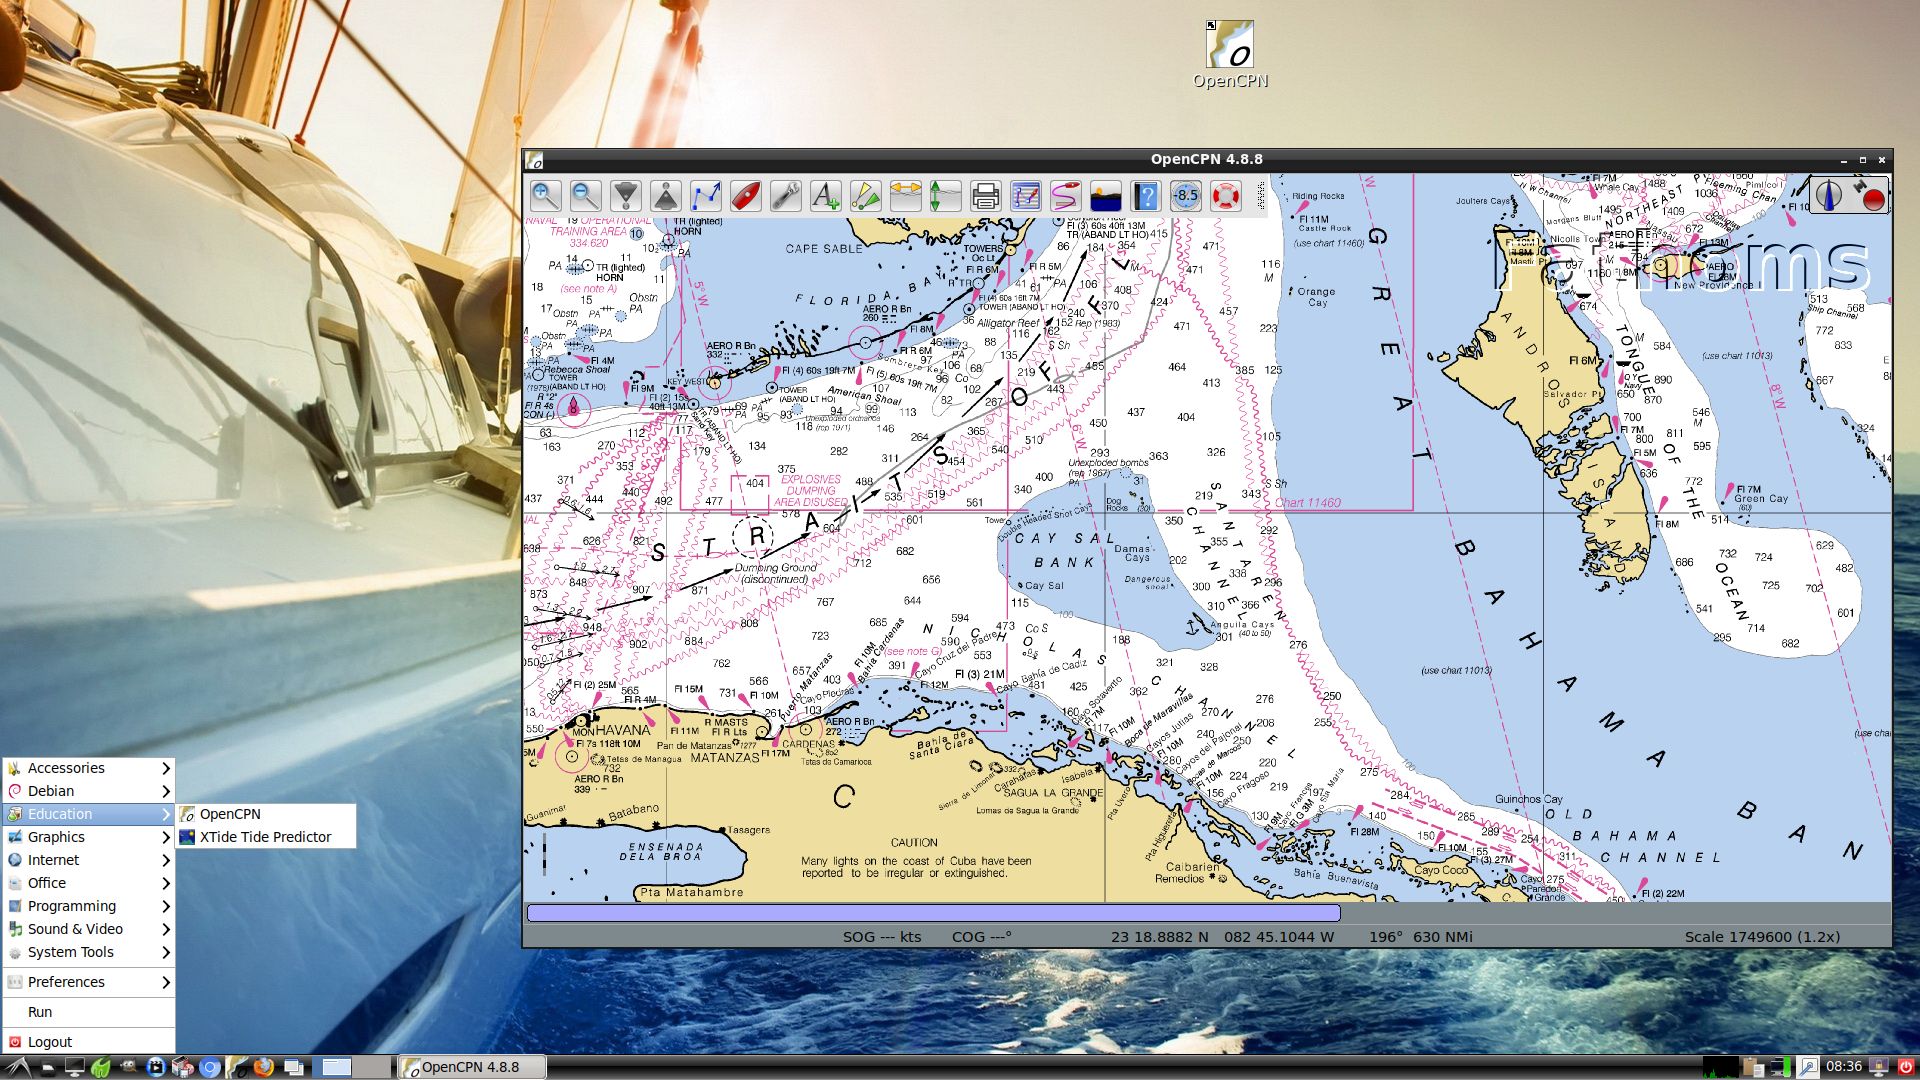
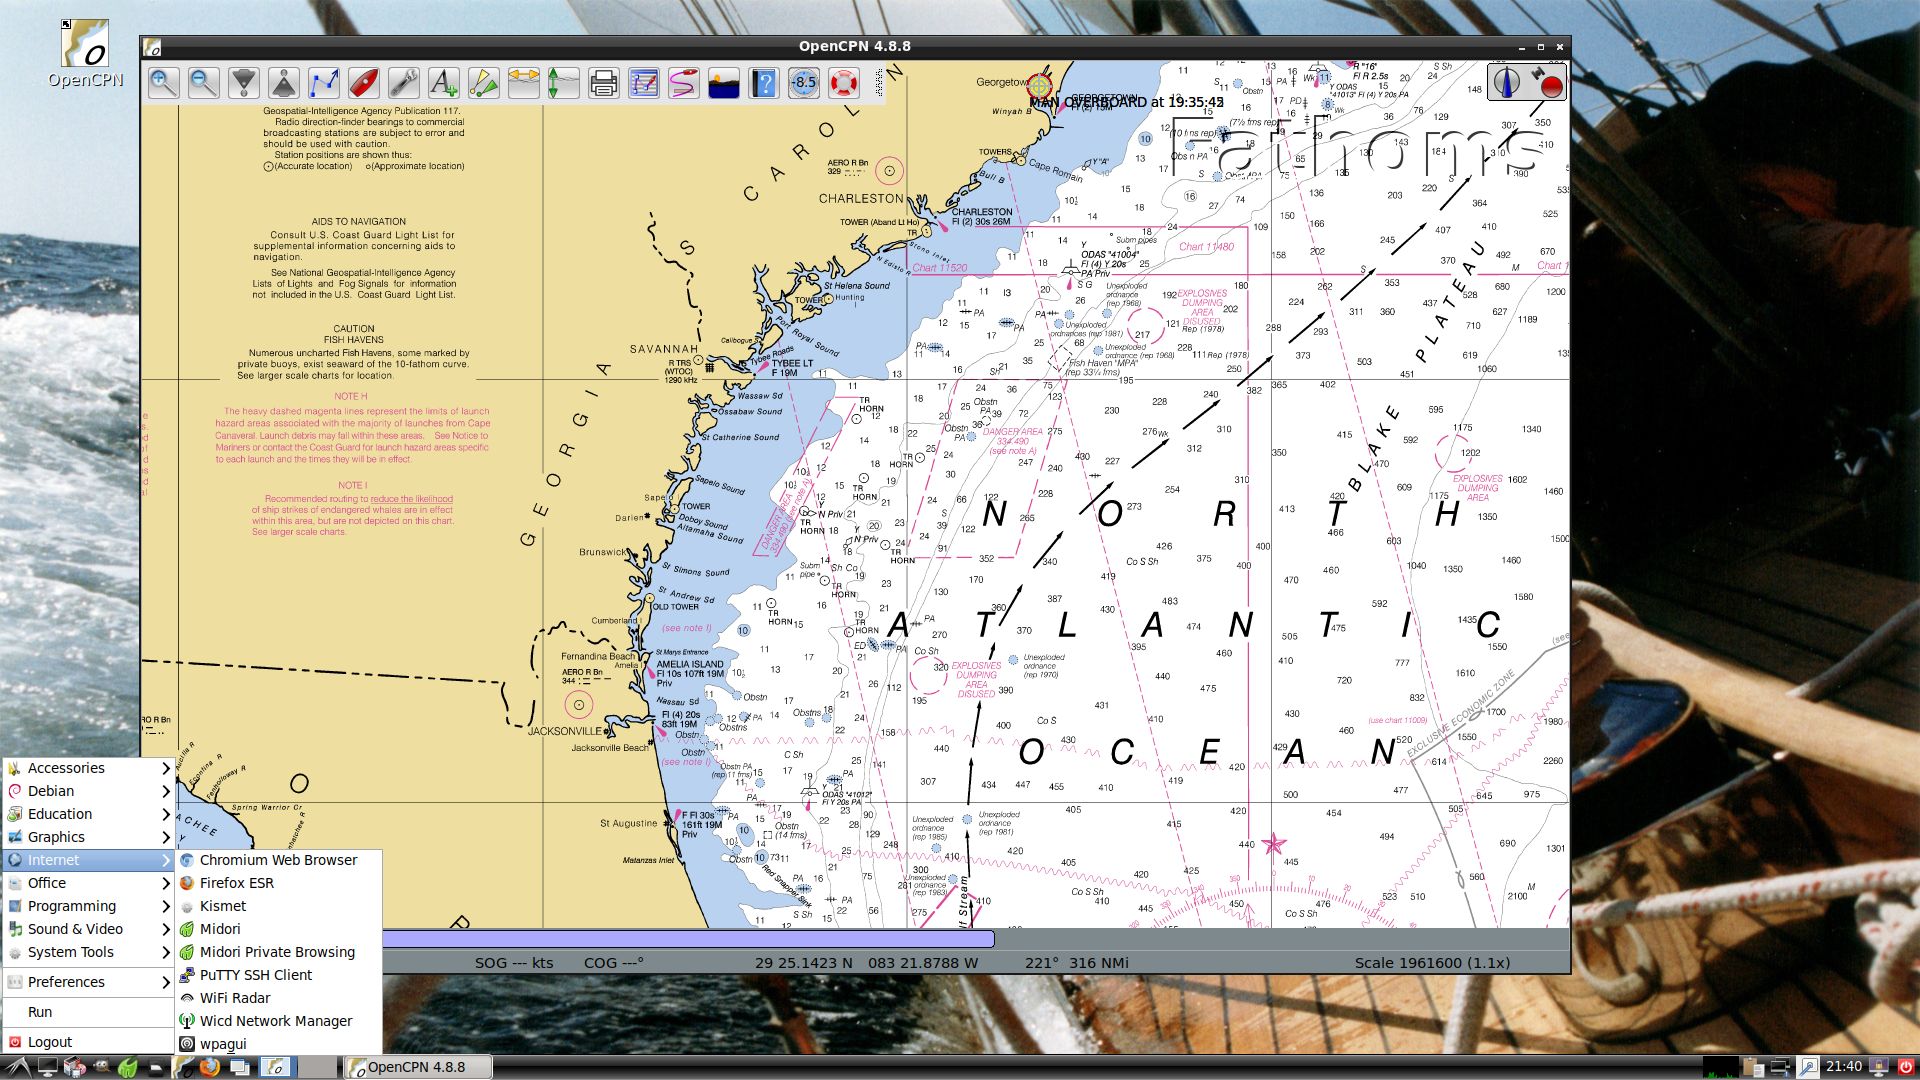
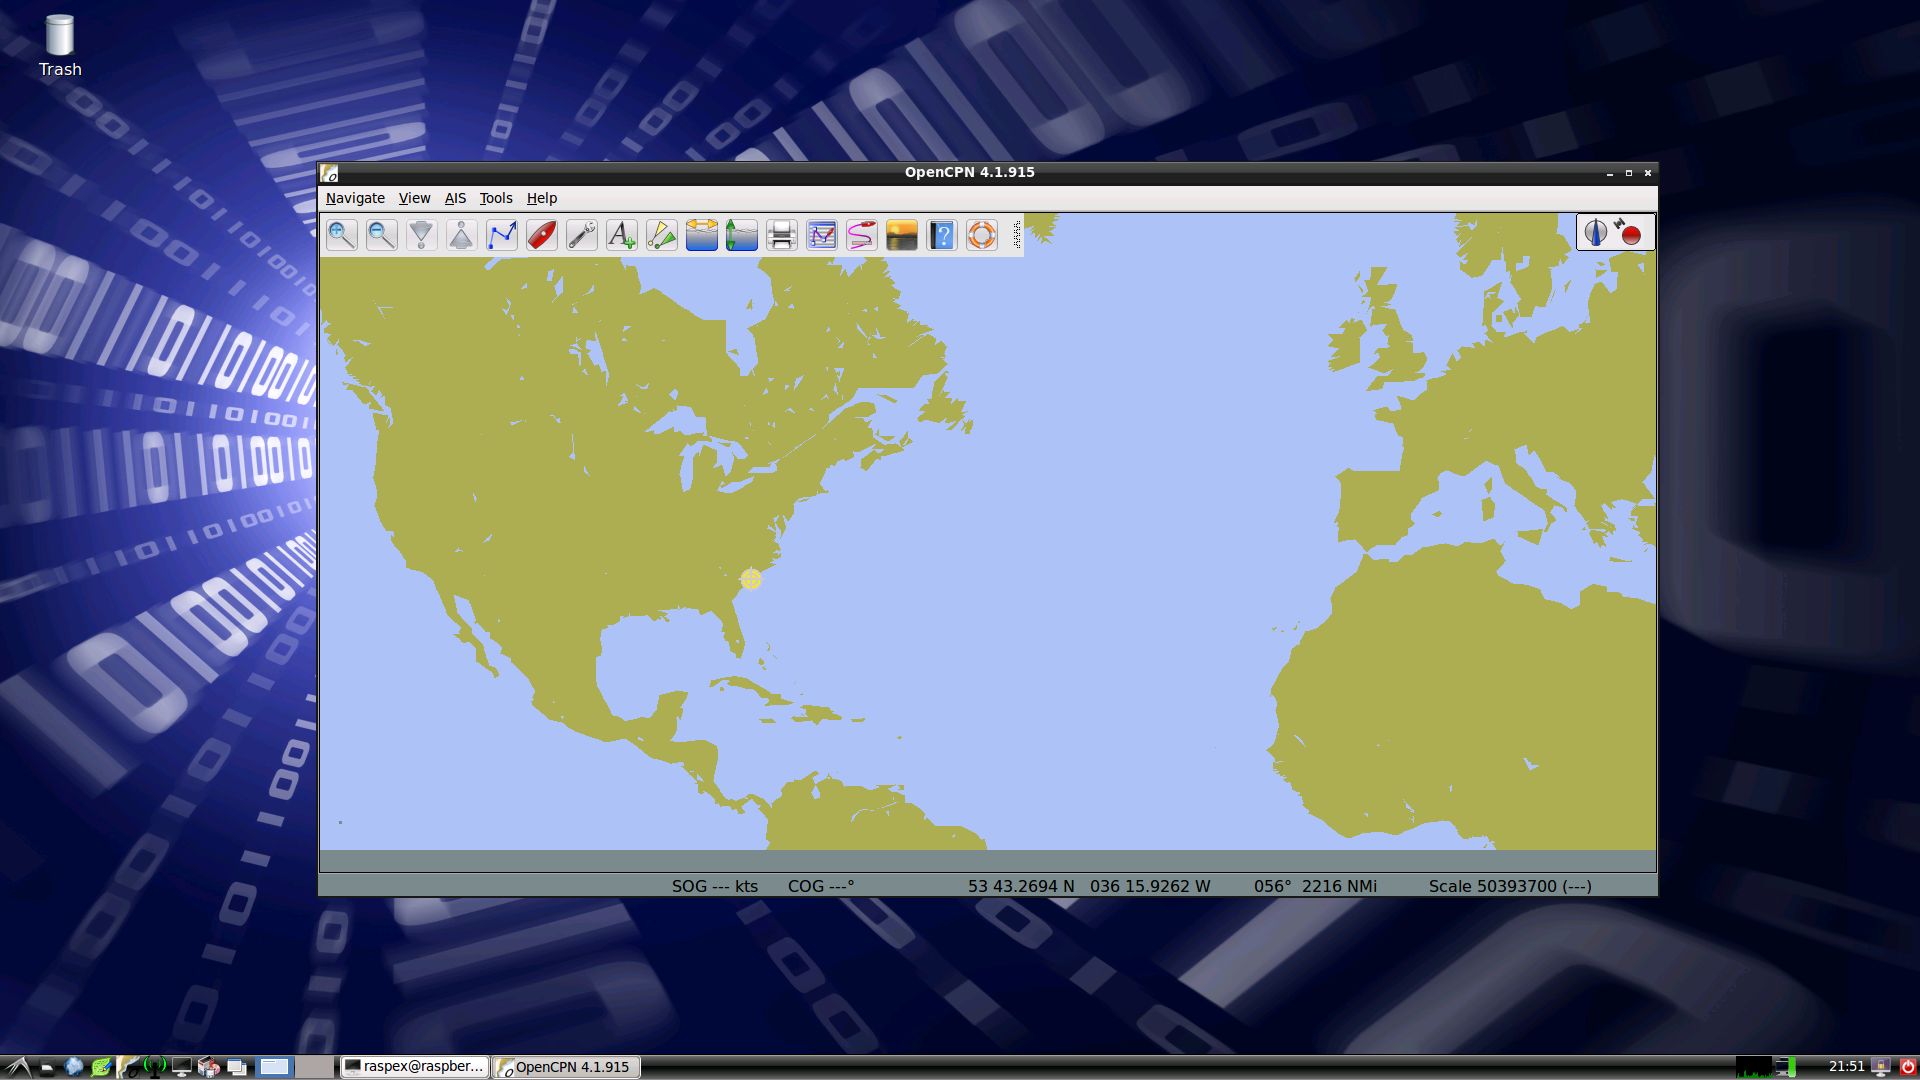
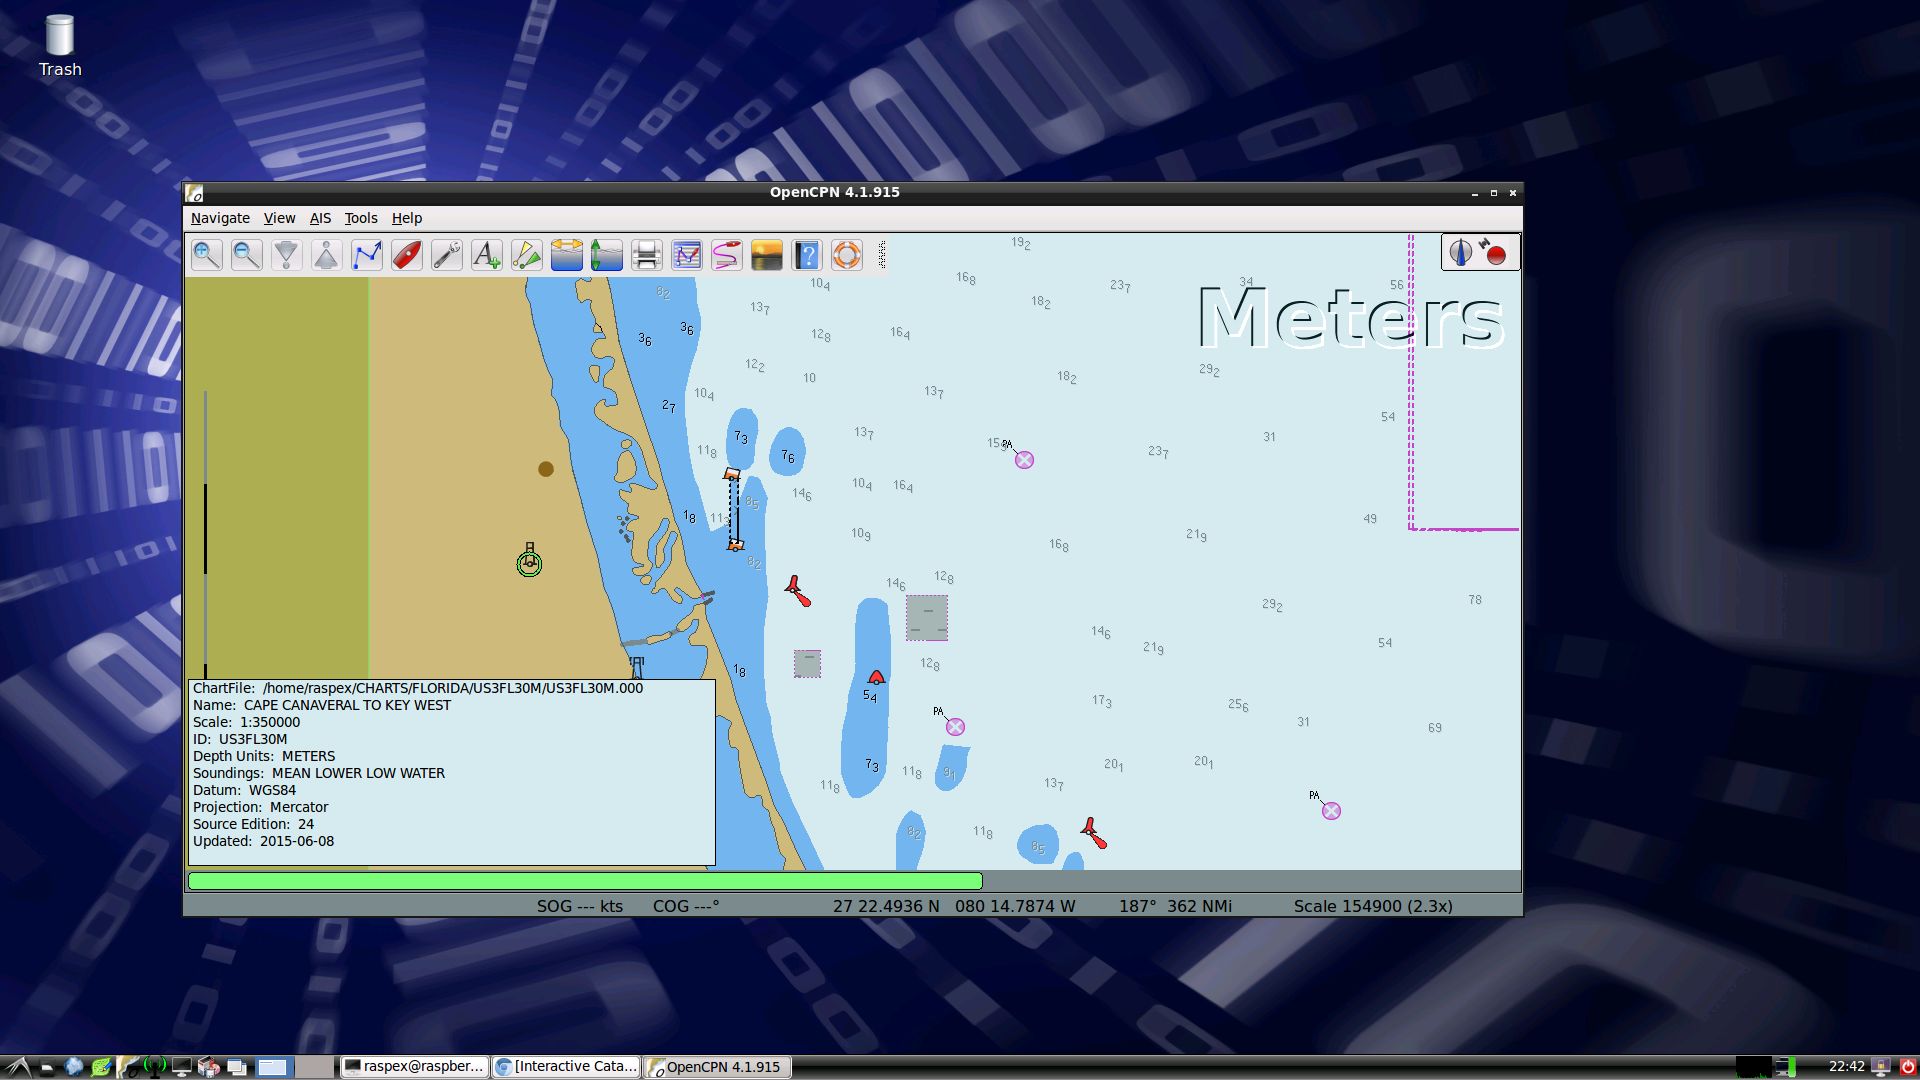
SCREENSHOTS
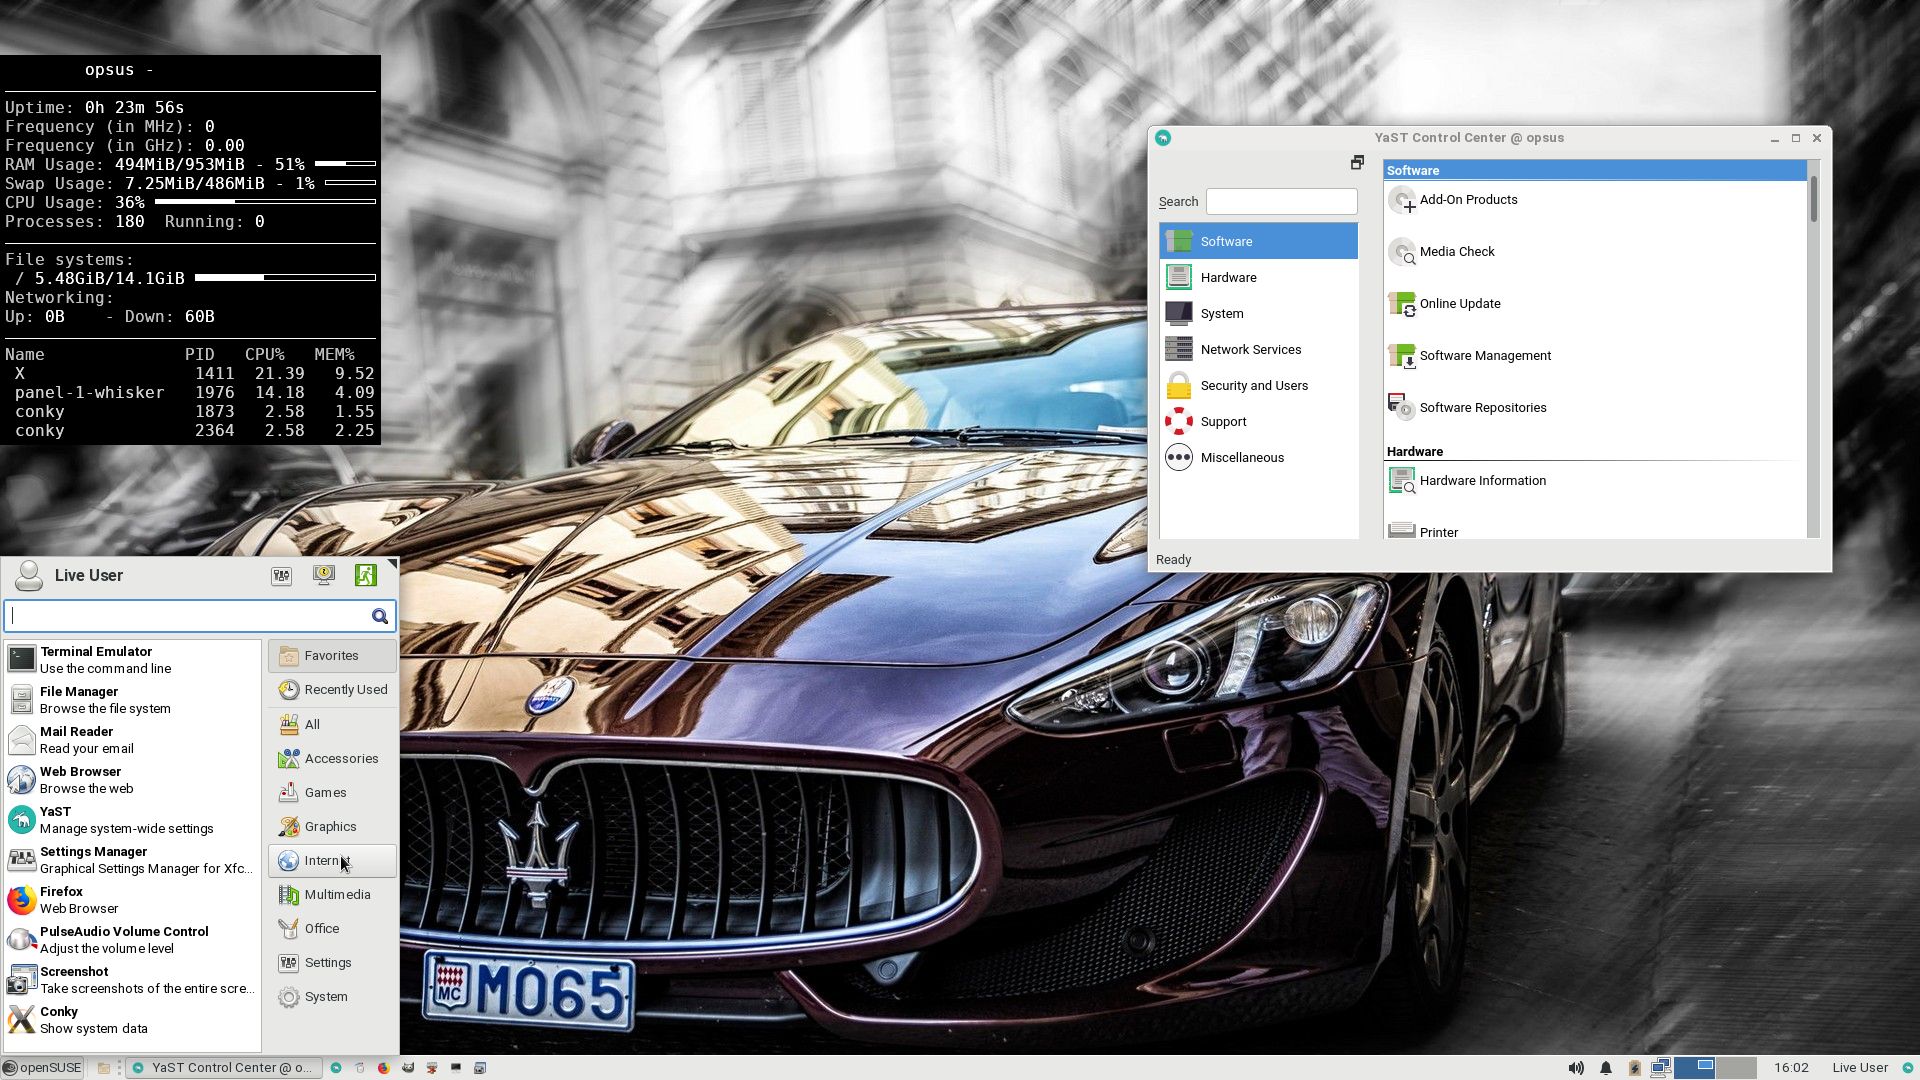
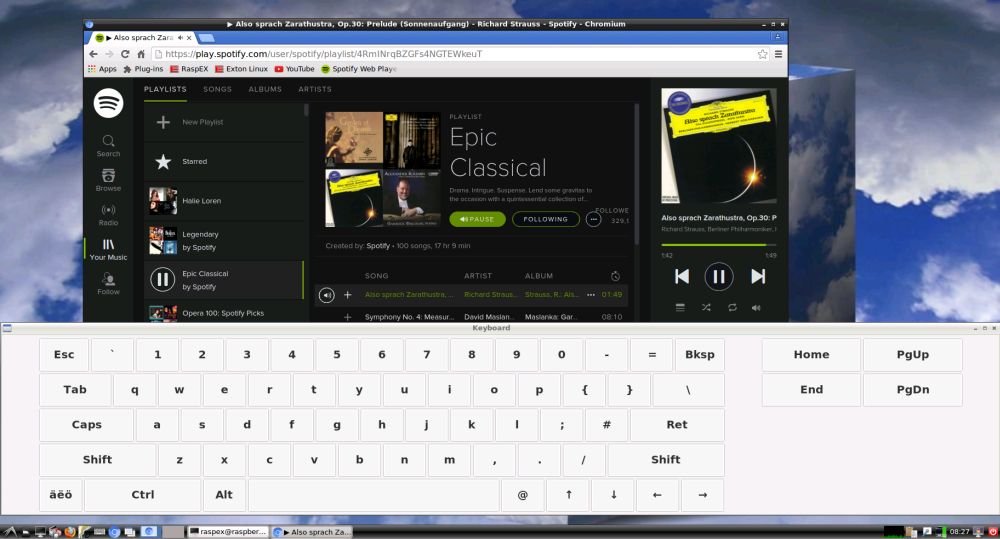
1. RaspEX version 181120 running OpenCPN as the ordinary user raspex
2. RaspEX version 181120 running OpenCPN as root
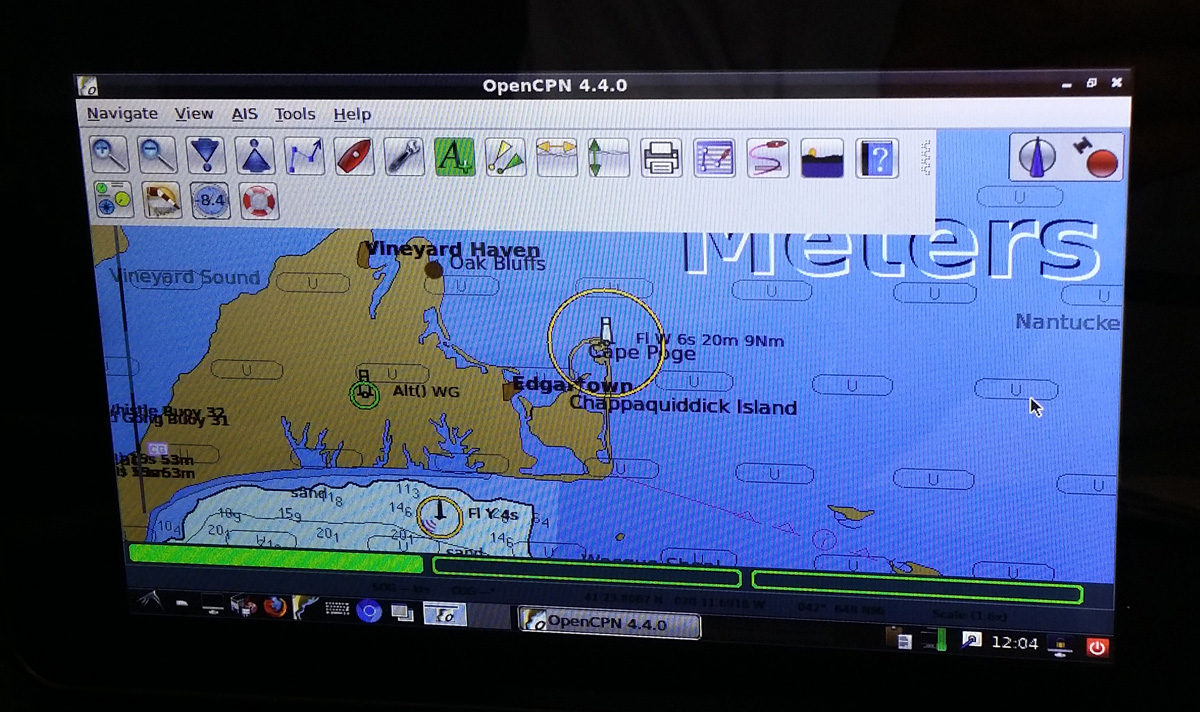
3. OpenCPN 4.4.0 running on the 7″ Touchscreen Monitor for Raspberry Pi (old version OpenCPN)
4. OpenCPN 4.4.0 – Boston (old version OpenCPN)
5. OpenCPN World Map (old version of OpenCPN)
6. OpenCPN Florida – Cape Canaveral (old version of OpenCPN)
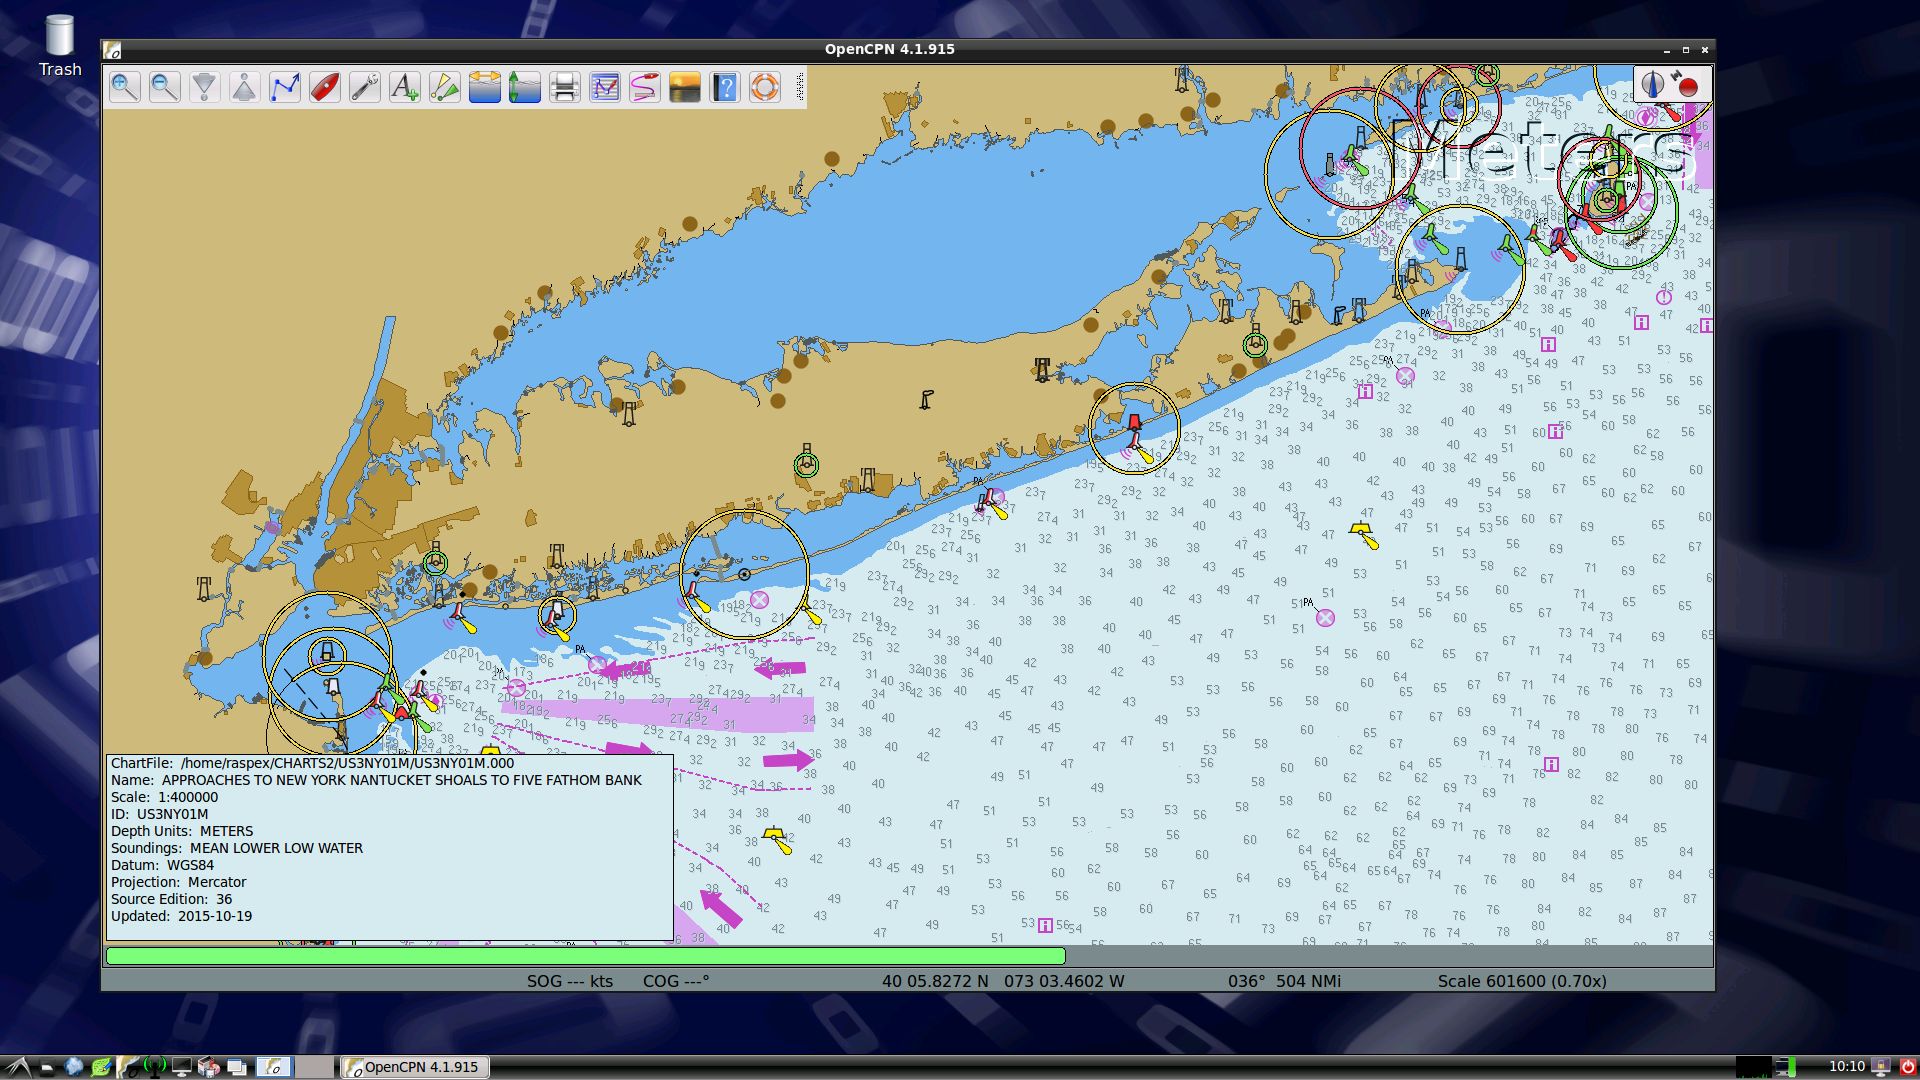
7. OpenCPN New York – Approaches to New York (old version of OpenCPN)
8. OpenCPN Stockholm Archipelago (old version of OpenCPN)
Compatibility :: August 2019
Unfortunately not all systems made for Raspberry Pi 3 and 2 will run on the new Raspberry Pi 4 computer. They need to be upgraded with a new kernel. I therefore have to upgrade the systems I distribute. I.e. RaspEX, RaspEX with OpenCPN, RaspEX BunsenLabs, RaspEX Kodi, RaspAnd Marshmallow, RaspAnd Nougat 7.1.2, RaspAnd Oreo 8.1, RaspAnd Pie, EXTON OpSuS Rpi, FedEX Rpi3 and RaspArch. I have until now (190807) only upgraded RaspEX, RaspEX Kodi, RaspArch and RaspEX with OpenCPN. Read about the new Raspberry Pi 4.
DOWNLOAD
This build of RaspEX OpenCPN has been replaced by Build 190812…
Raspberry Pi is a trademark of Raspberry Pi Foundation
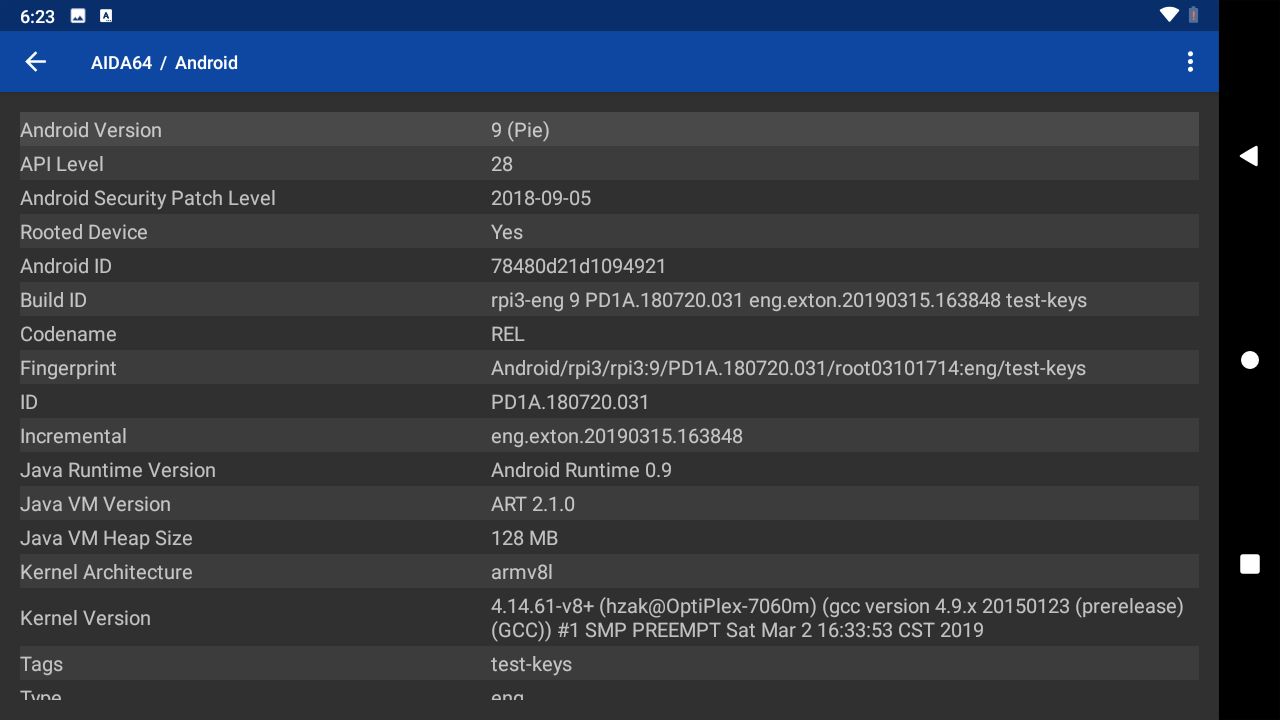
 Read about my Android-x86 Systems – Pie, Oreo, Nougat, Marshmallow, Lollipop and KitKat at andex.exton.net – latest is AndEX Pie 9.0 (without GAPPS) and AndEX Oreo 8.1 (with GAPPS)!and about my Pie, Oreo, Nougat, Marshmallow and Lollipop versions for Raspberry Pi 3/2 at
raspex.exton.se – latest is RaspAnd Pie 9.0 (without GAPPS) and RaspAnd Oreo 8.1 (with GAPPS)!
 ABOUT RaspAnd Pie 9 – a new extra build 190429


