 ABOUT RaspAnd 14 – Build 240625 – with GAPPS
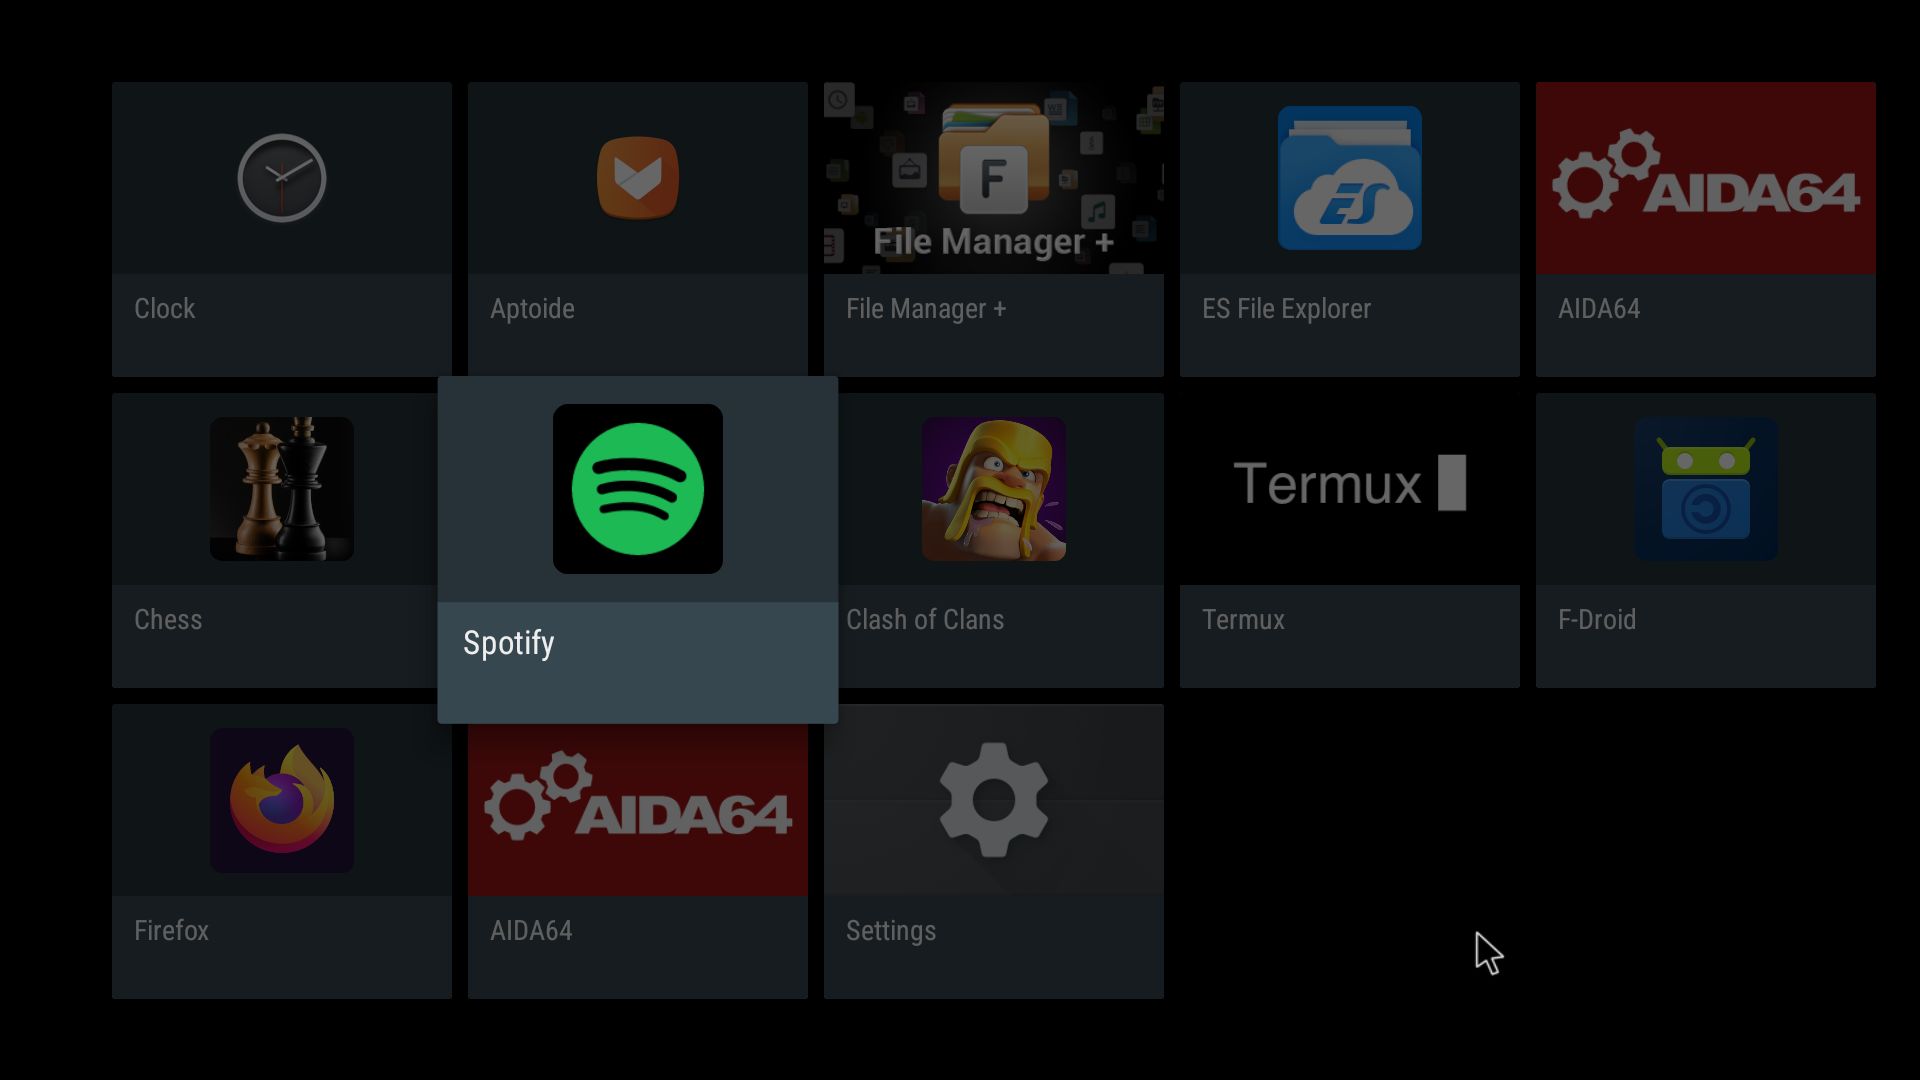
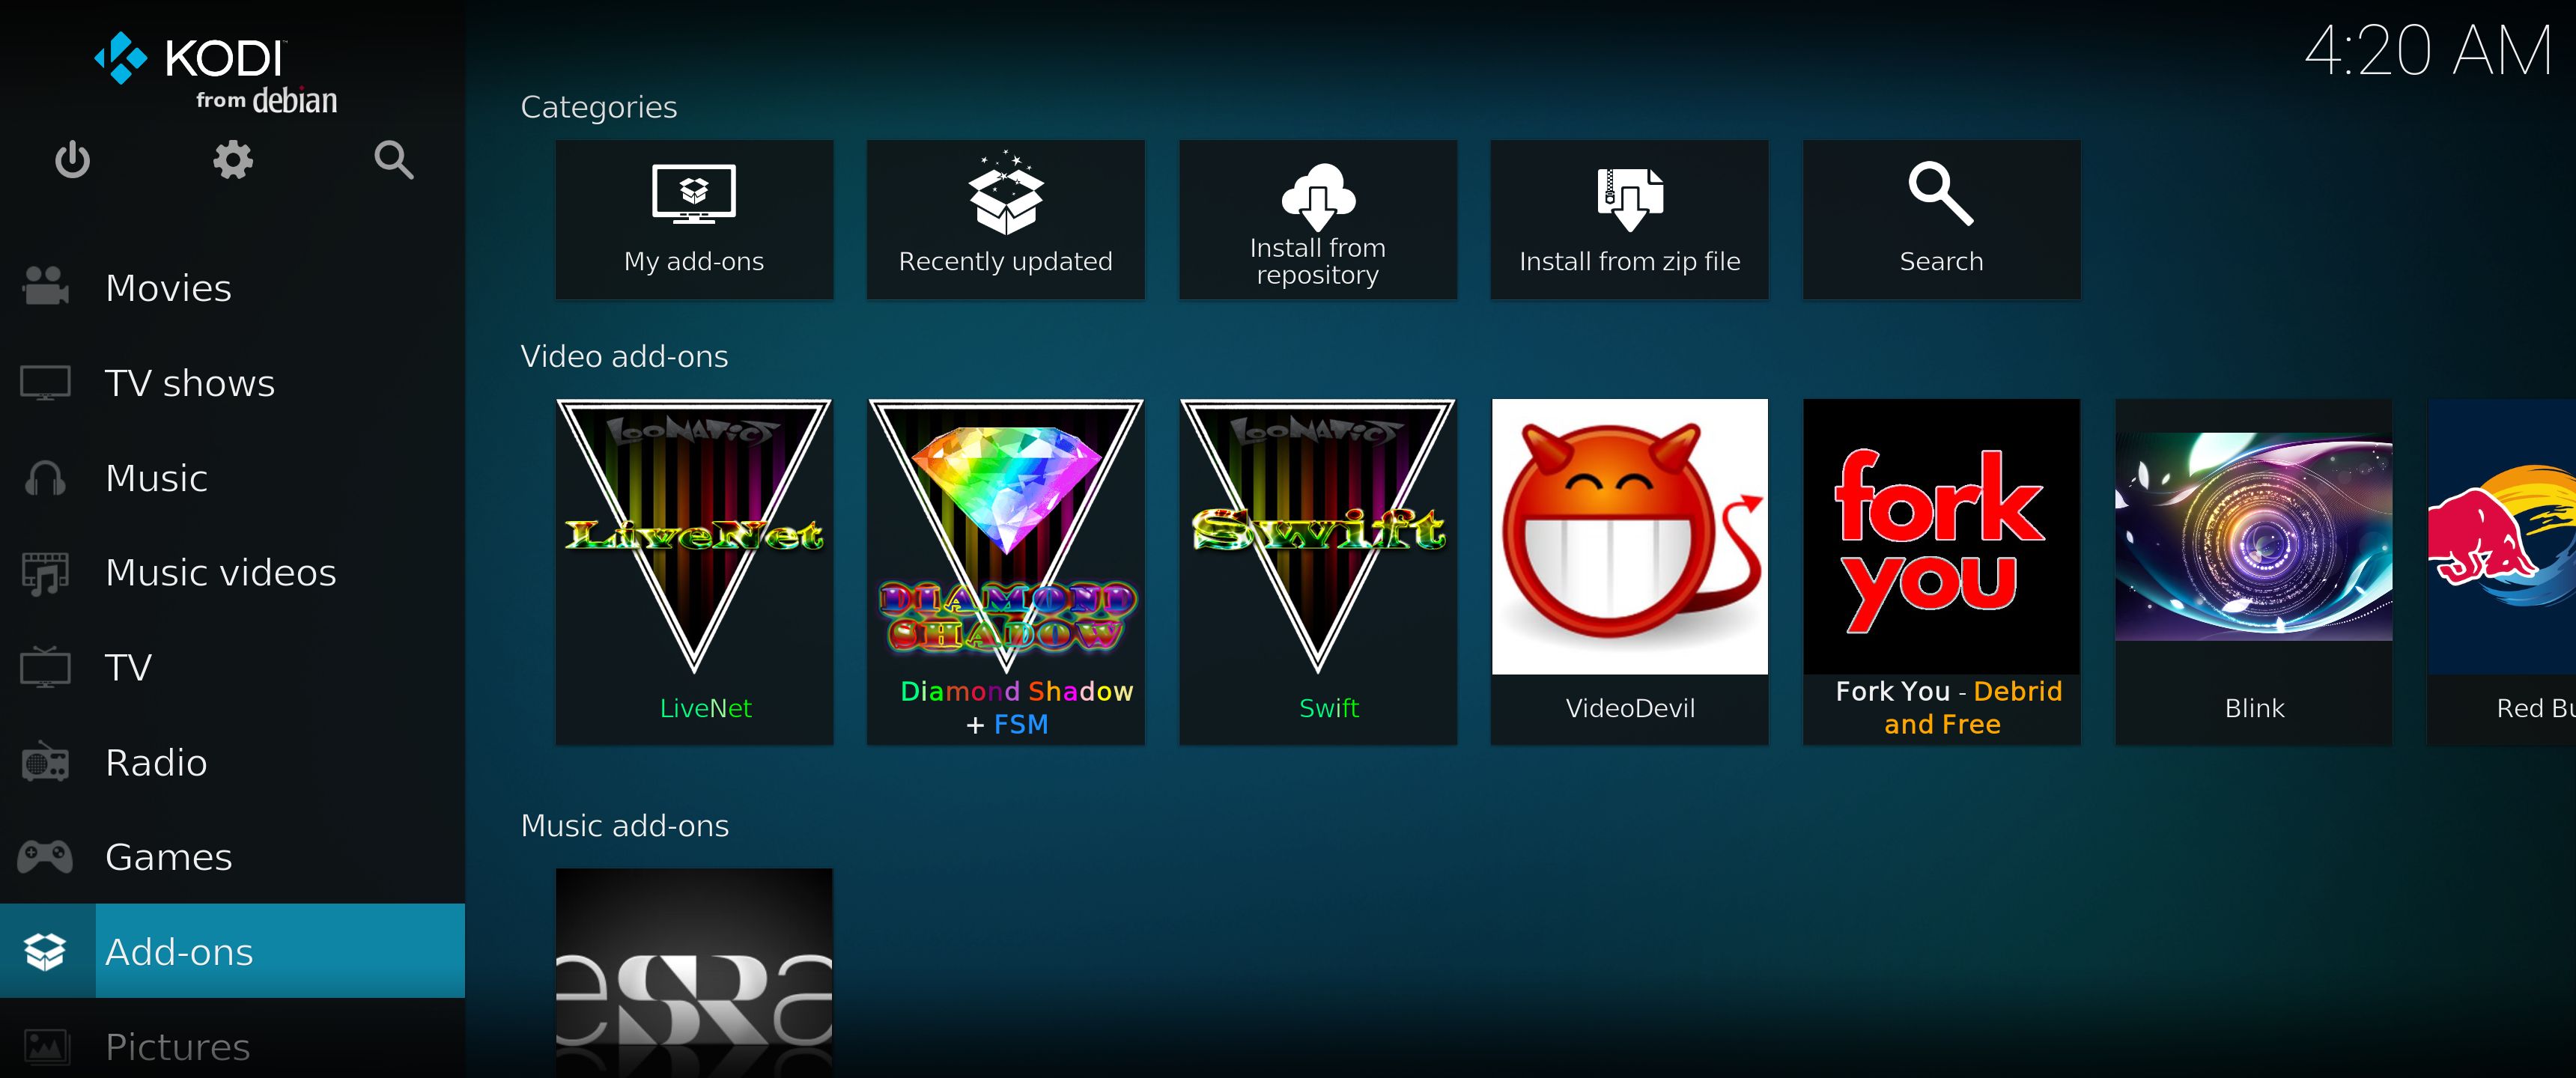
RaspAnd 14 runs very well on a Raspberry Pi 5. I.e. the system is pretty responsive if you use a micro SD card of good quality. RaspAnd 14 has the following apps pre-installed: GAPPS (Google Play Store and other Google apps), Spotify, Aptoide App Store, Microsoft Launcher and Aida64.
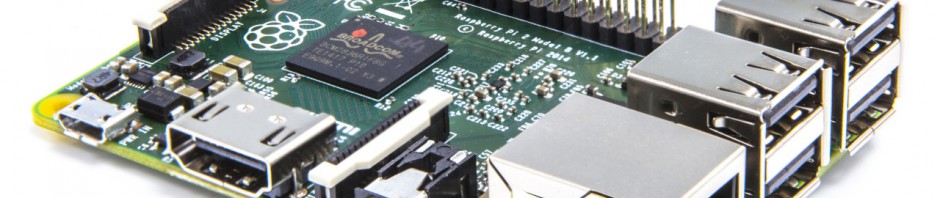
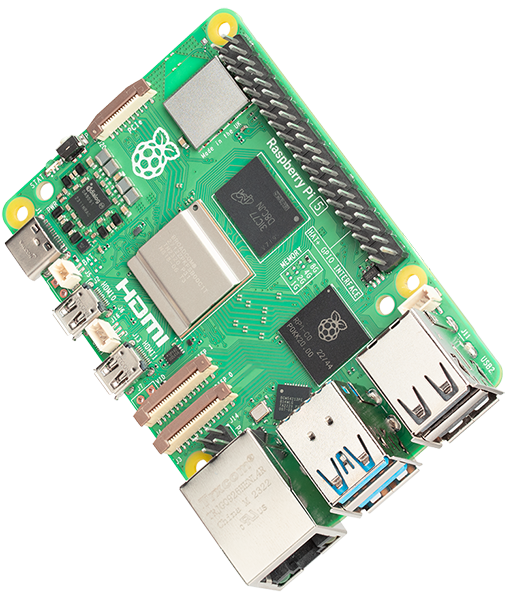
RASPBERRY Pi 5
RaspAnd 14 is made especially for the new Raspberry Pi 5 released on October 23, 2023 (4GB and 8GB). You can’t run RaspAnd 14 on another Raspberry Pi model than Pi 5.
NOTE: A Raspberry Pi 5 is about twice as fast as the Raspberry Pi 4.
ABOUT Android 14, which was released 231004…
Read also an article about The Evolution of Android – List of Android Versions and Release Dates. As you can see Android 14 is the latest stable version of Android.
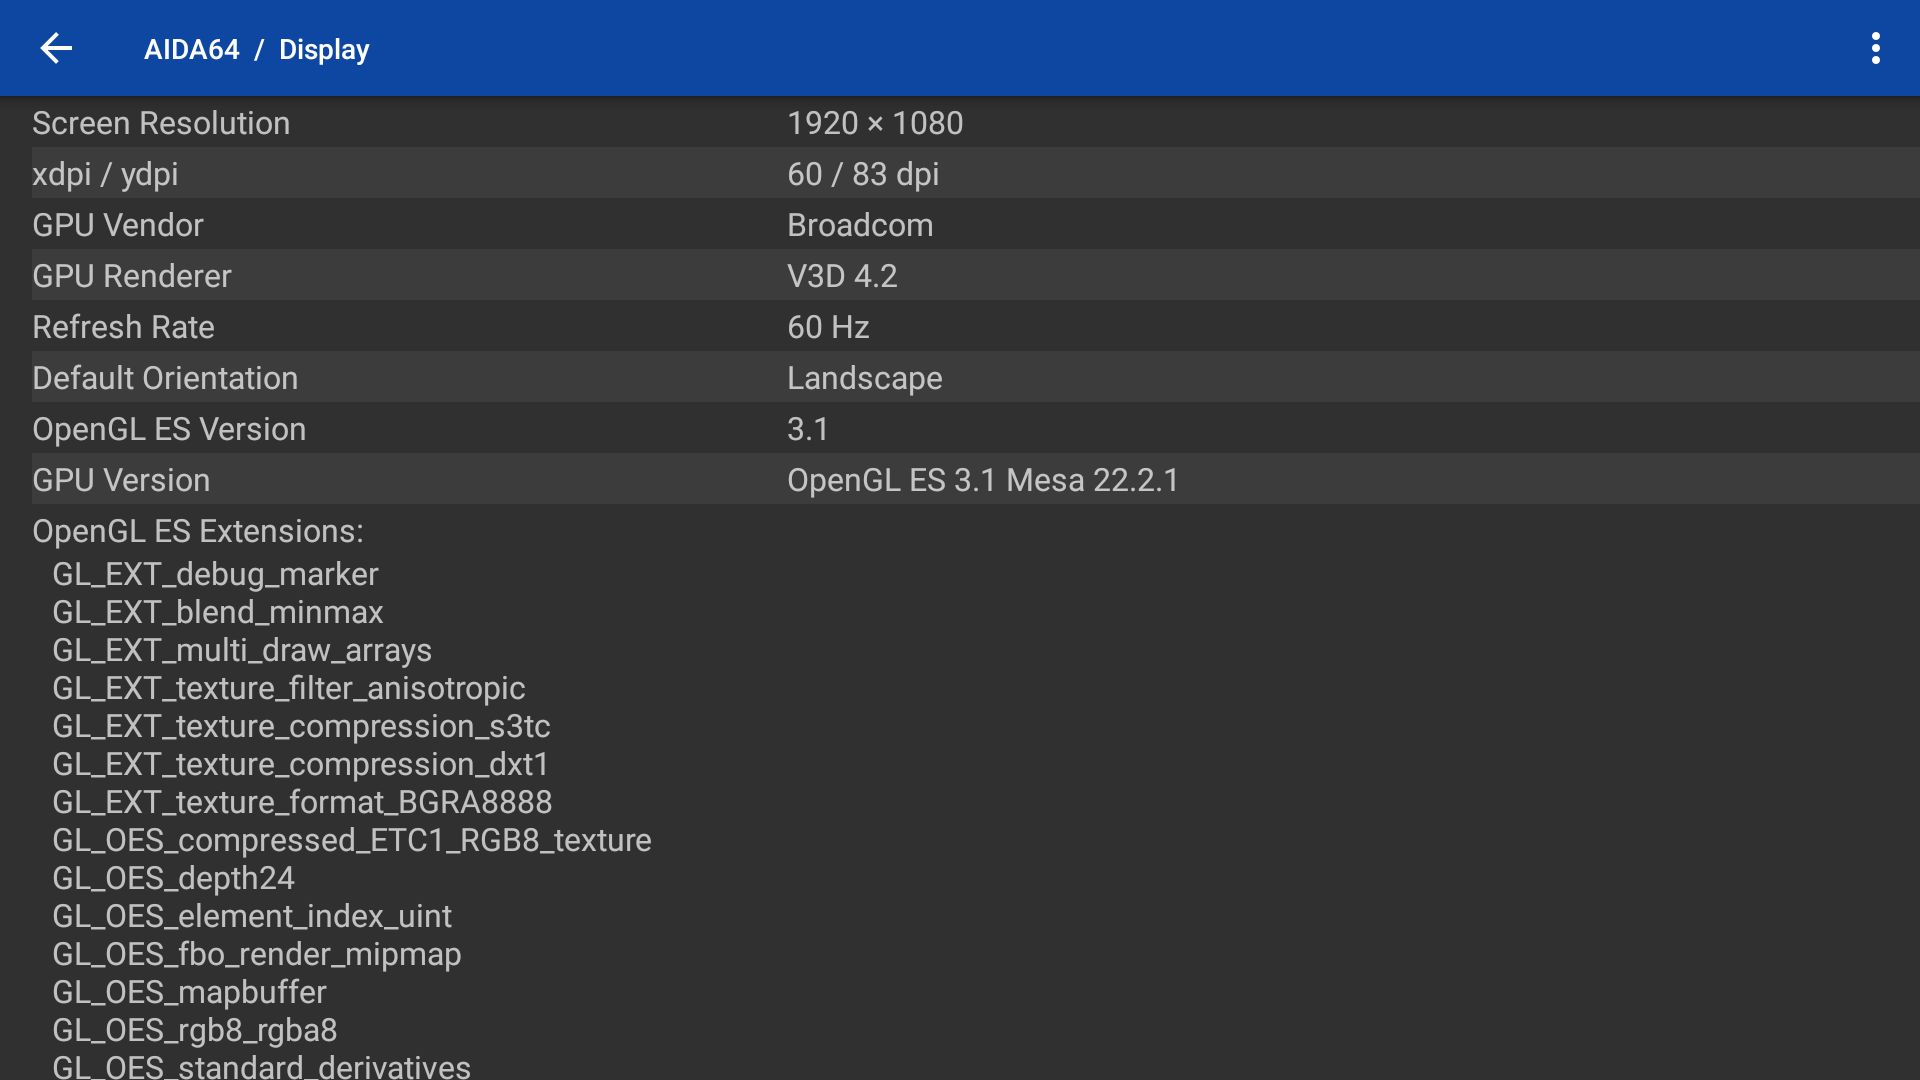
PLEASE NOTE that you must be aware of the fact that the Raspberry Pi 5 computer has its limitations and that Android 14 is a very advanced Linux system. Having said that I must also say that the apps I have included in this Build (see above) work very well. The max screen resolution is 1920×1080. I think.
NOTE also that you’ll have to register “your device” (i.e. your Rpi5) before you can log in to Google Play Store. Please read my instructions below about how to register so that your device will be Play Protect Certified.
About Raspberry Pi 5
This build (RaspAnd 14 240625) works very well on the new Raspberry Pi 5 . I used the latest model with 8GB RAM, but you can of course use the other models too.
Startup of RaspAnd 14 Build 240625
The first thing you will see on the screen is this boot animation.

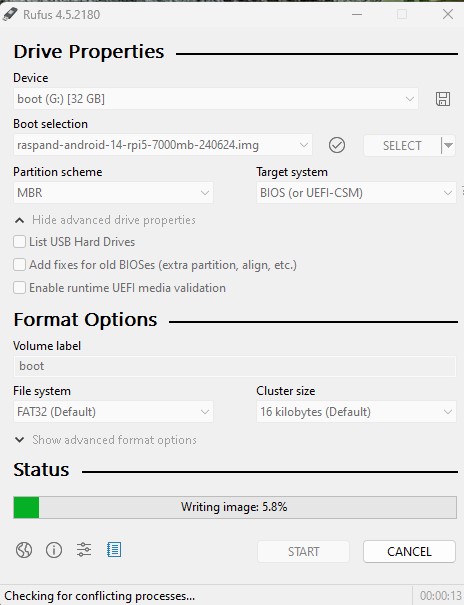
If you do not see this animation you haven’t installed RaspAnd correctly on the SD card. (Please use Rufus 4.5 in Windows for the installation to the SD Card).
Instructions about how to register so that your device will be Play Protect Certified
First things to do after booting RaspAnd 14:
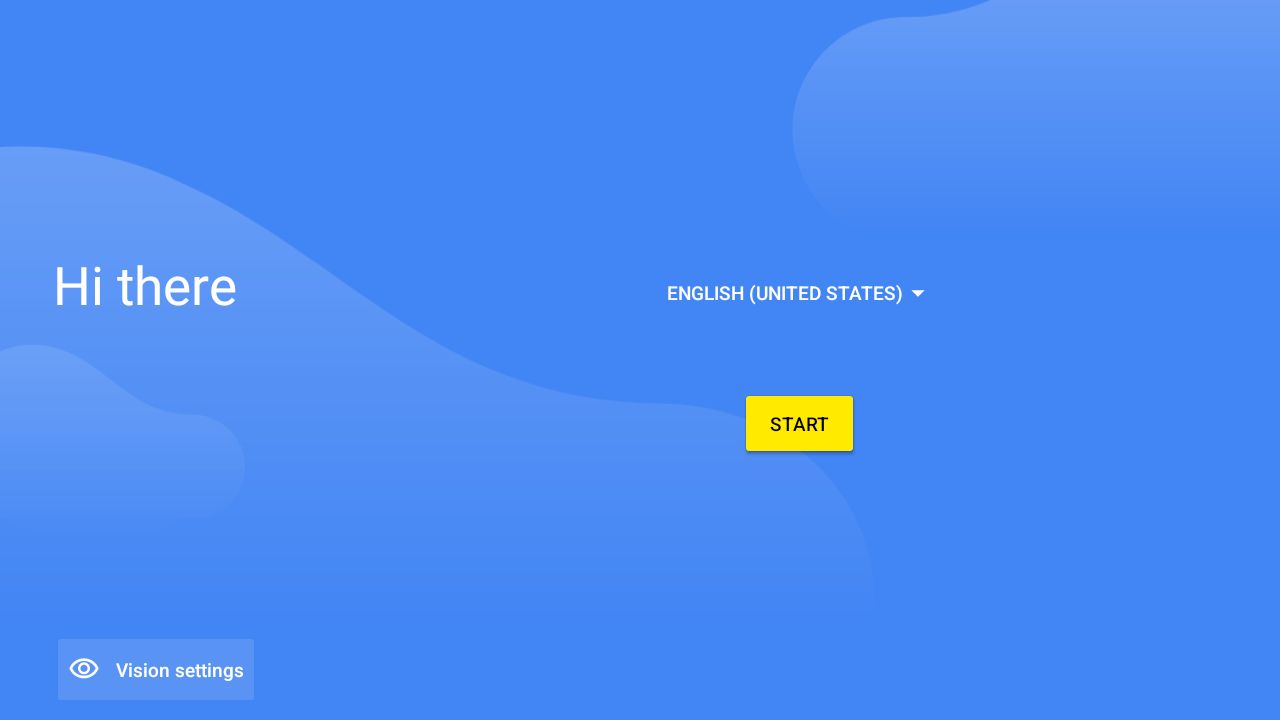
1. After a few seconds you will be asked to connect to your WiFi Network – screenshot 1
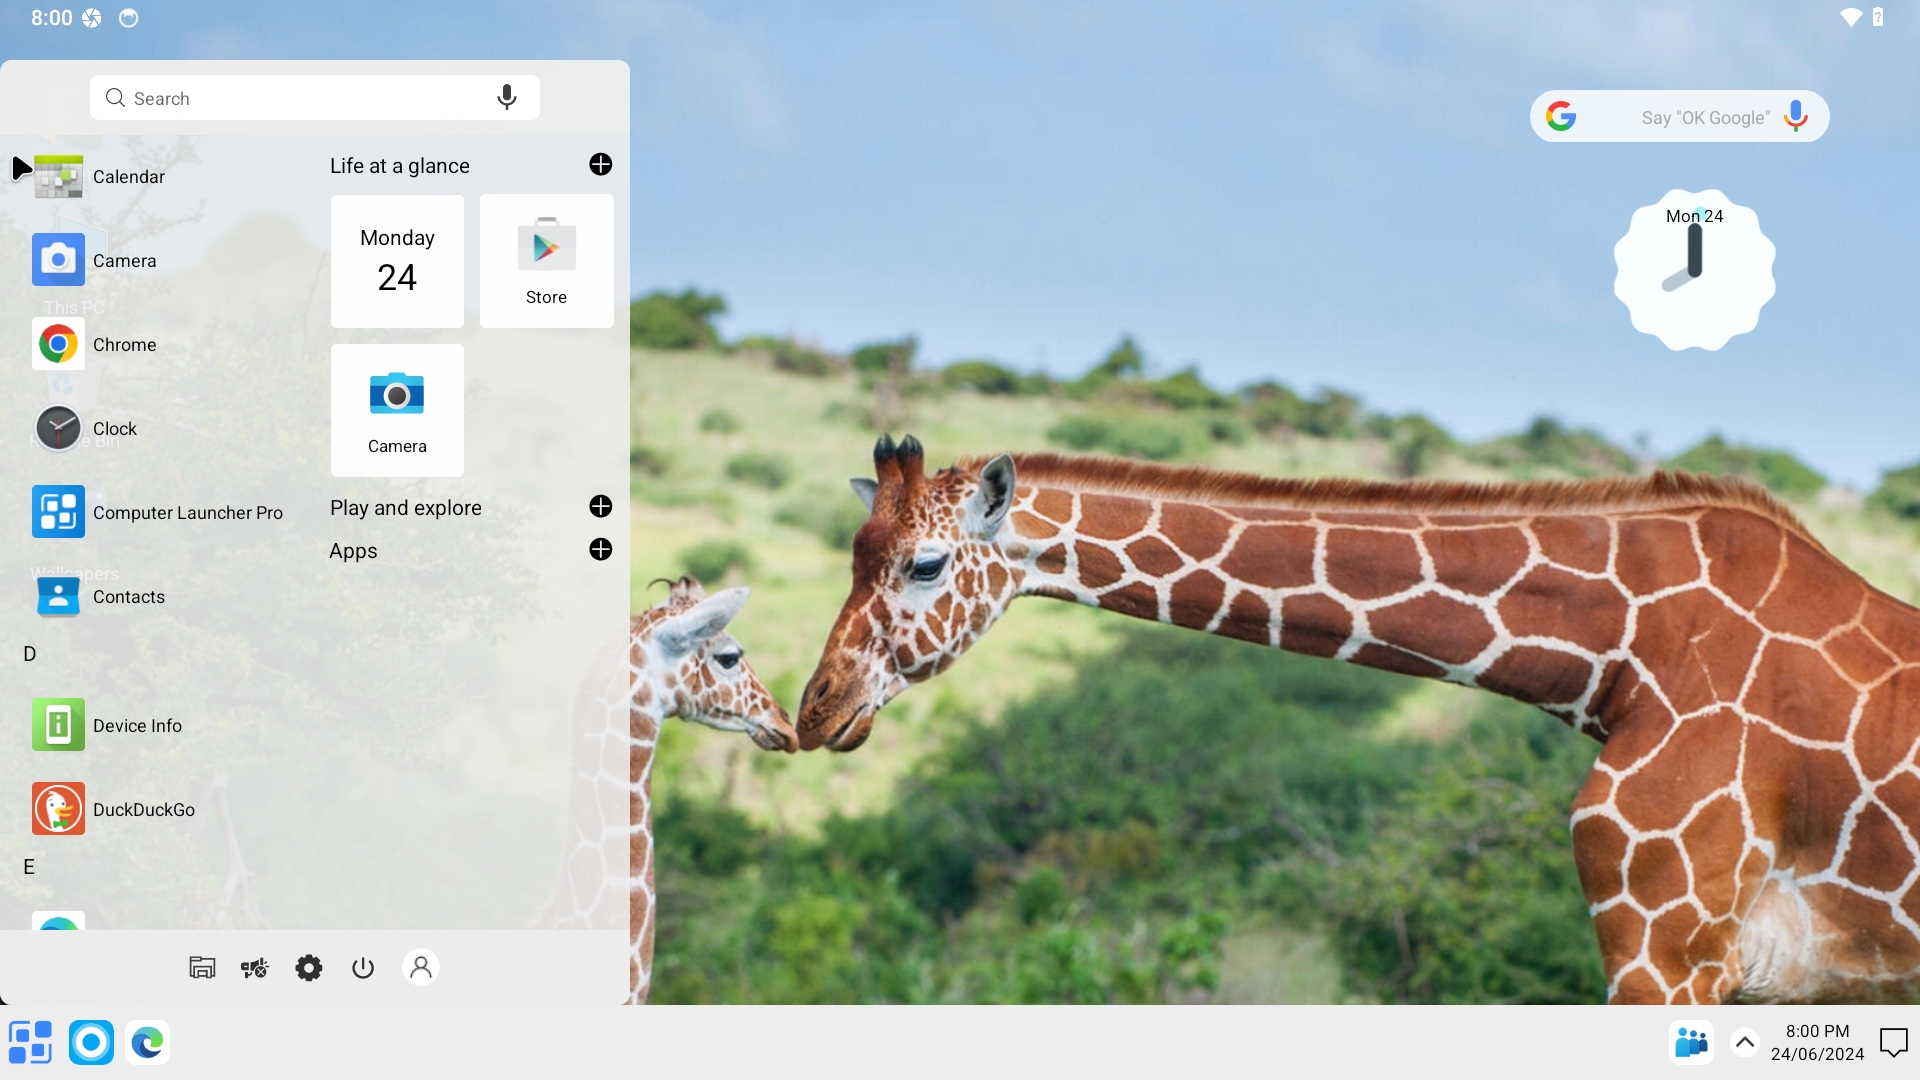
2. After answering a few questions you will reach the Desktop – screenshot 2
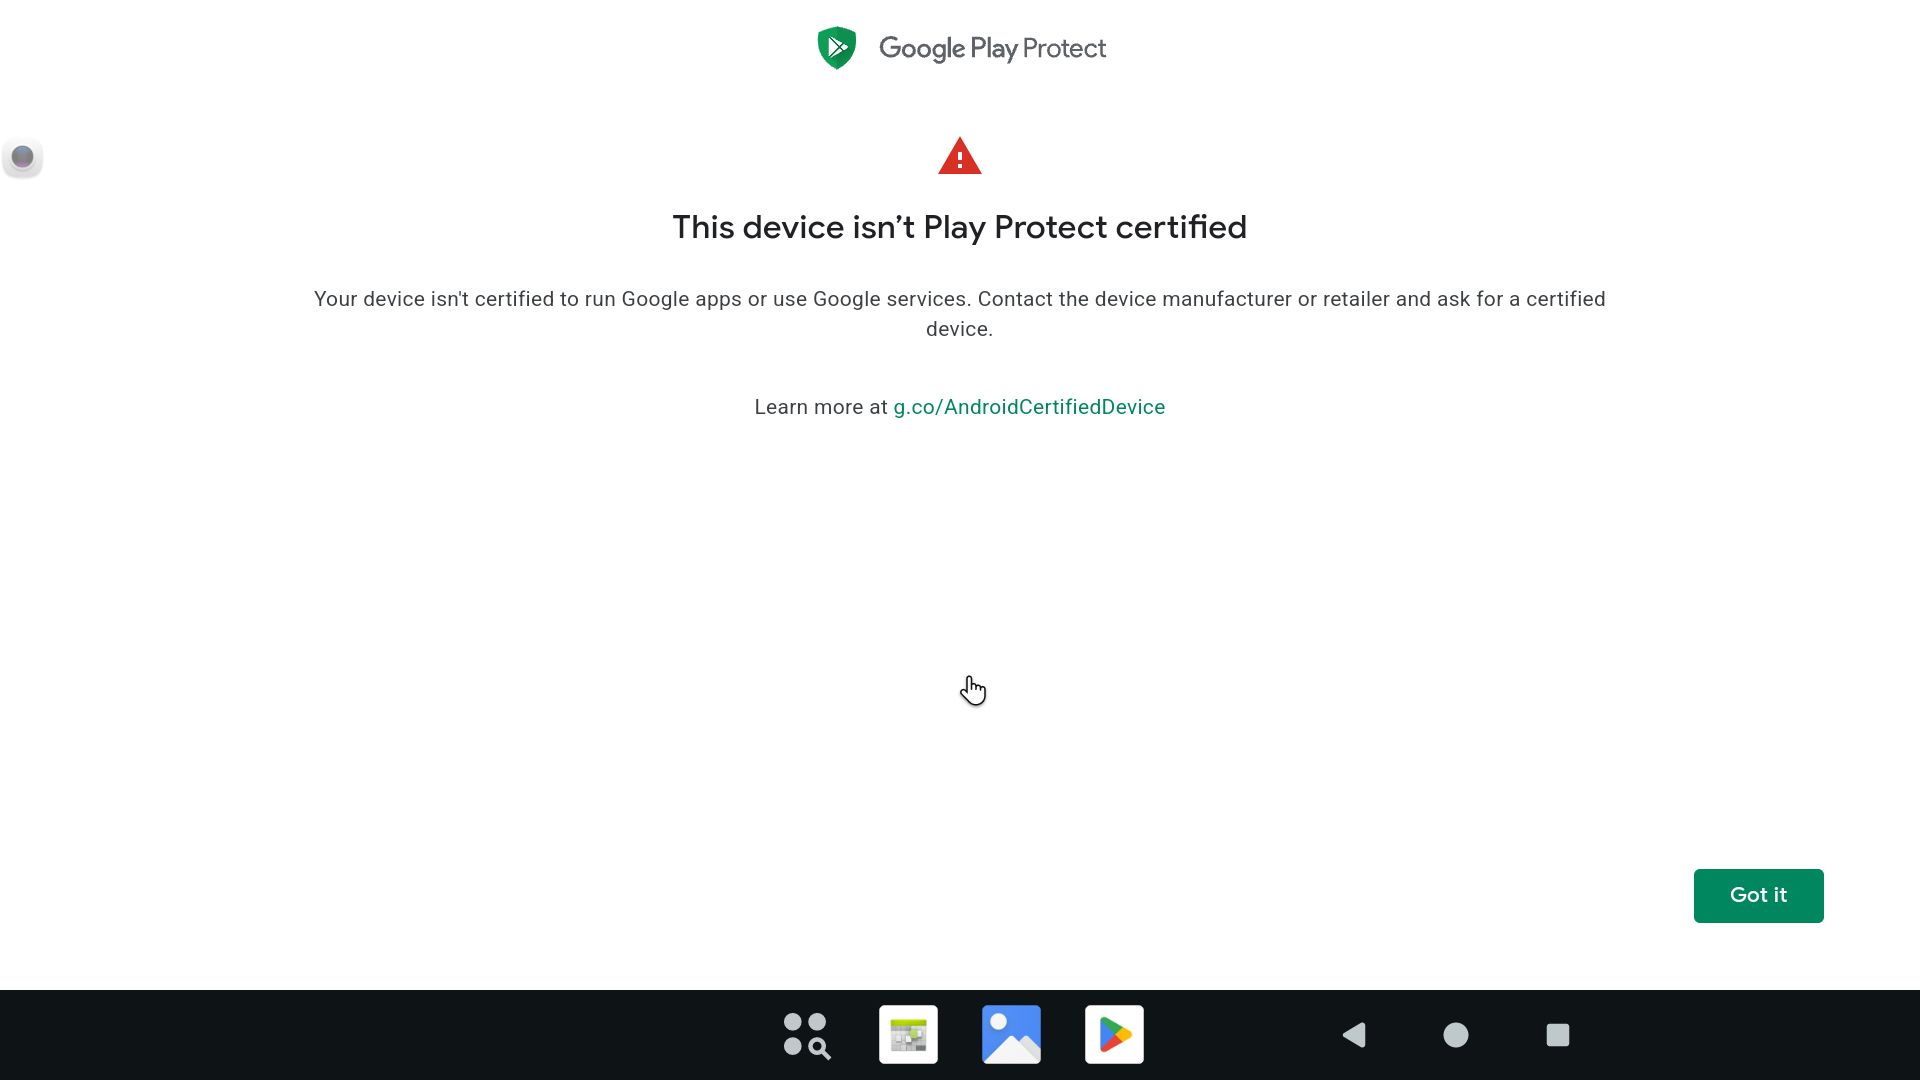
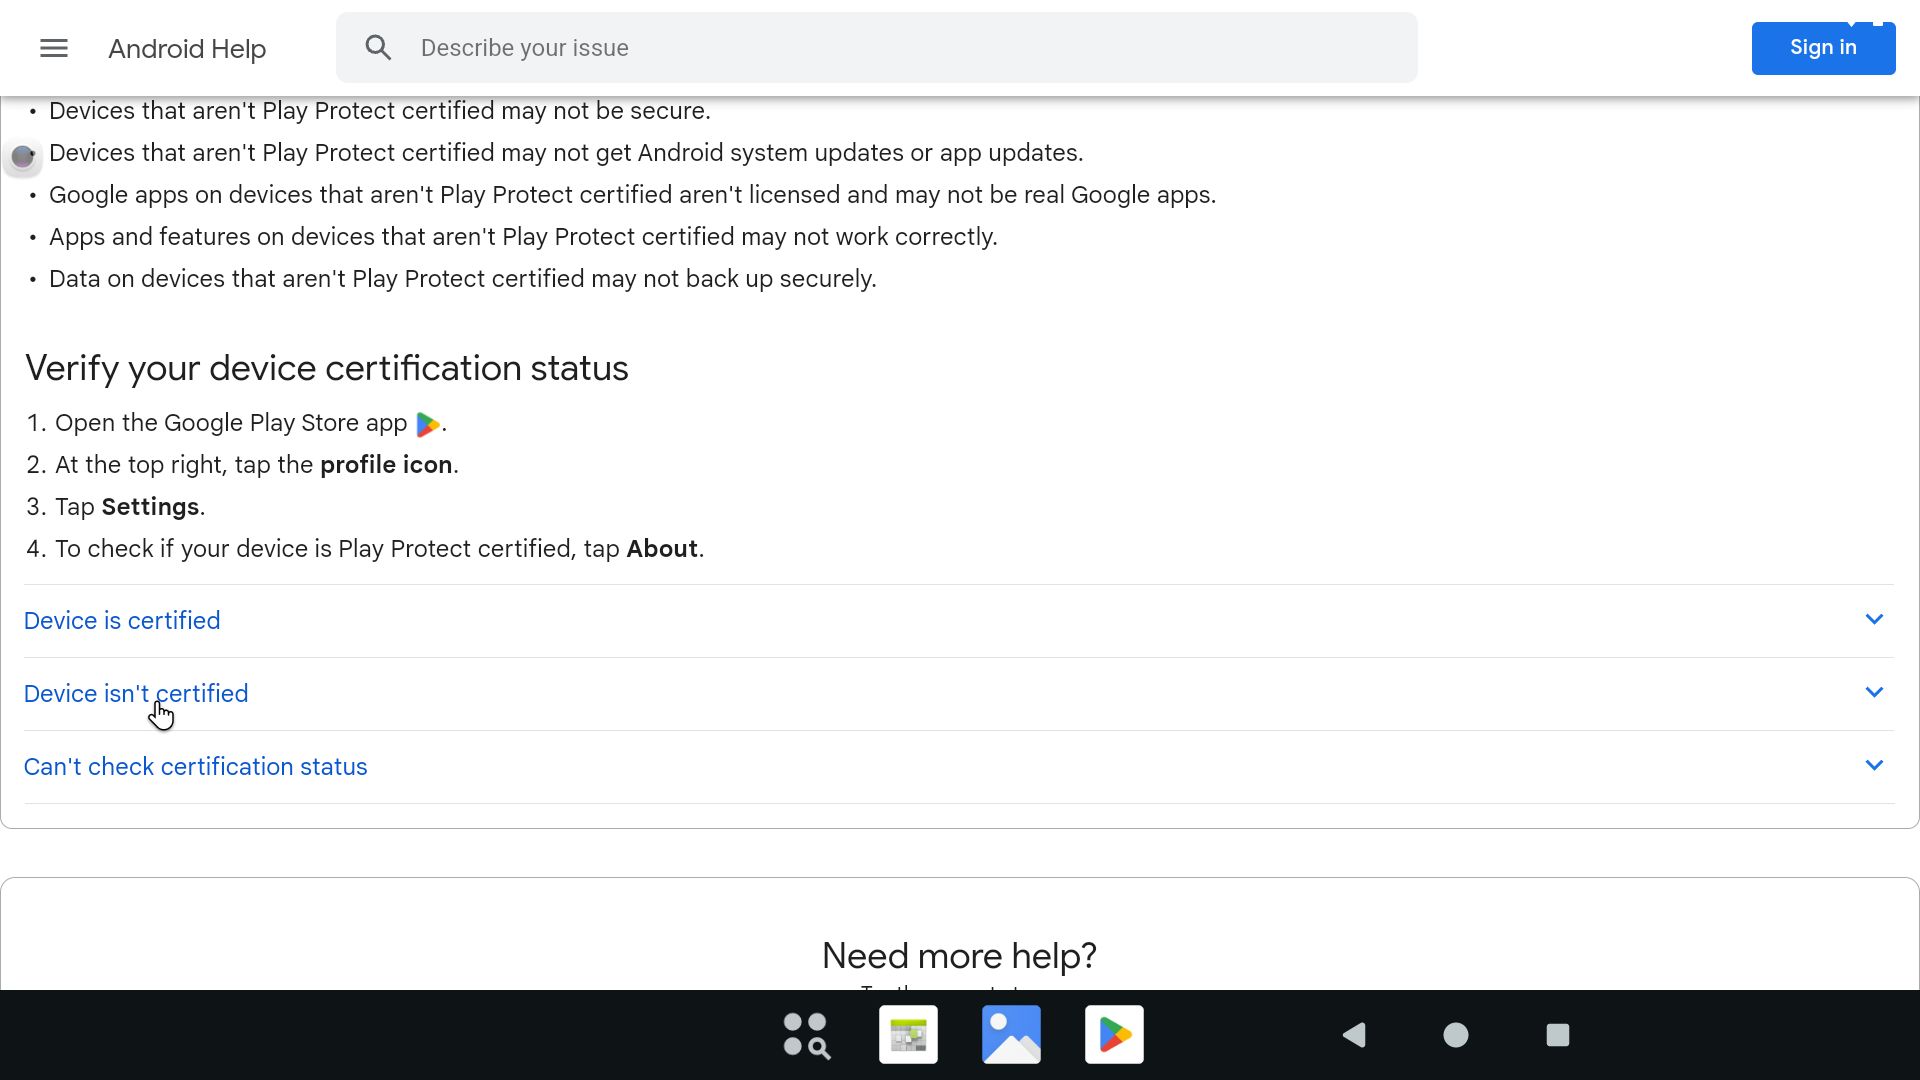
3. You will get a message saying that This device isn’t Play Protect certified. Google apps and services can’t run on this device when you try to log in to Google Play – screenshot 3
4. Now try to log in to Google Play – screenshot 4
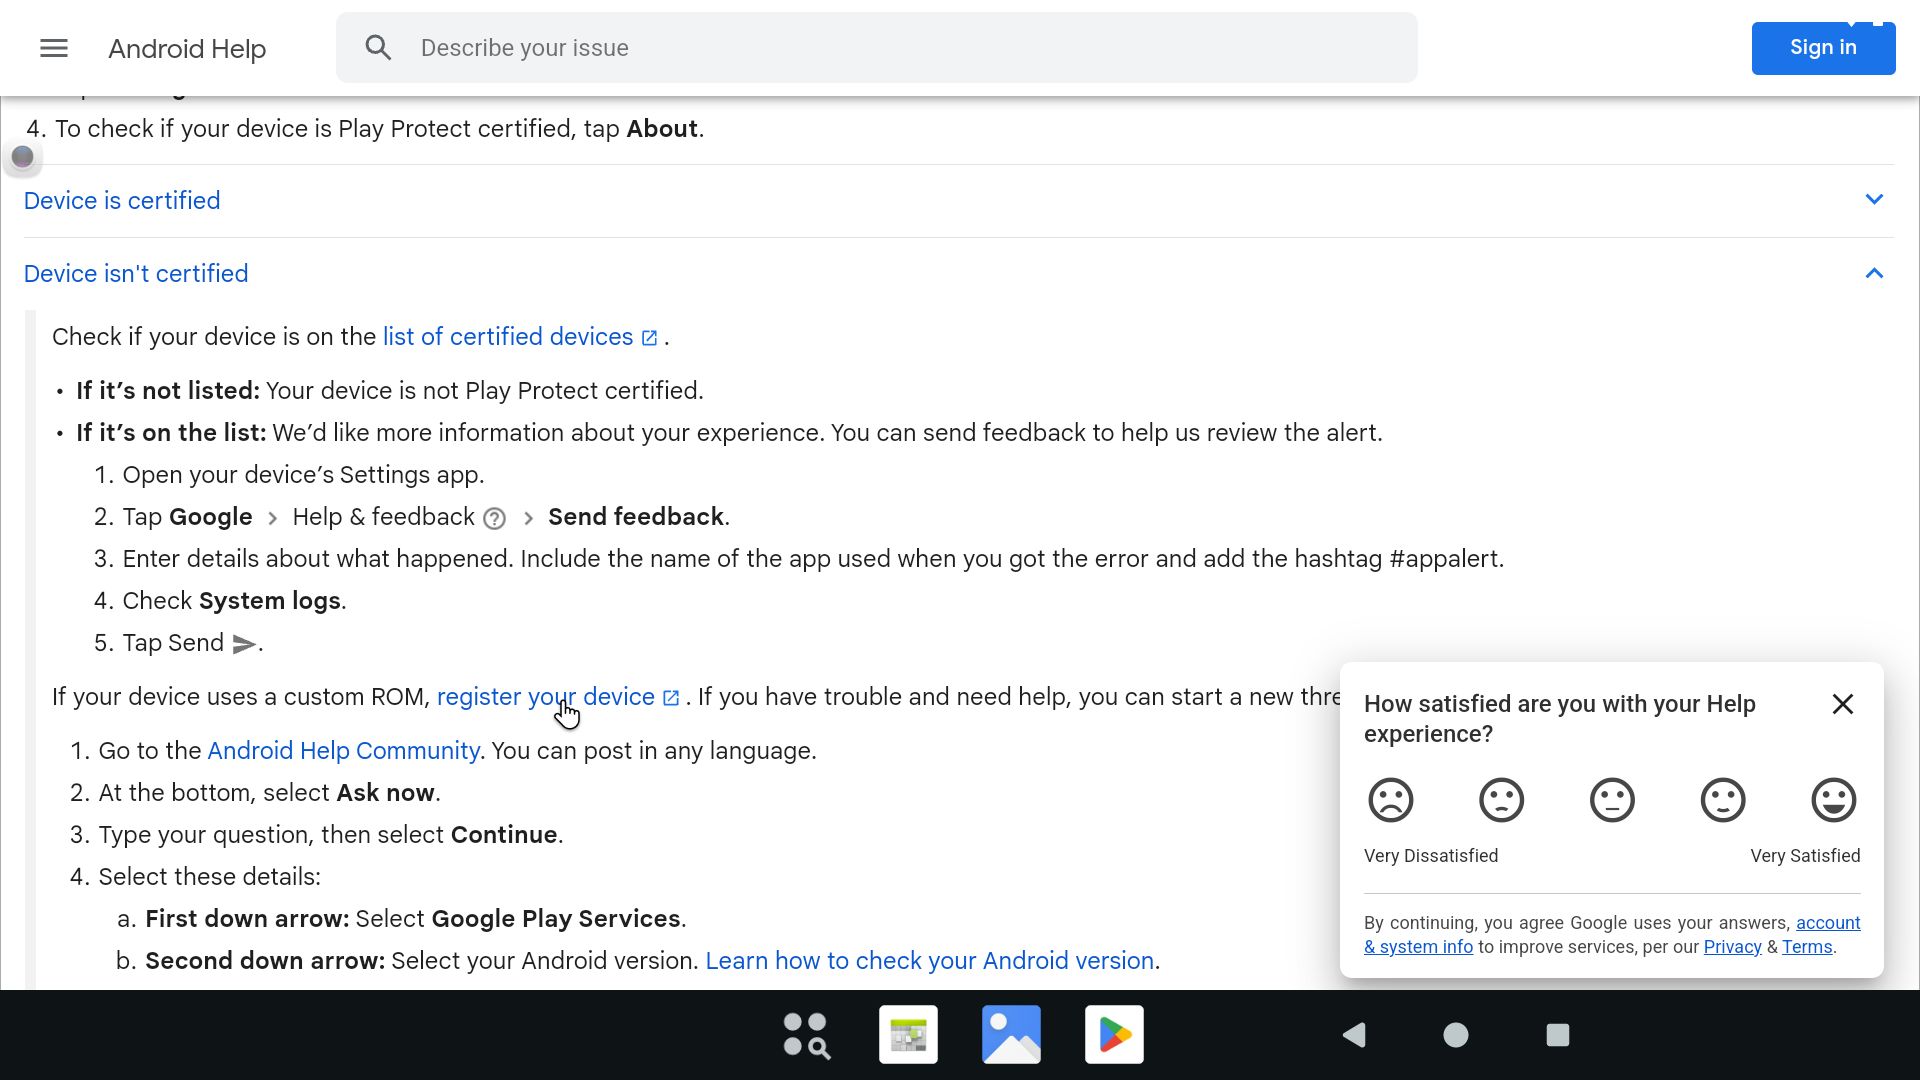
5. Your try will now give you a link to a site where you can fix the registration matter – screenshot 5
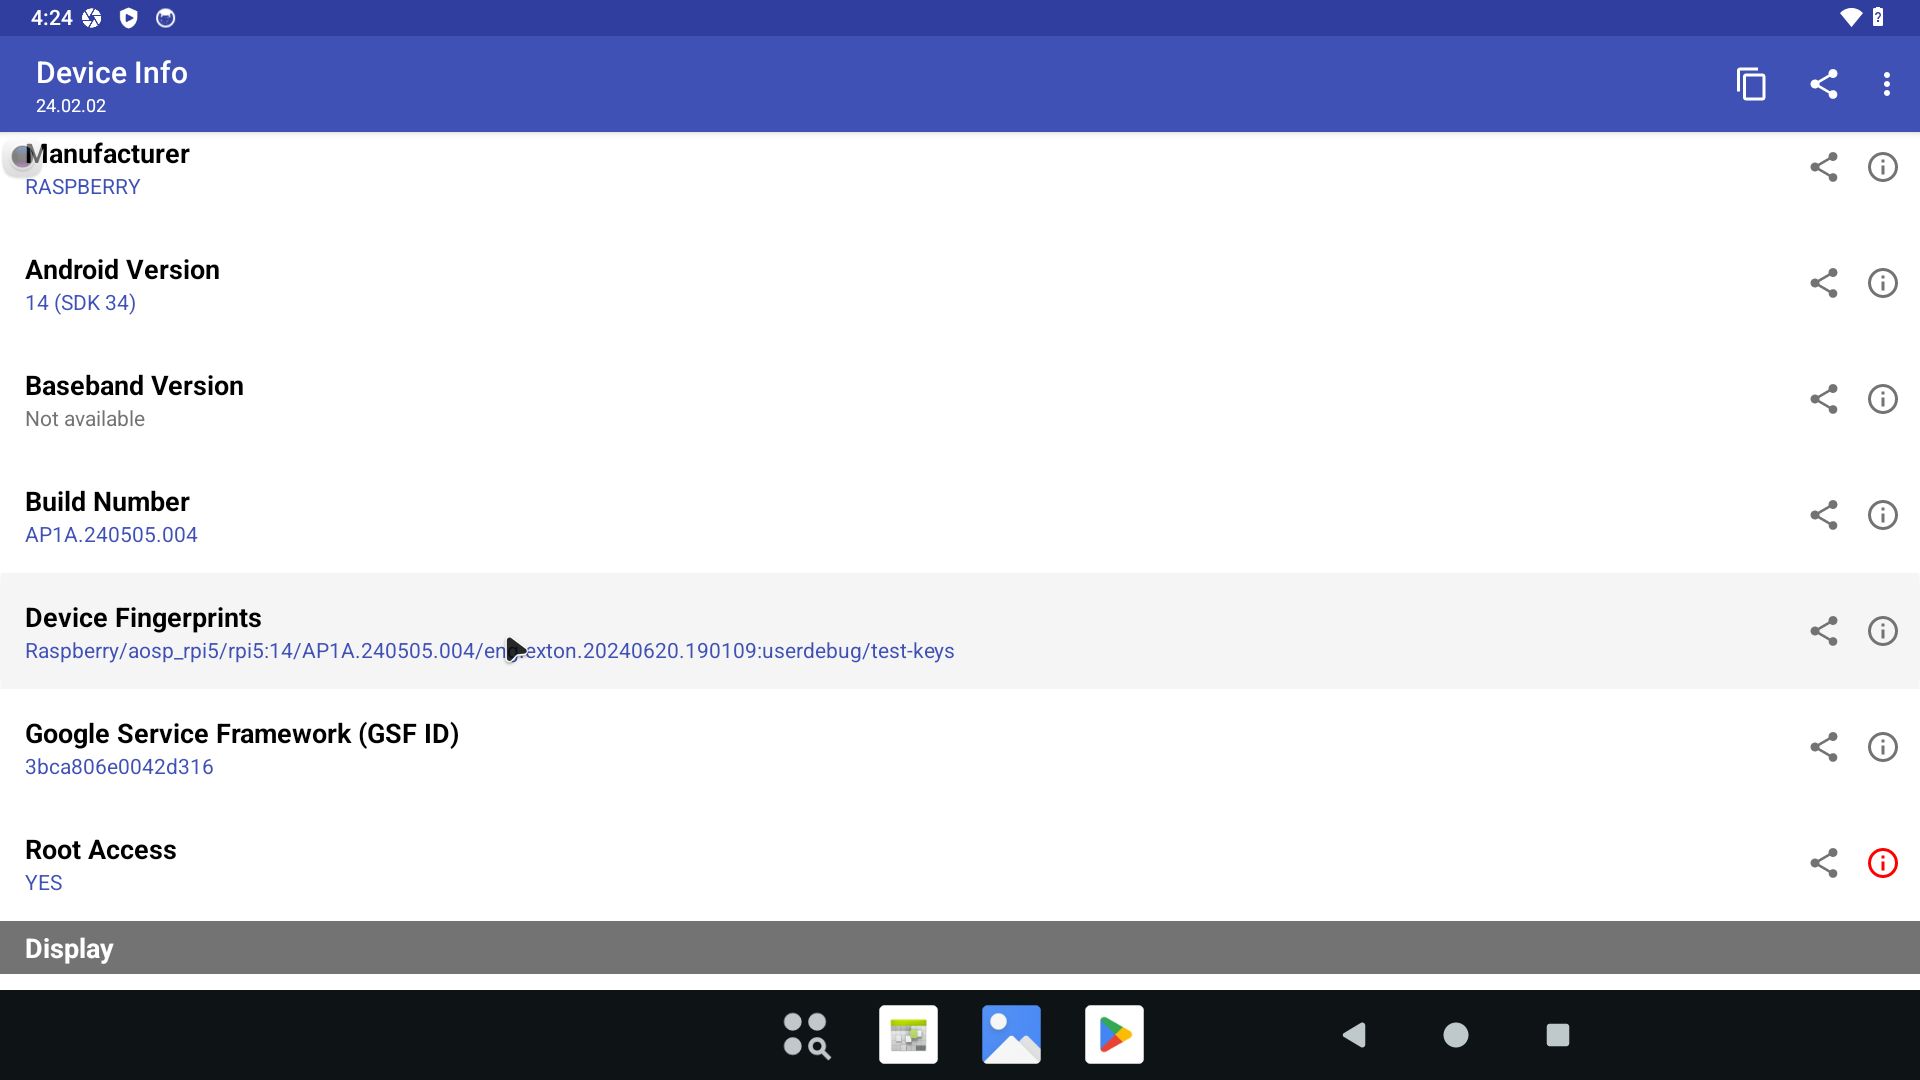
6. Now you shall start the app Device ID (pre-installed of course) and write down the GSF ID – screenshot 6
7. Then click on the link shown on screenshot 5. When there click on the link Device isn’t certified – screenshot 7
8. You will see a line Custom ROM – register your device. Click on it – screenshot 8
8b. NEWS 240904: Now you will have to go to this site and register your device.
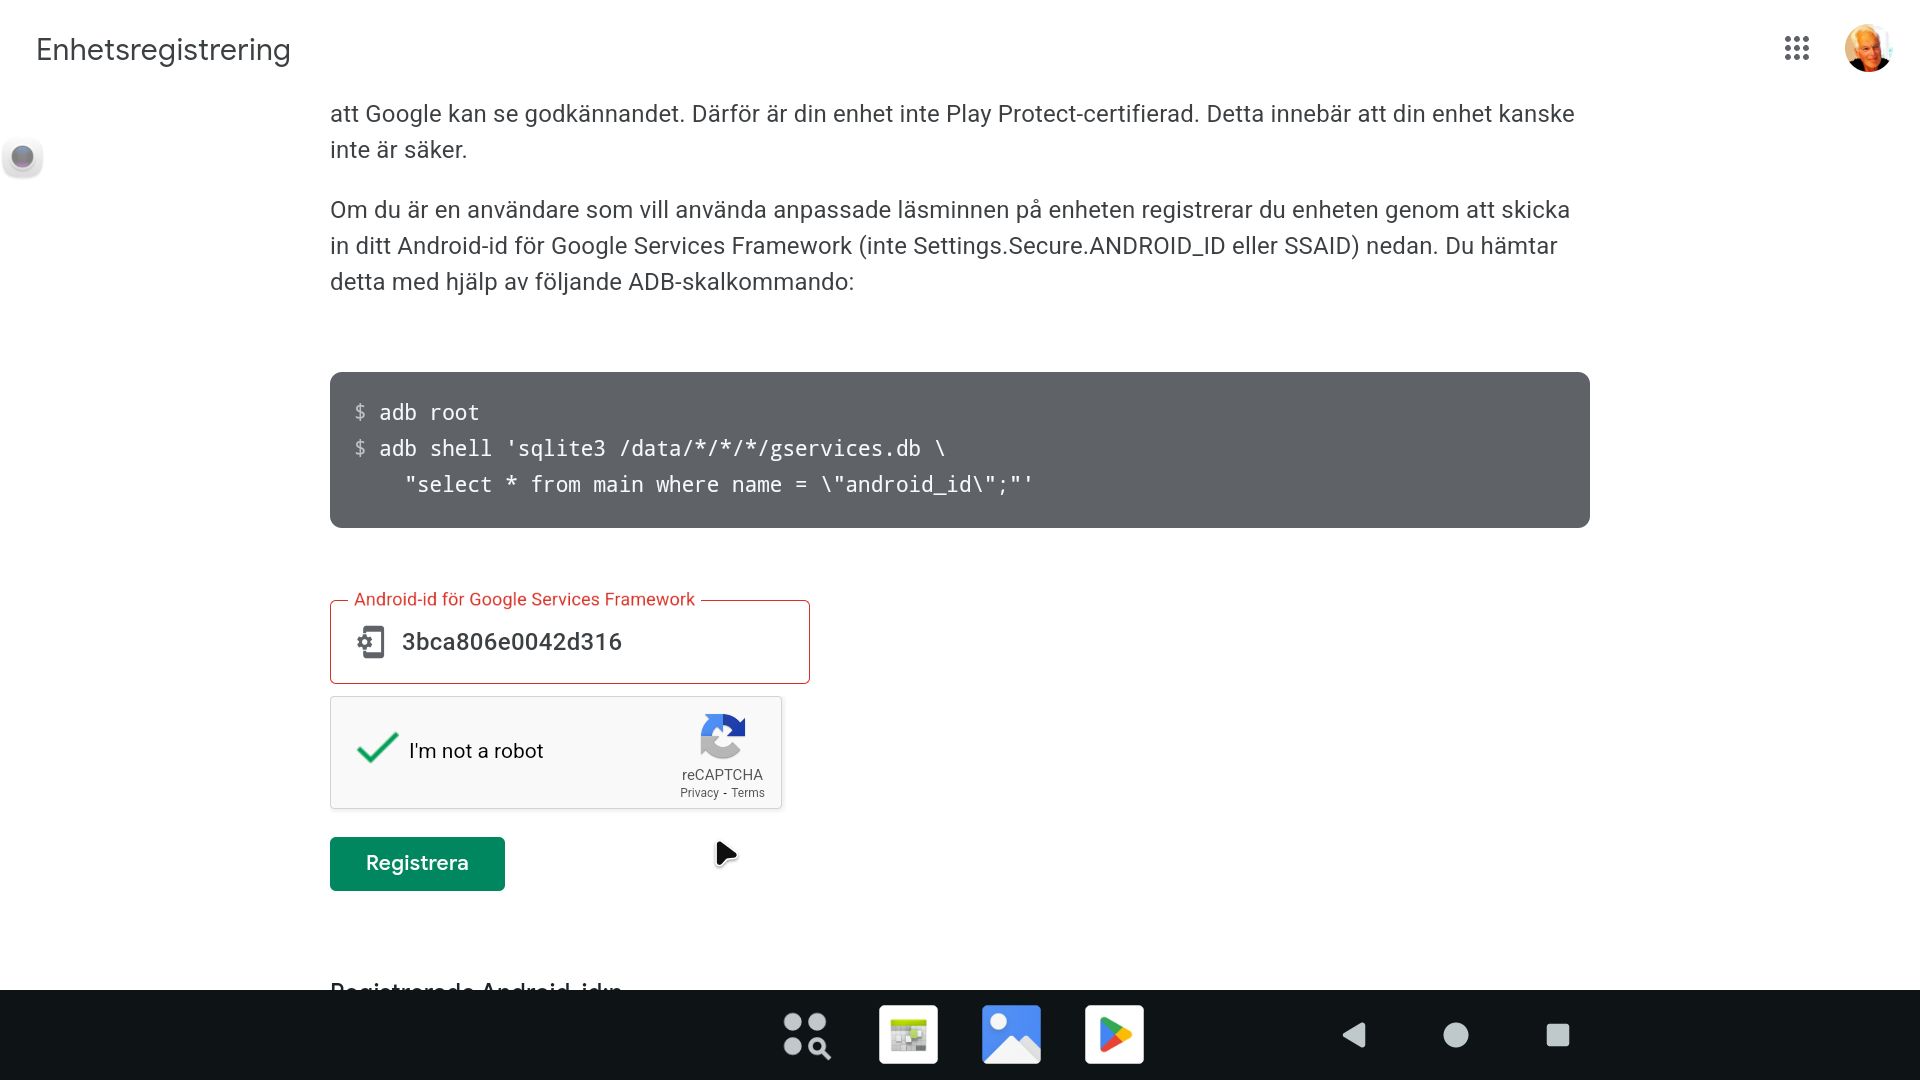
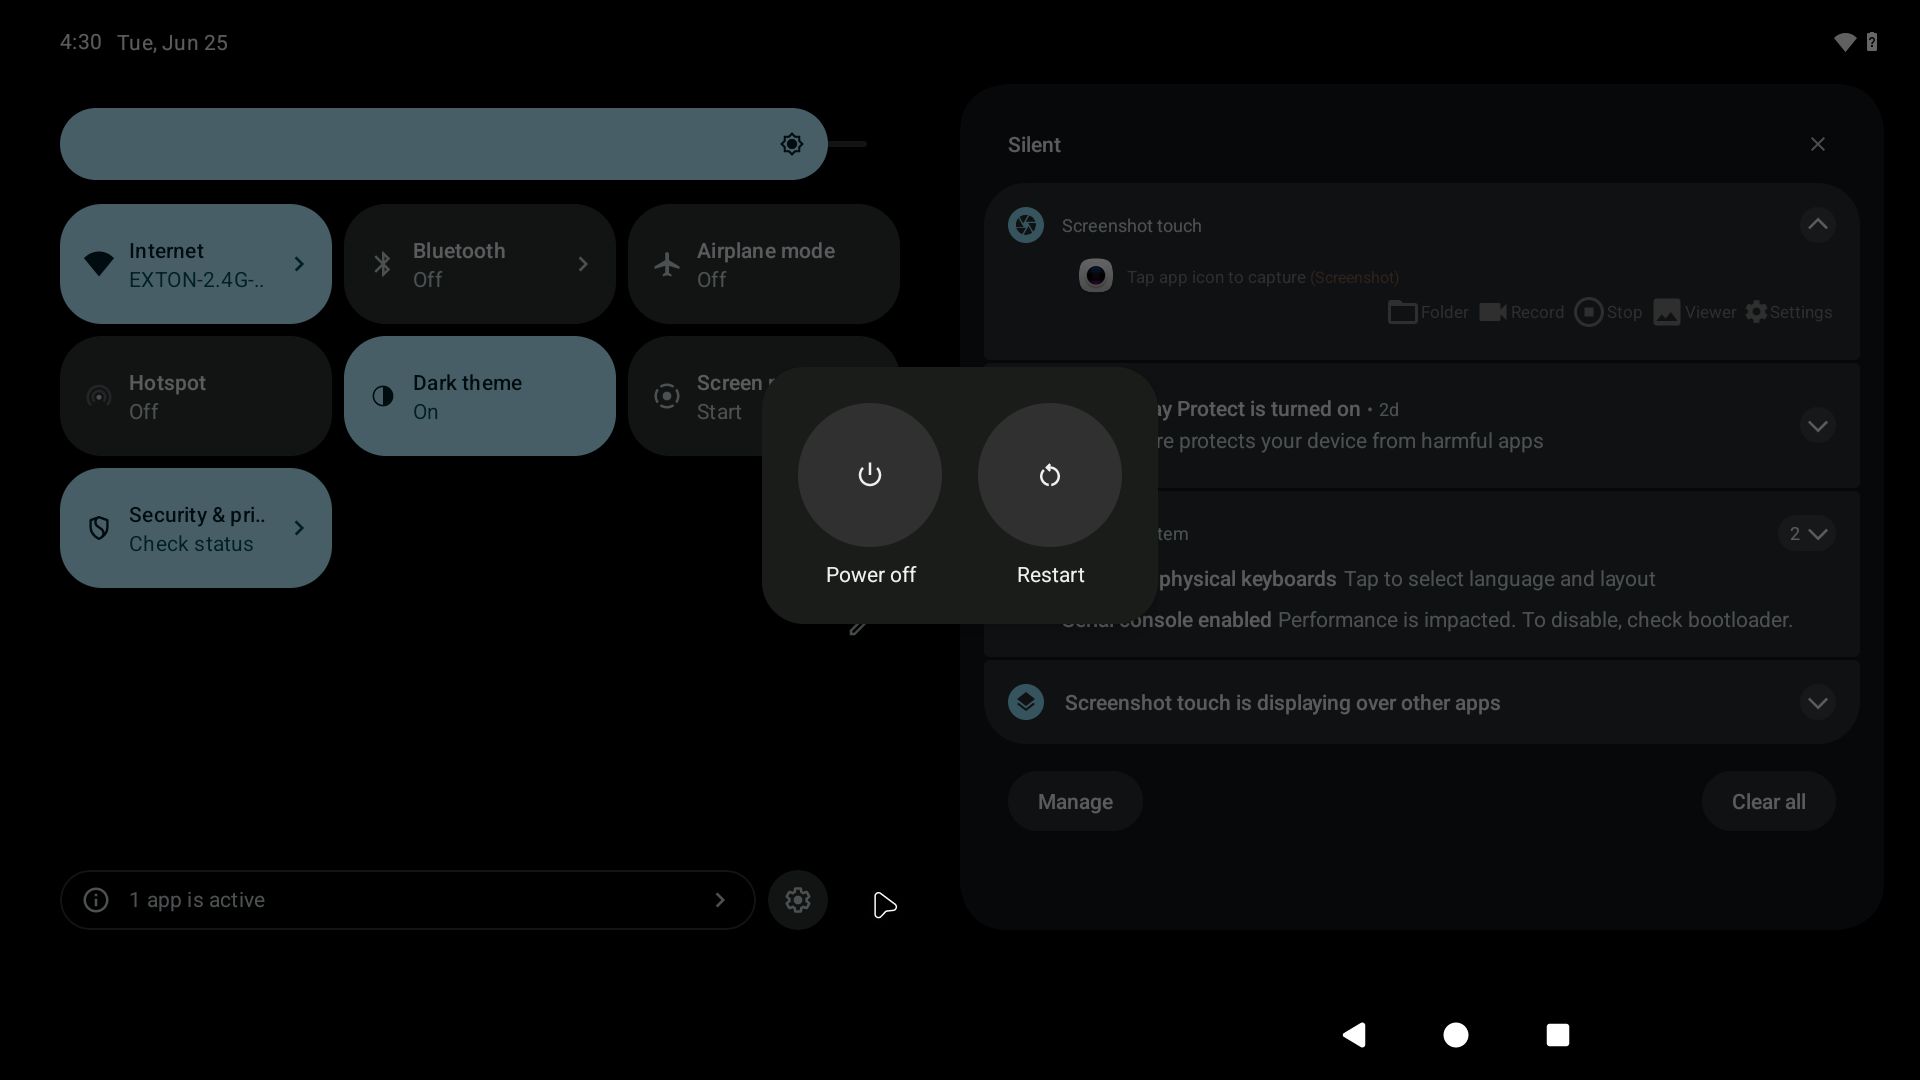
9. Here you shall fill in the GSF ID you wrote down before and click on Registrera (Swedish for Register) – screenshot 9. Restart your Rpi5 after a successful registration. Click on the power button in the menu up to the right and hold your finger there until you see the alternatives Restart and Power off – screenshot
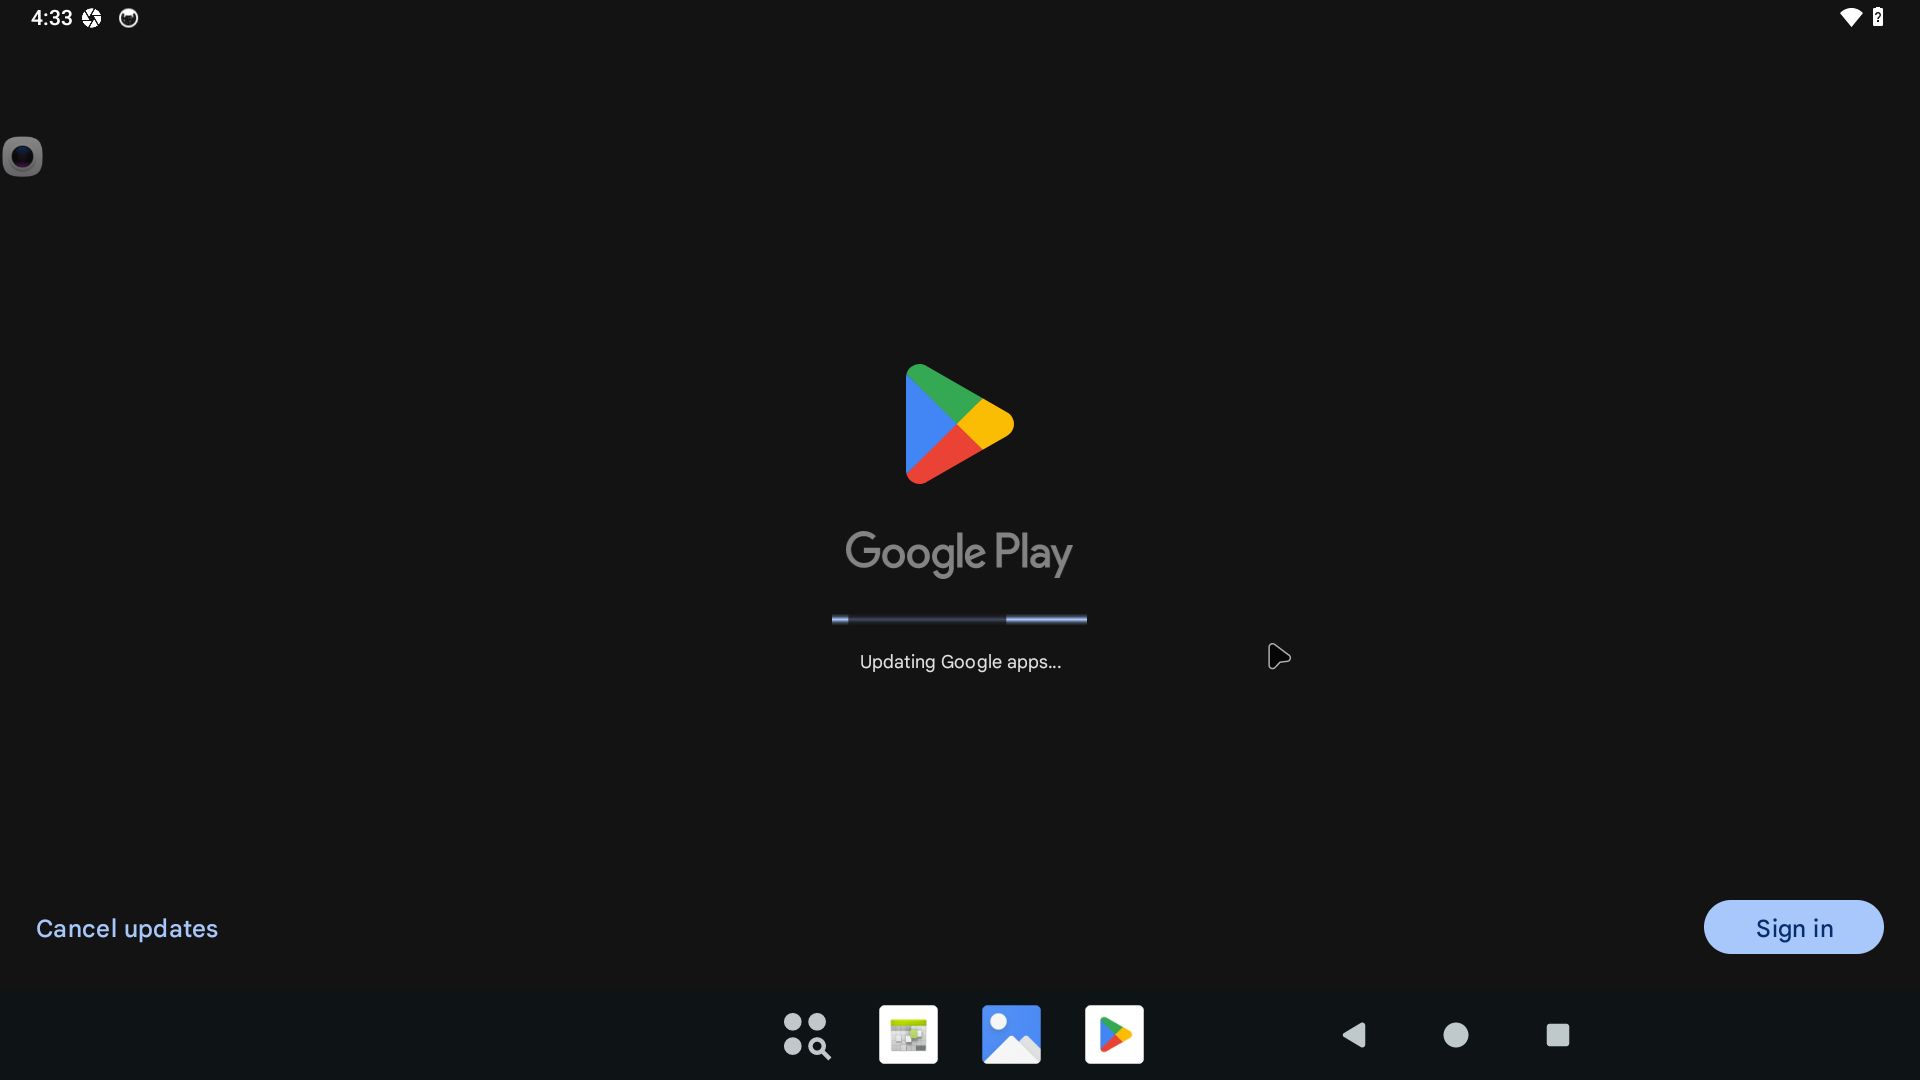
10. When back to the Desktop you will have to wait a while Google Play is updating – screenshot. You will then be able to log in to your Google account – screenshot 10
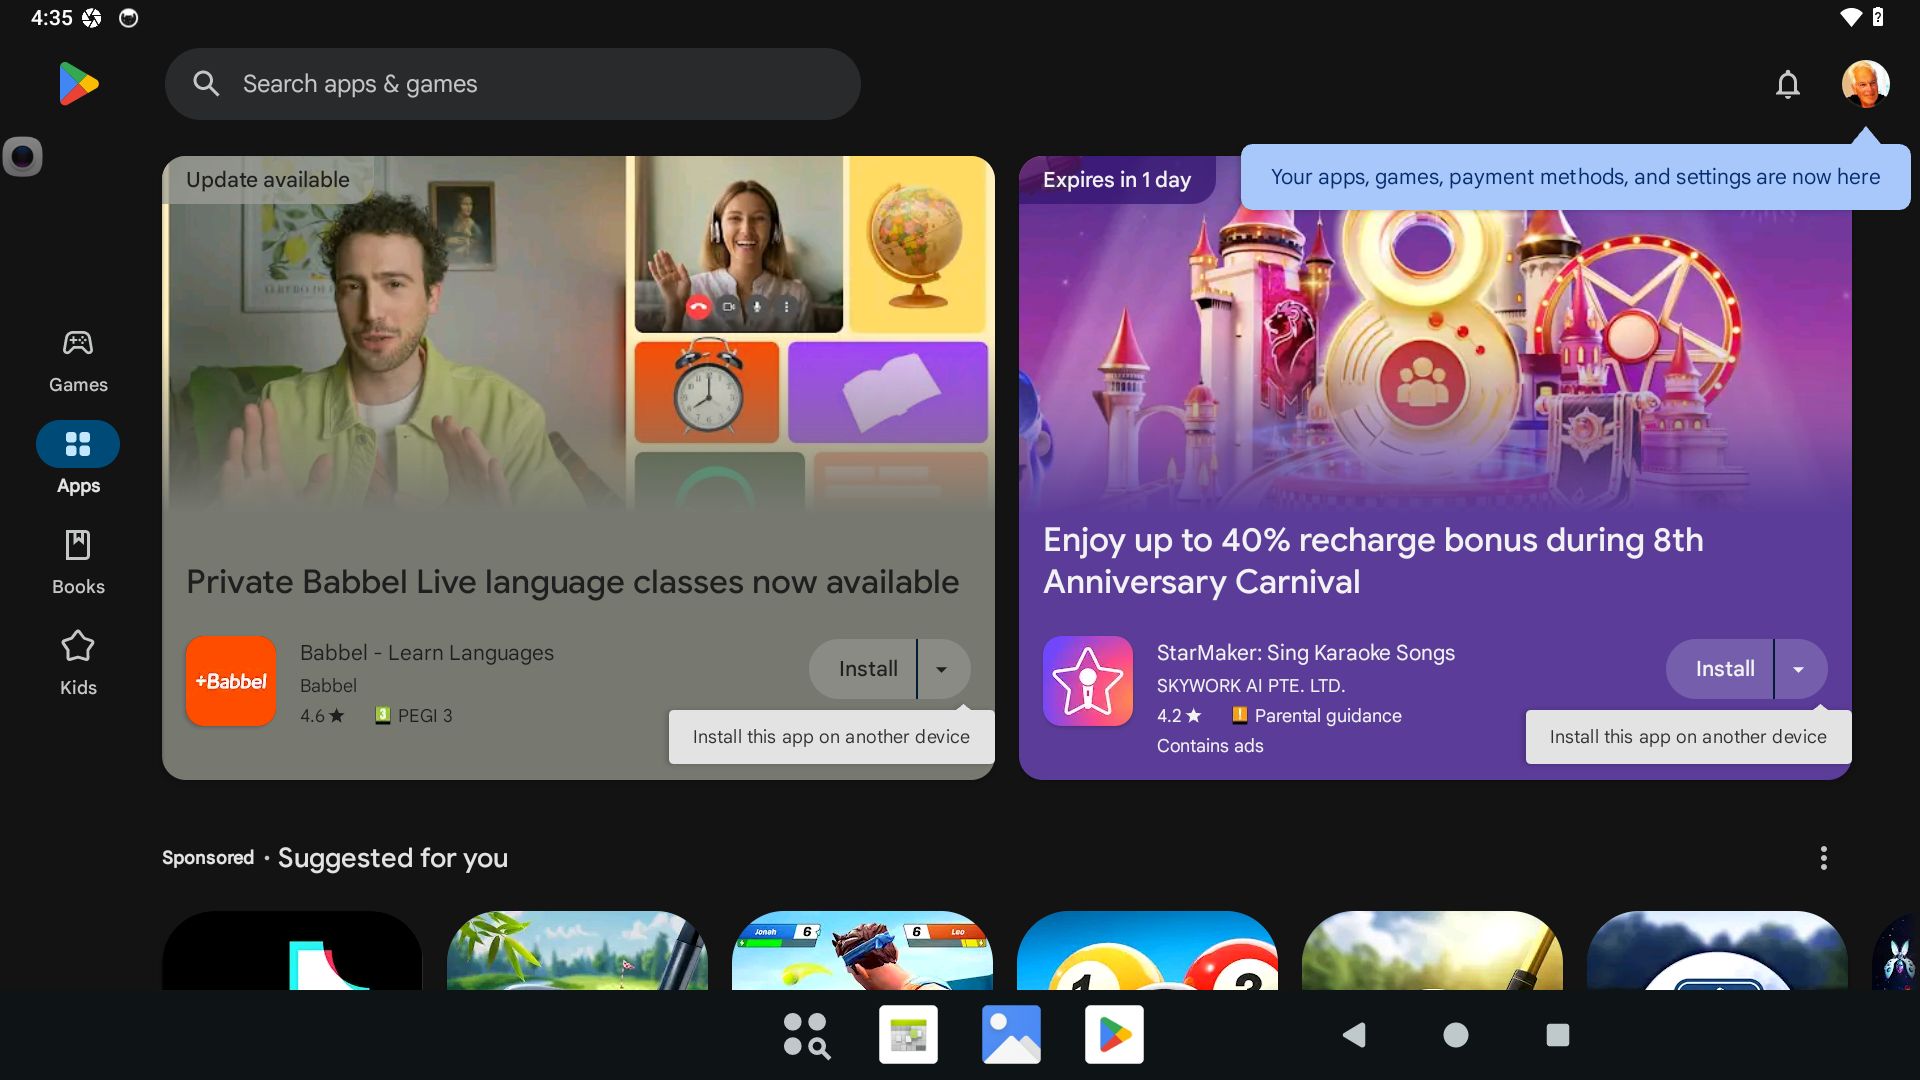
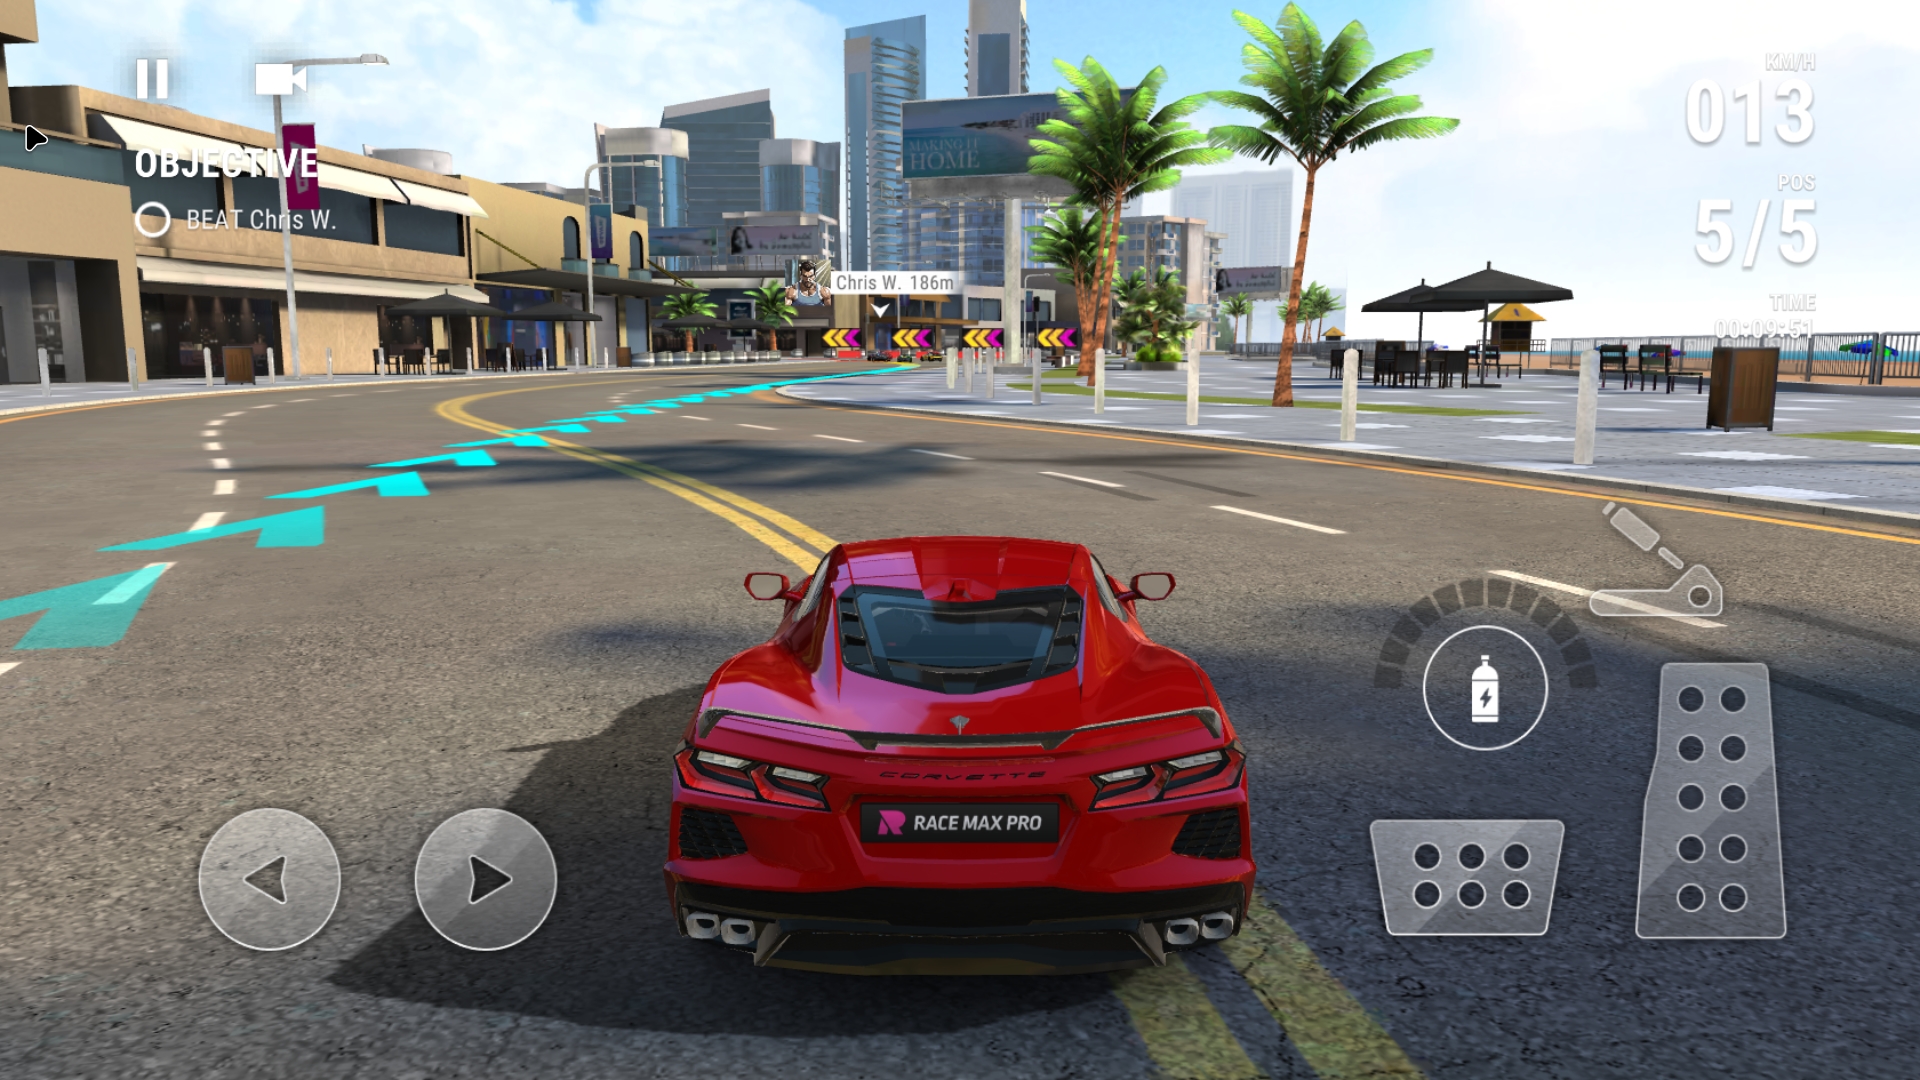
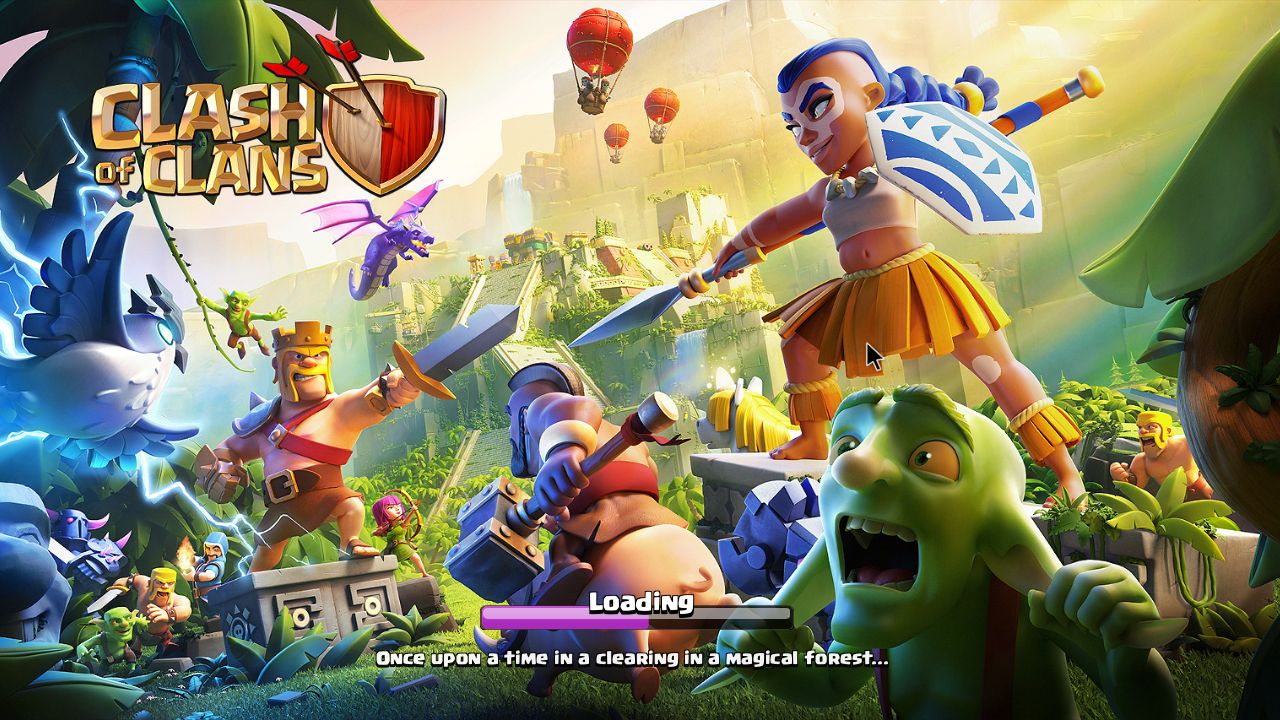
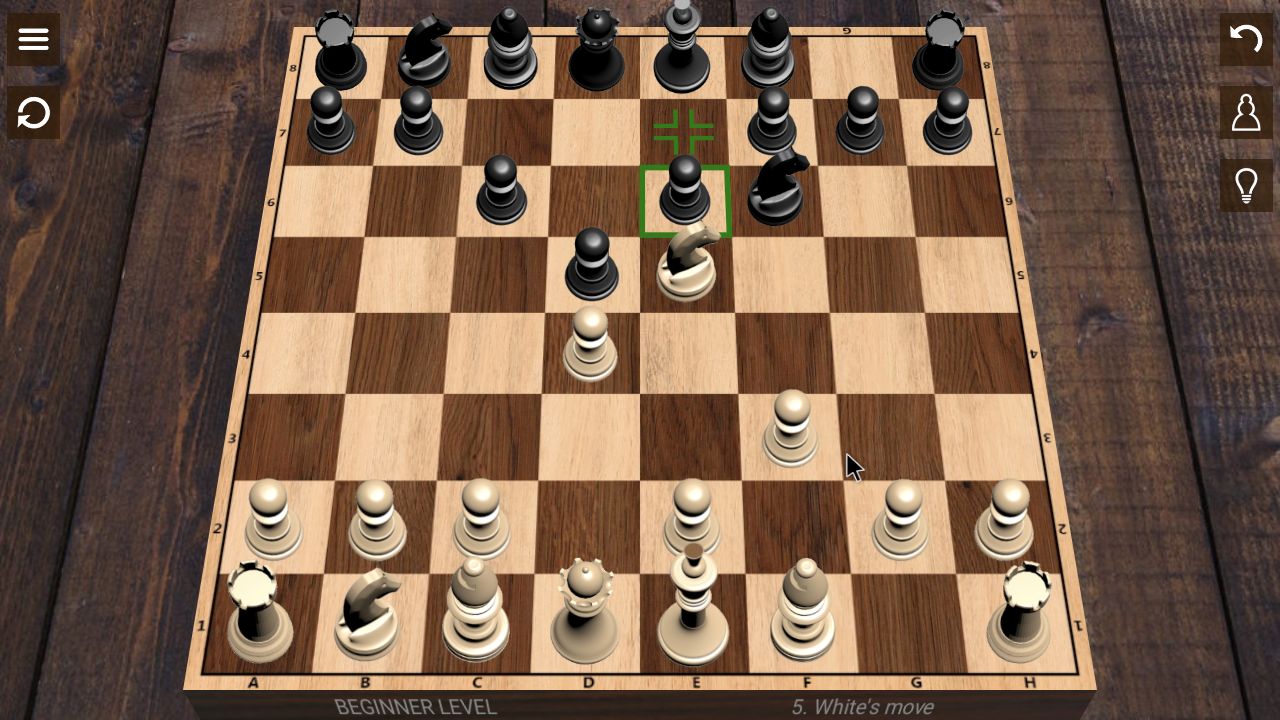
11. Finally you can enjoy Google Play Store – screenshot 11. Start with installing YouTube (for example). You can install and run many “big” games. For example Race Max Pro and Hunting Clash.
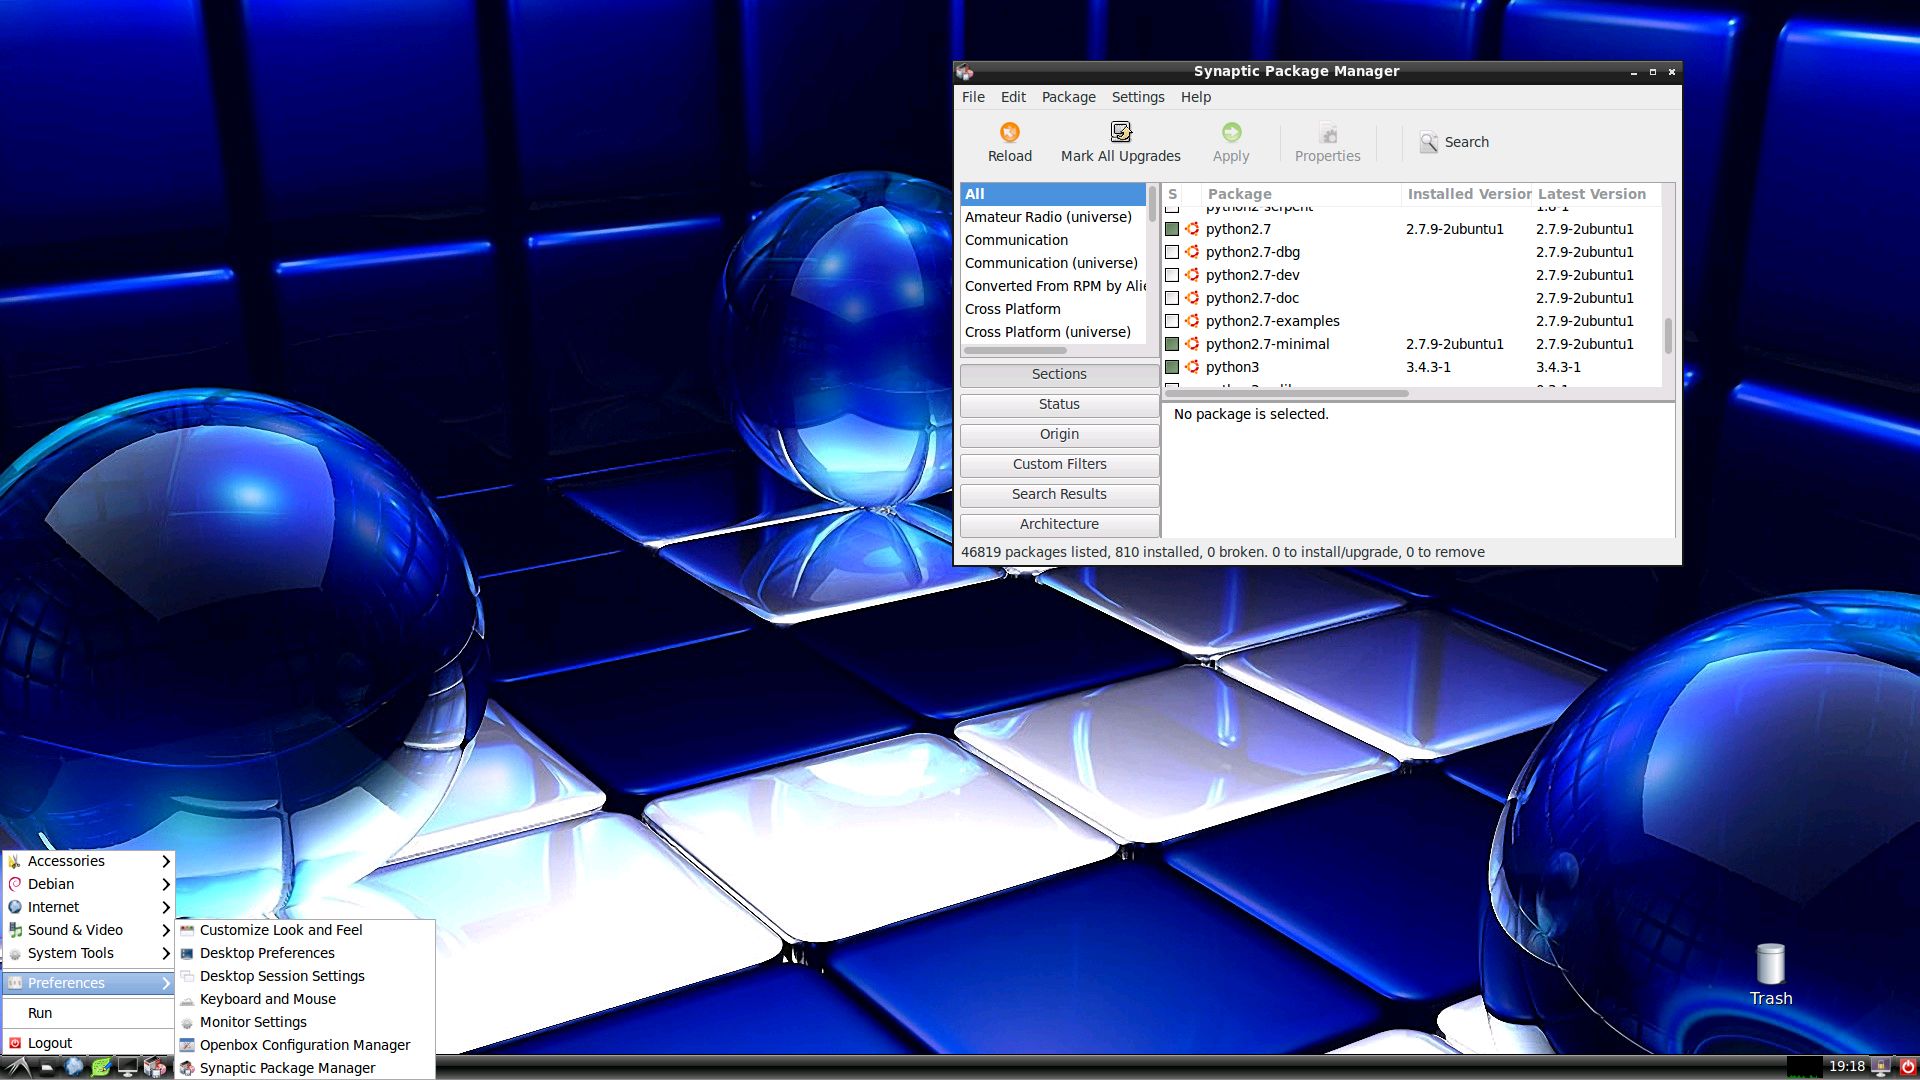
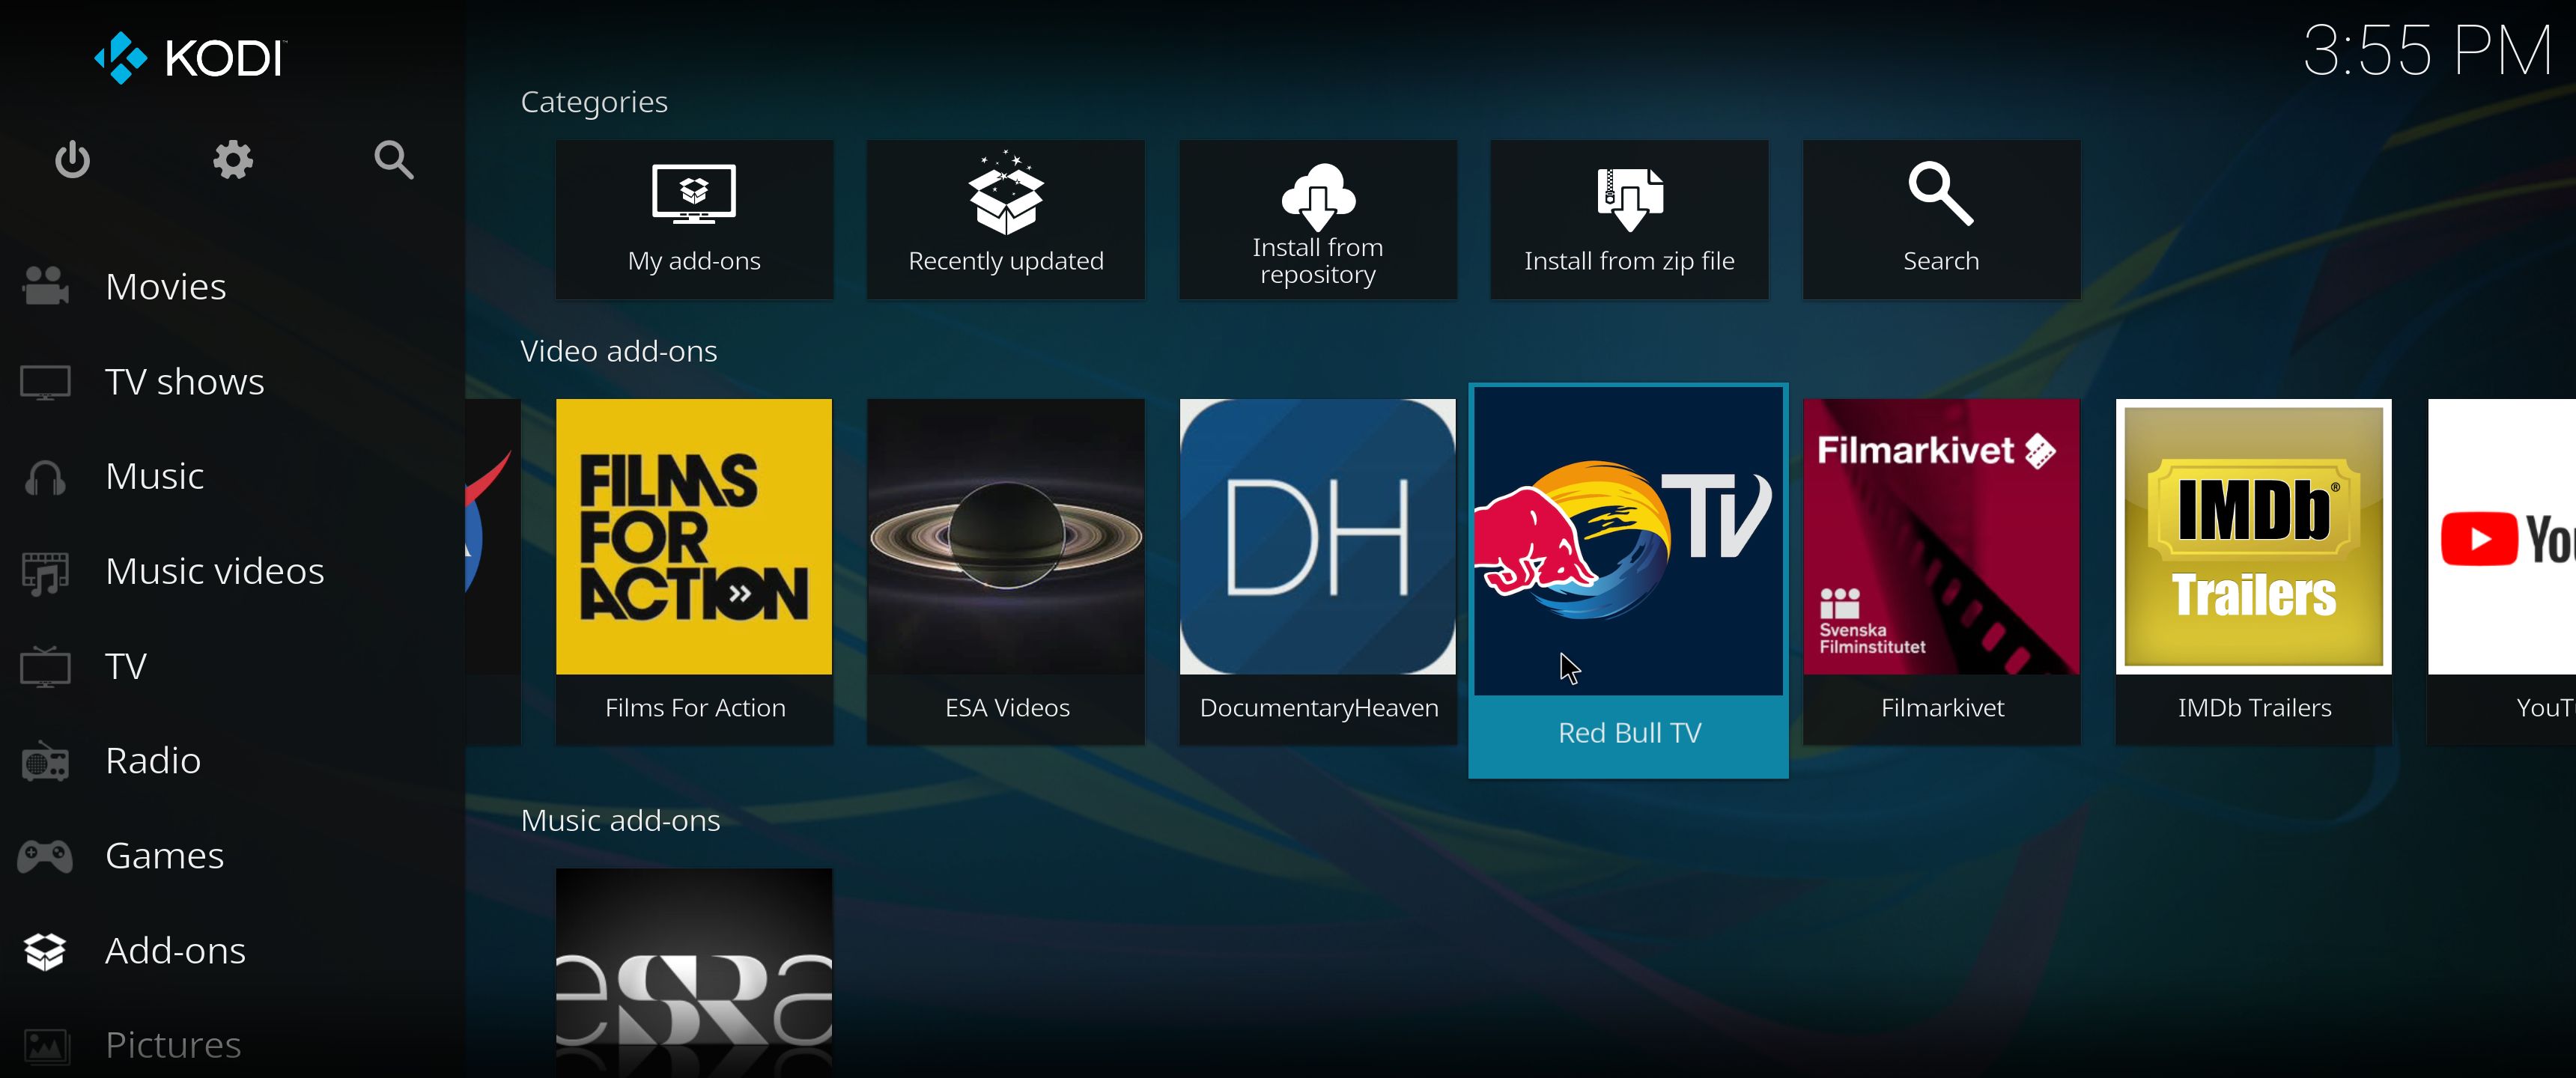
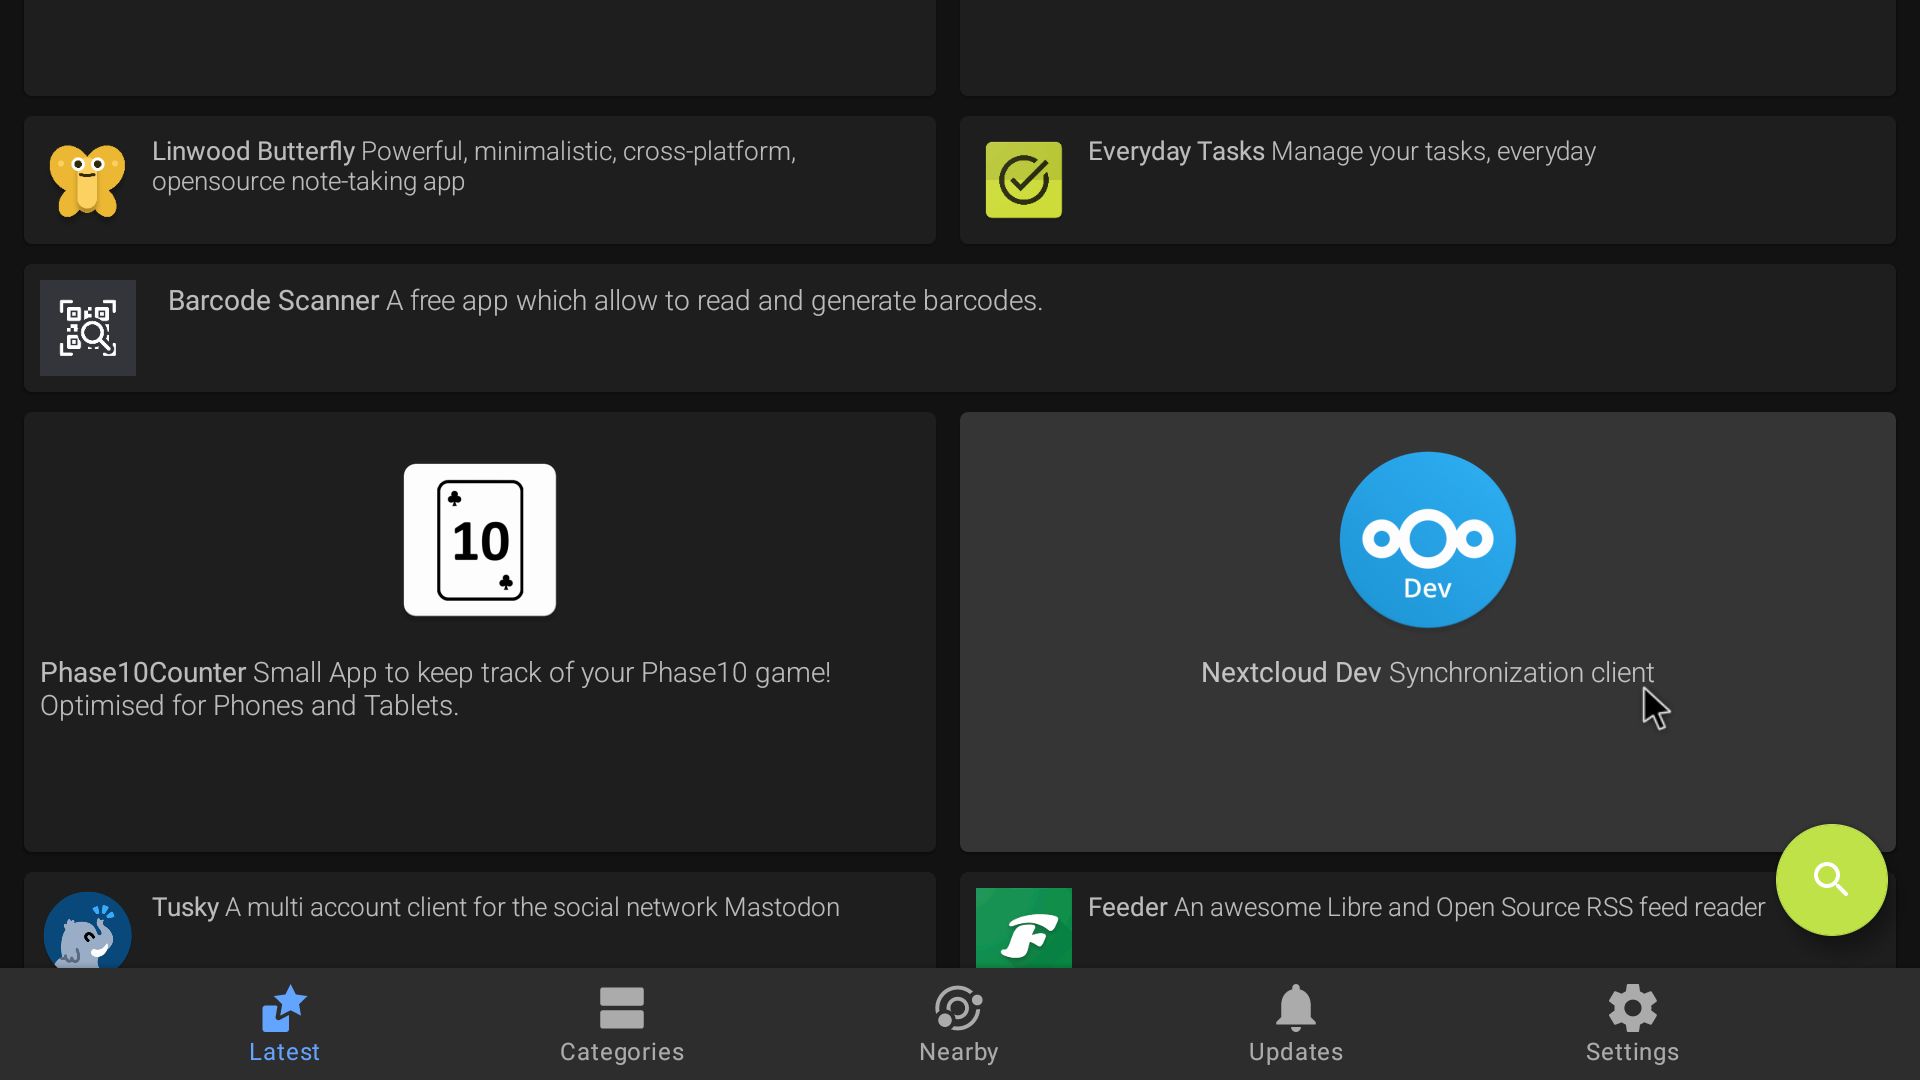
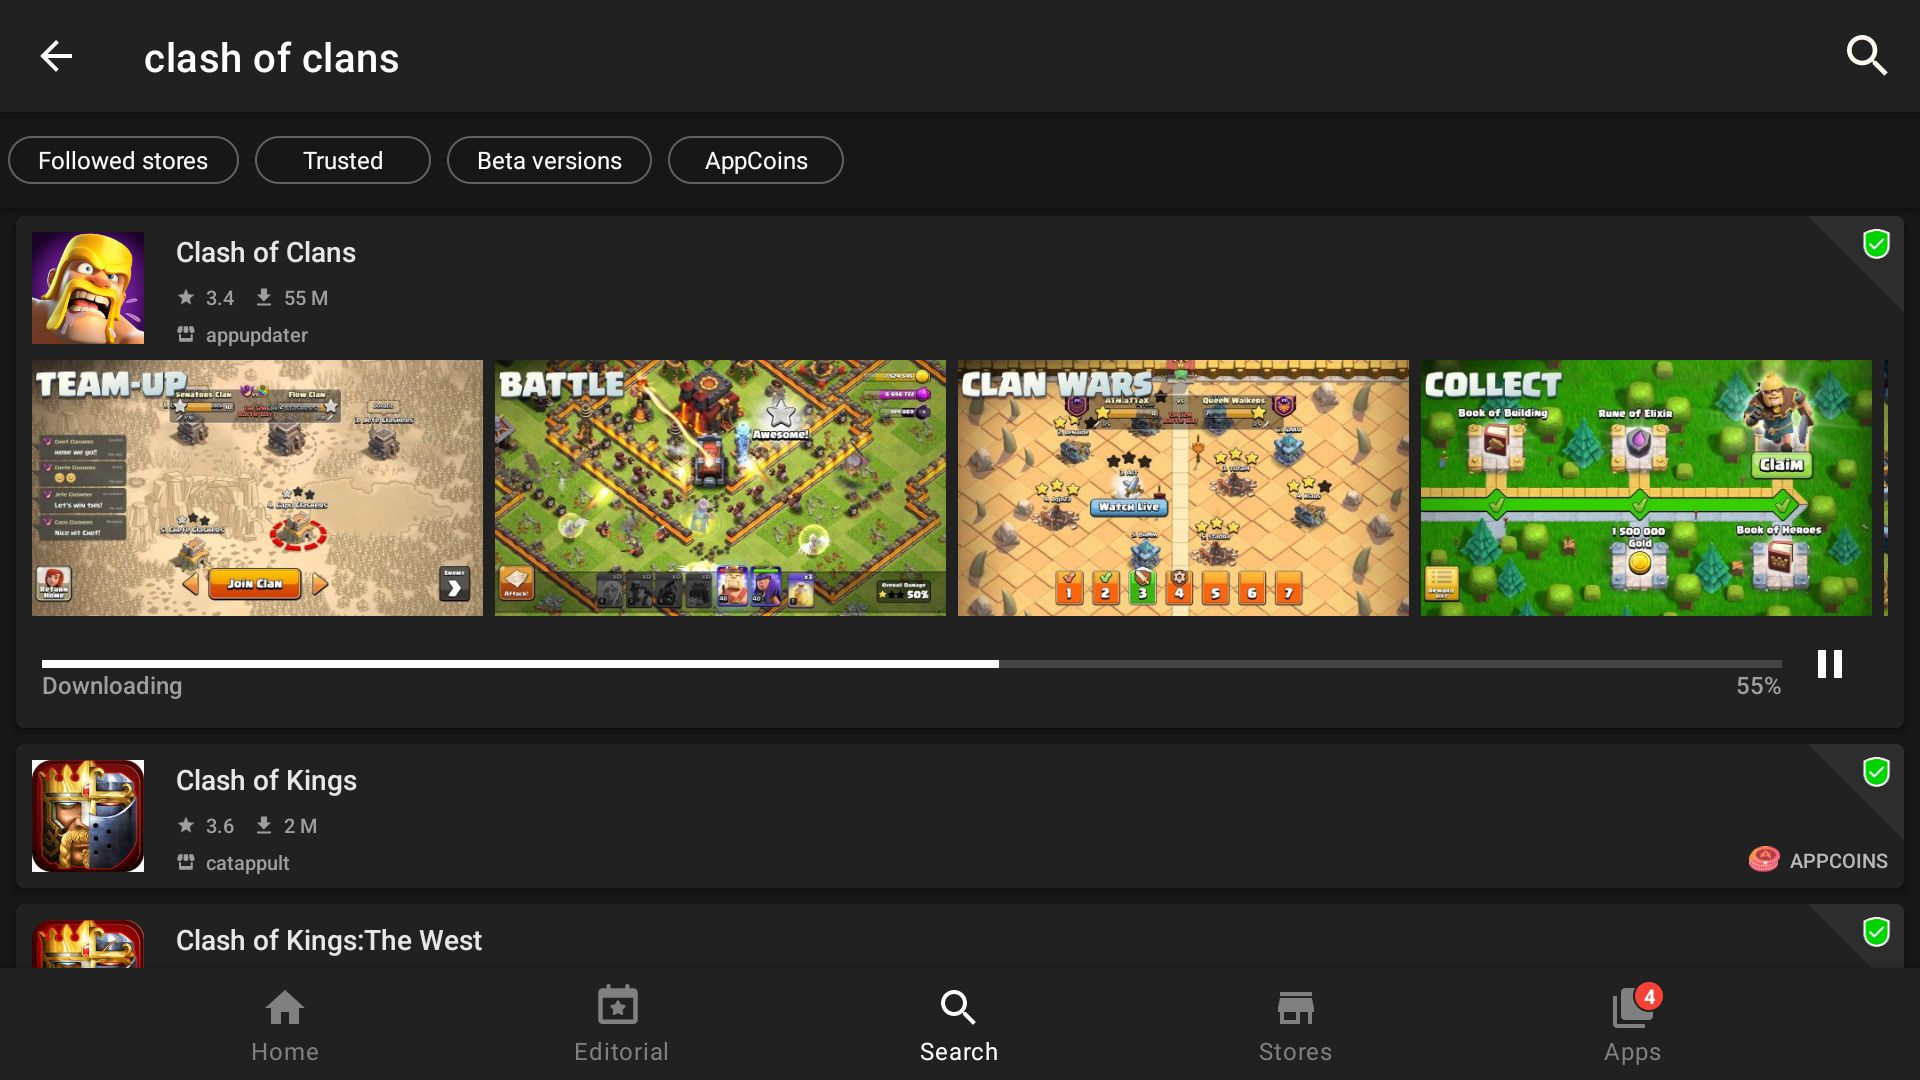
About Aptoide App Store
Aptoide is the fastest growing app store and distribution platform in the world. We are a global platform for global talent. Do you want the world? . Use Aptoide App Store if you can’t find what you are looking for at Google Play Store.
My sources
You can find my sources for RaspAnd 14 here. Following those instructions you can build your own “RaspAnd” system.
What is Raspberry Pi?
The Raspberry Pi is a low cost, credit-card sized computer that plugs into a computer monitor or TV, and uses a standard keyboard and mouse. It is a capable little device that enables people of all ages to explore computing, and to learn how to program in languages like Scratch and Python. It’s capable of doing everything you’d expect a desktop computer to do, from browsing the internet and playing high-definition video, to making spreadsheets, word-processing, and playing games.
Read more about Raspberry Pi…
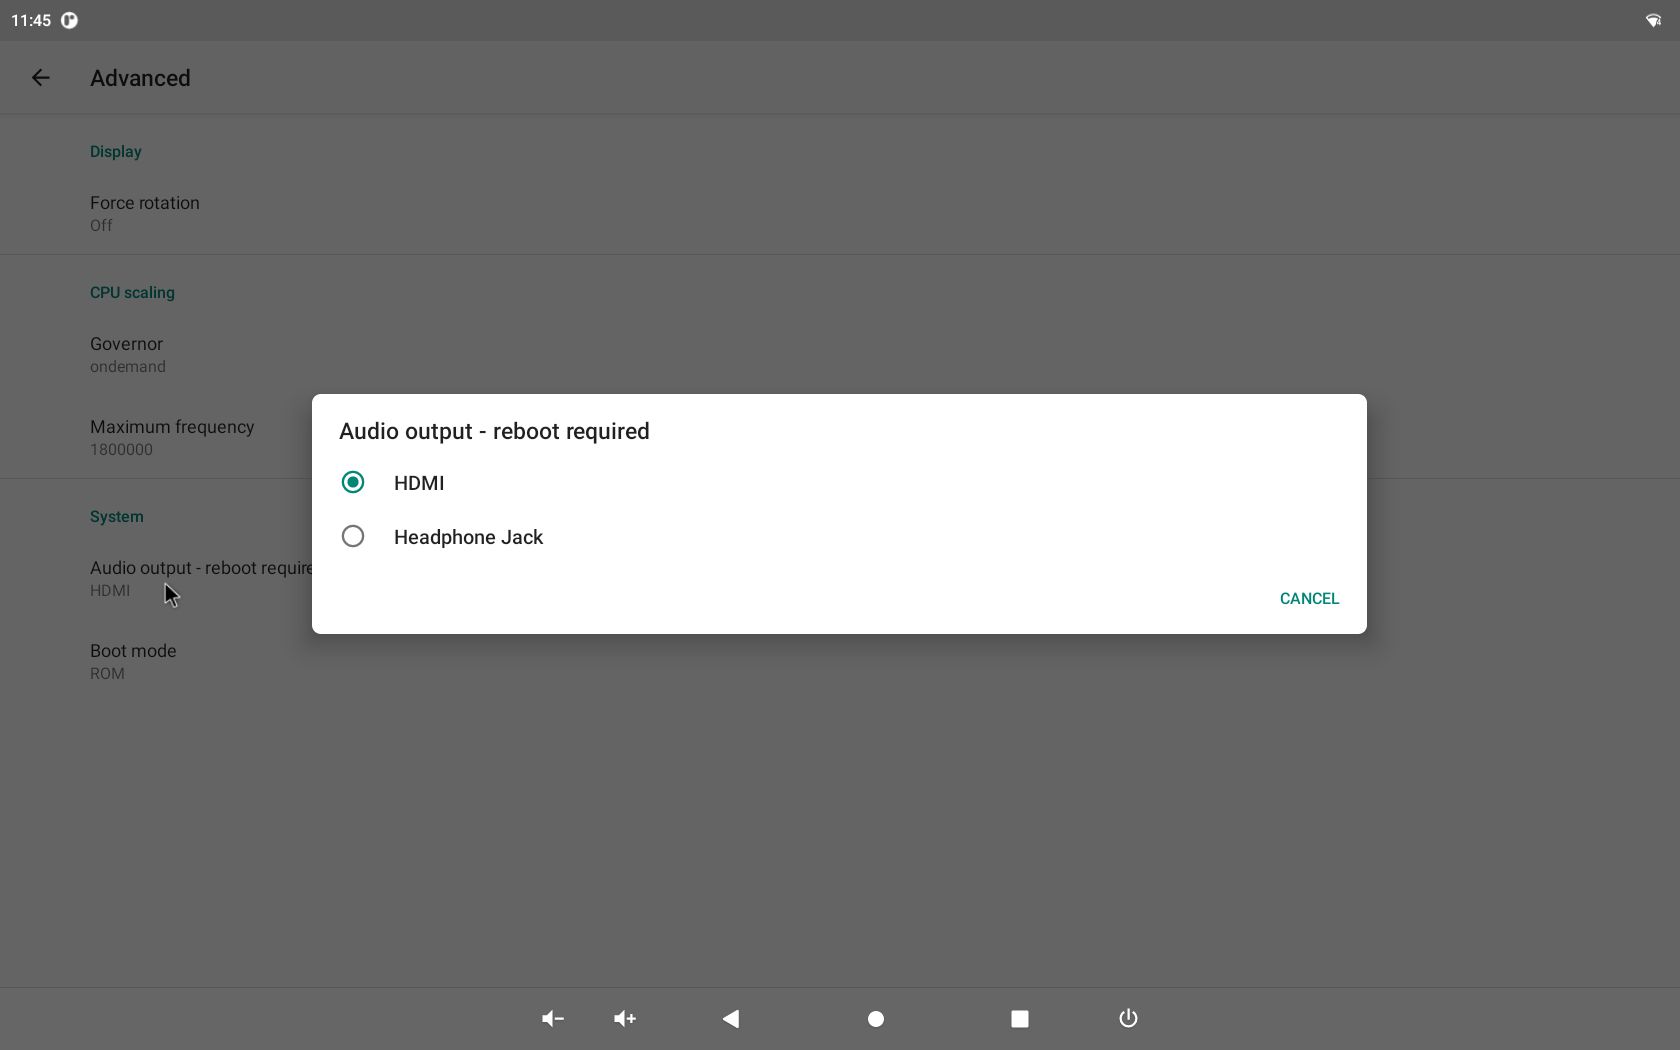
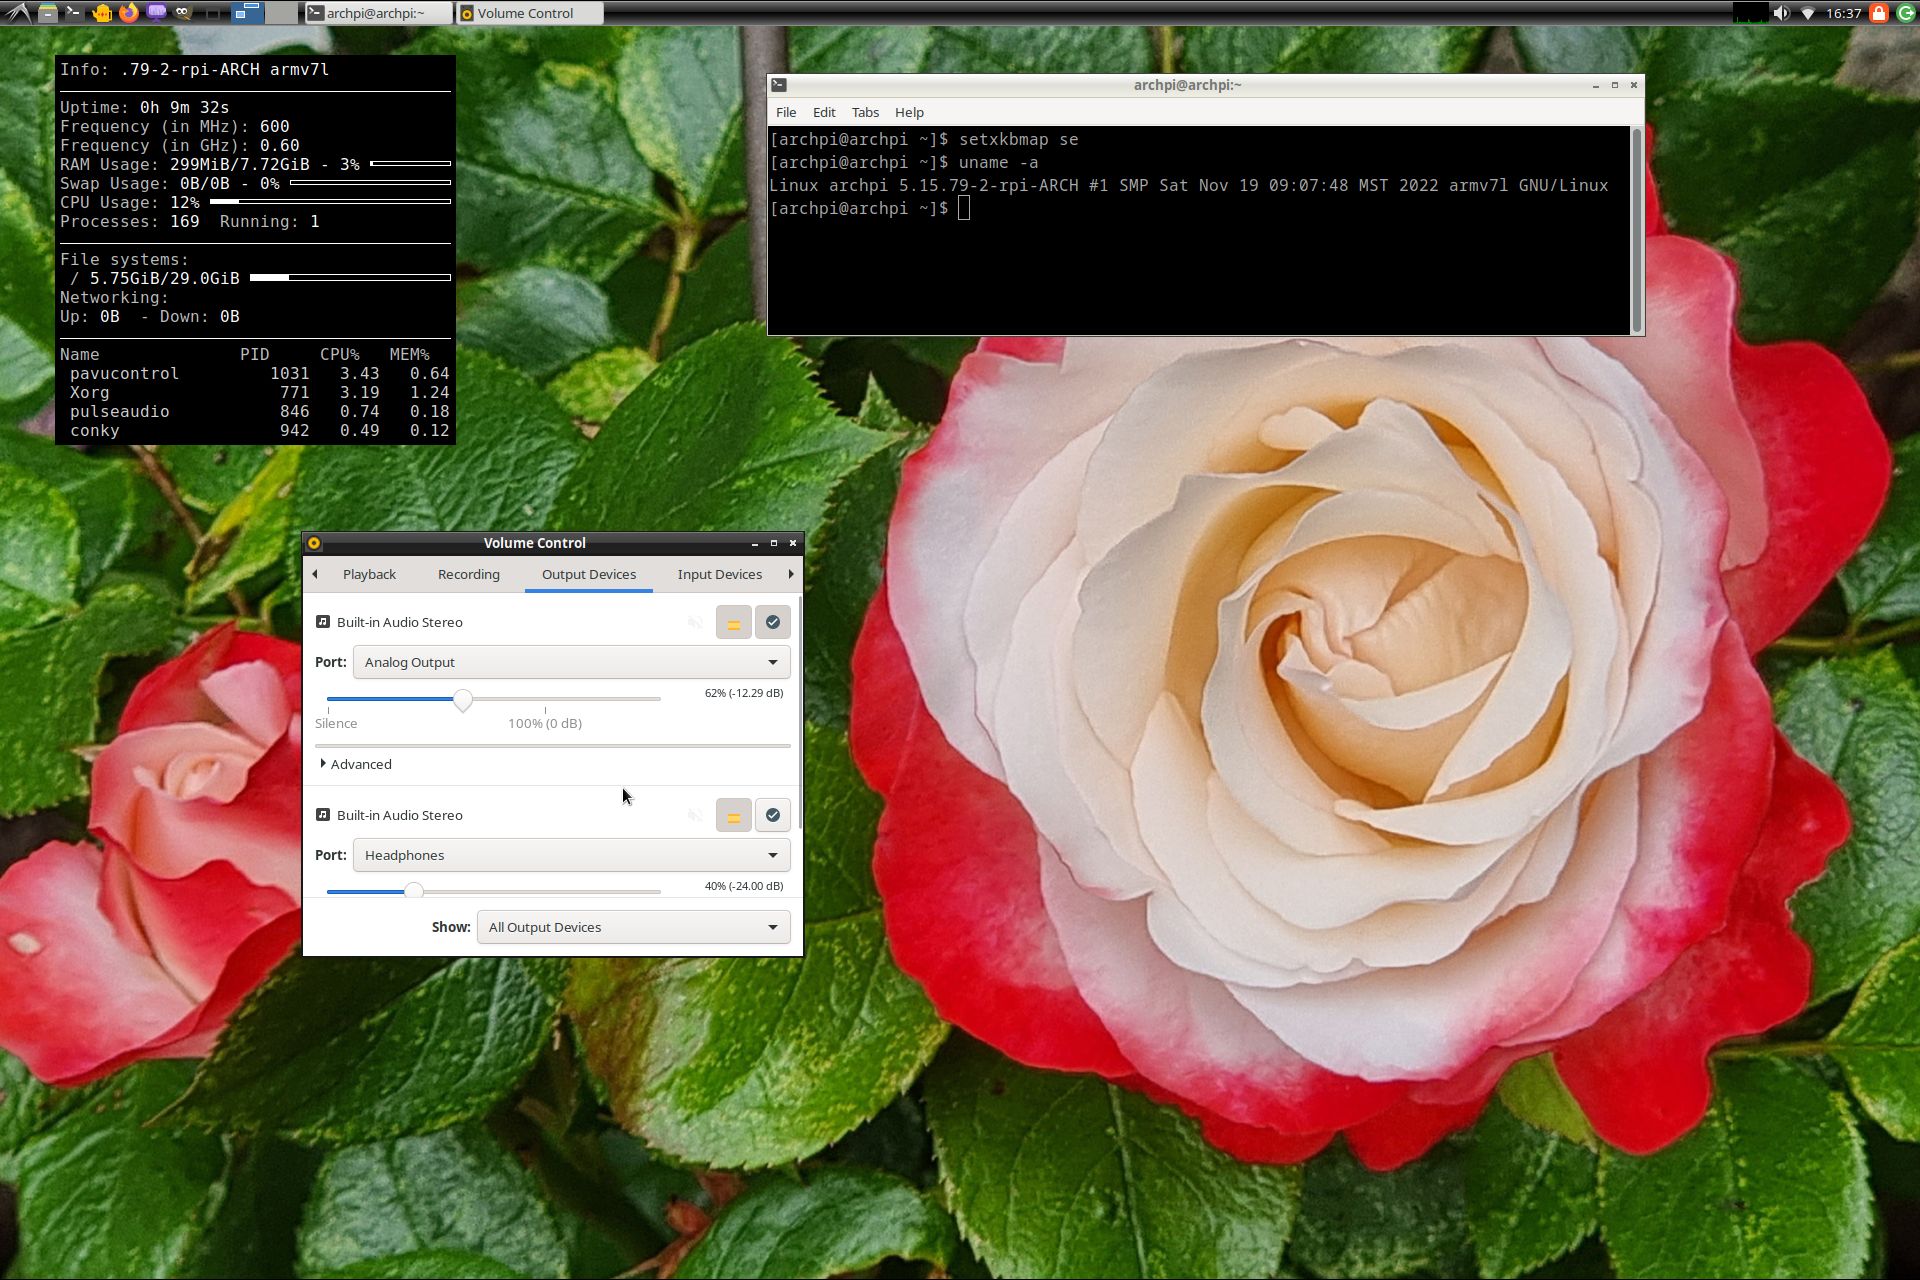
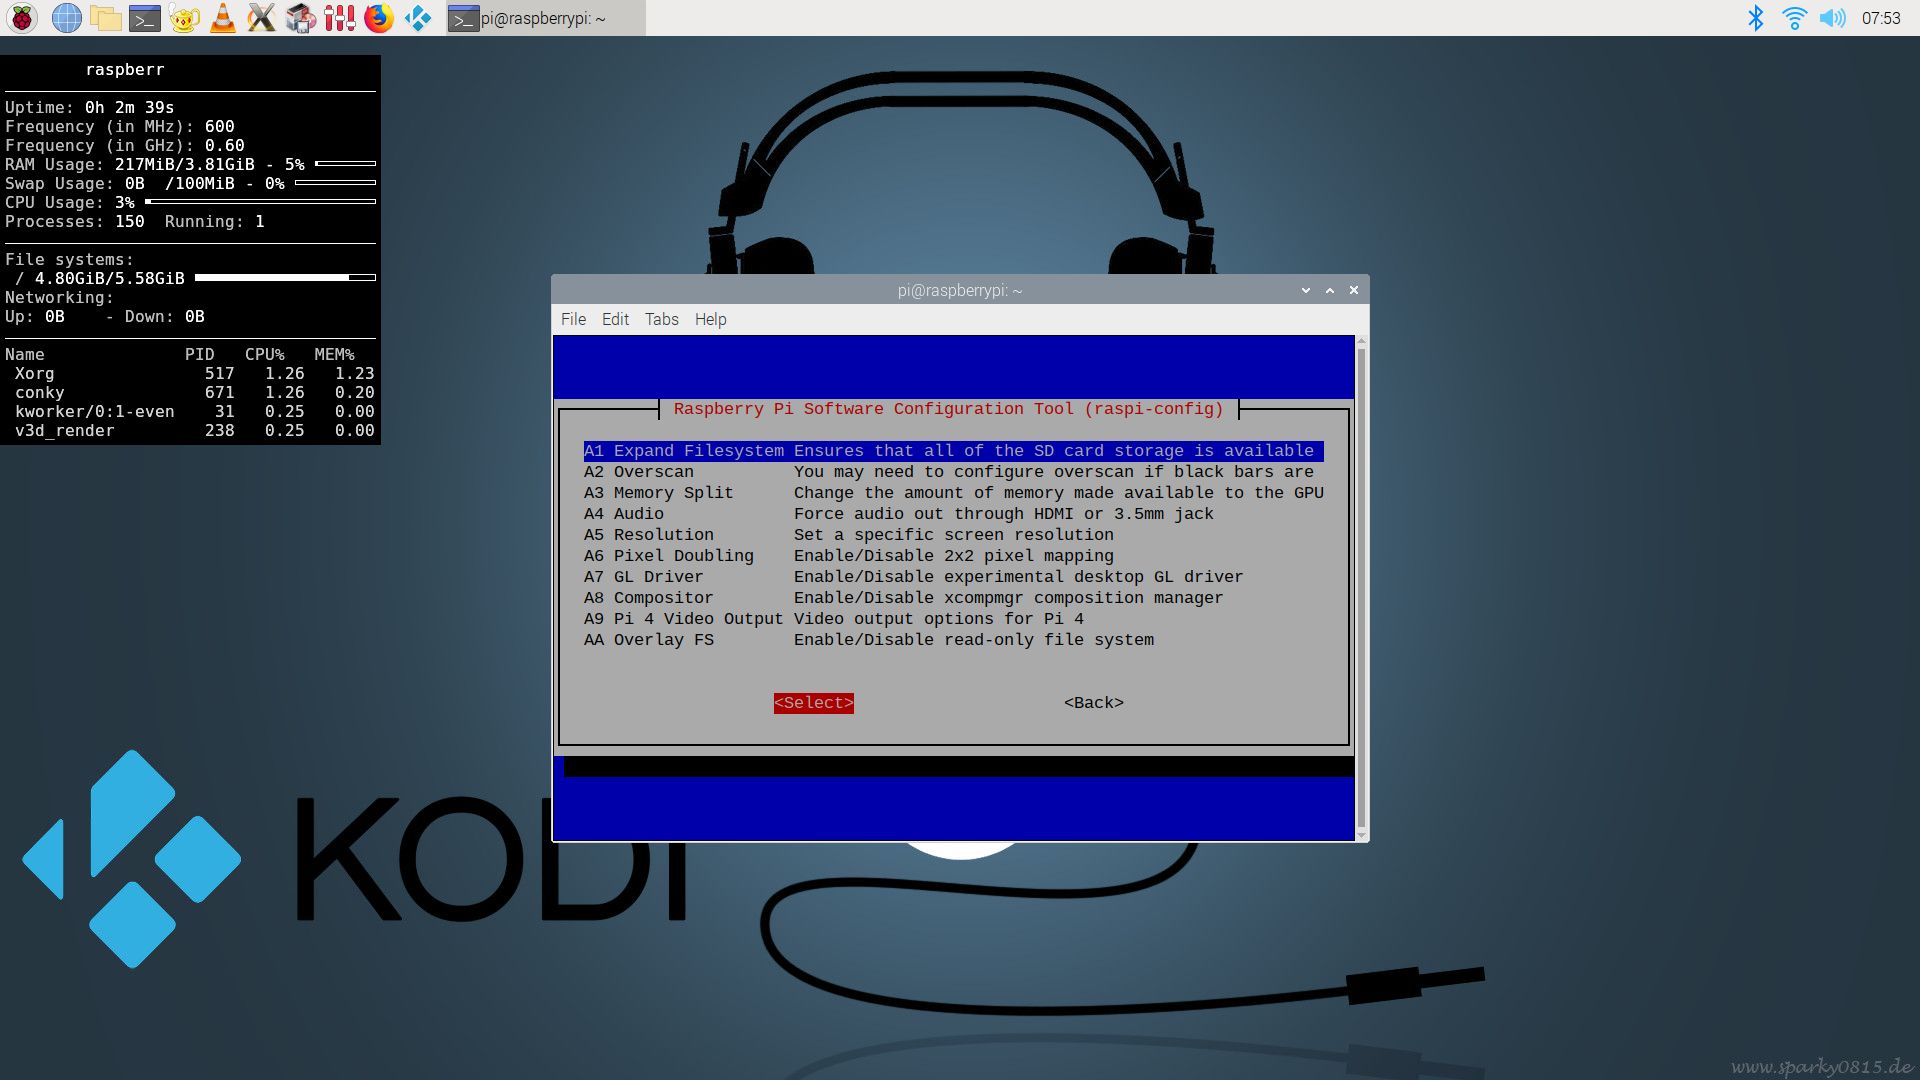
About sound
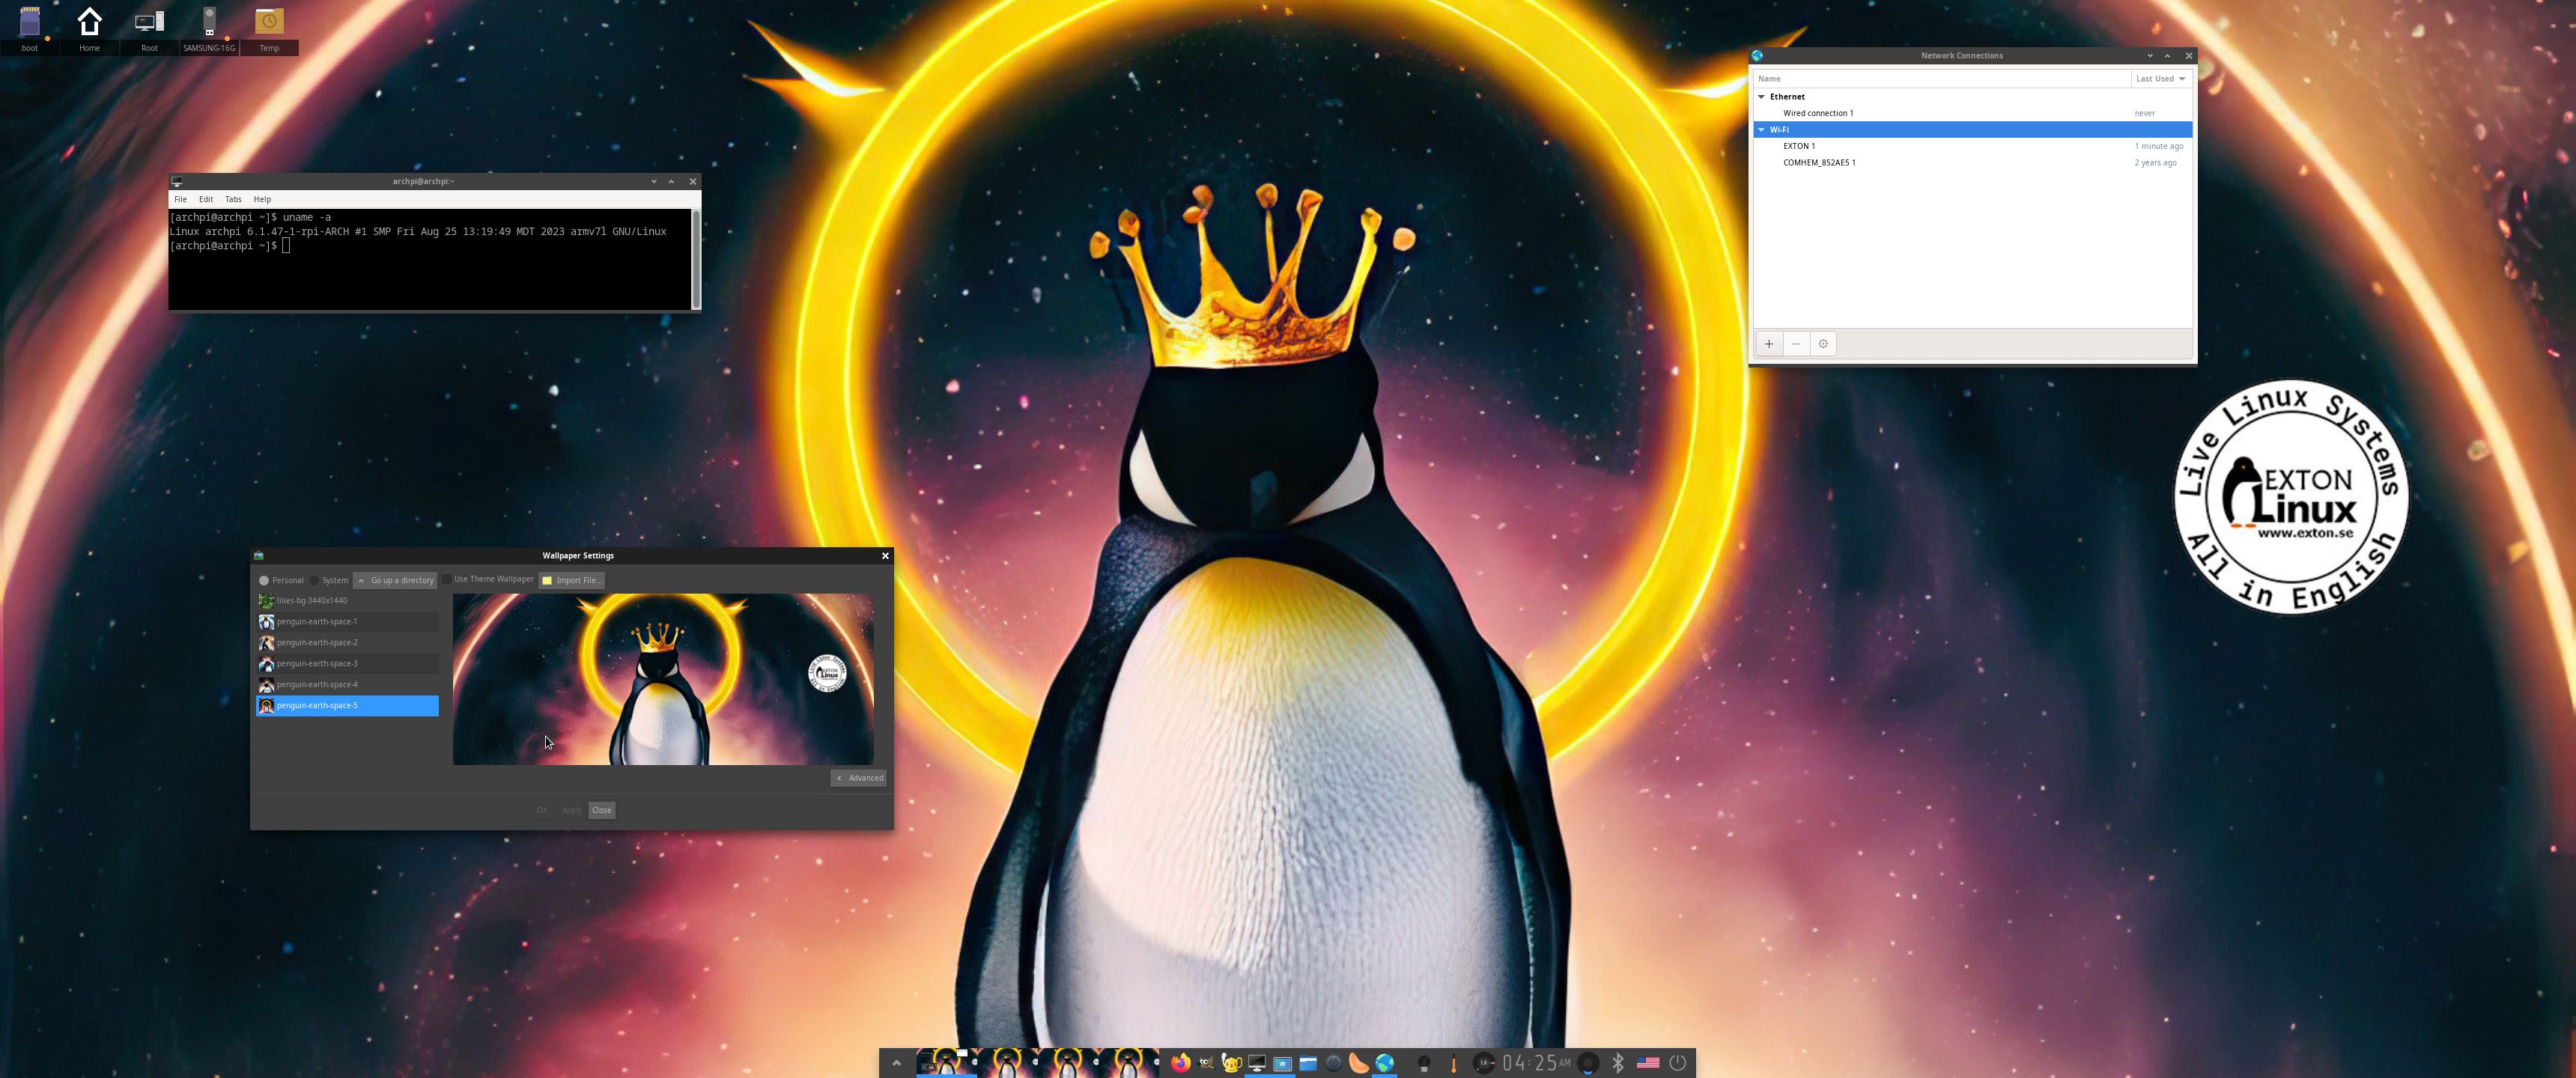
HDMI sound works very well in this RaspAnd build. You can also use the 3.5mm jack and connect speakers. Change it under Advanced (Desktop icon). Watch this screenshot.
MORE NEWS 240625 ABOUT RaspAnd 14
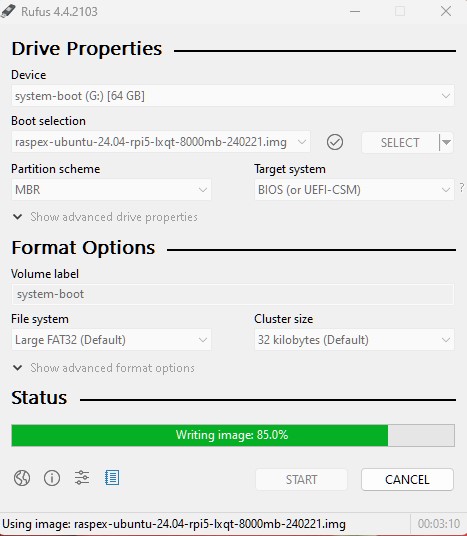
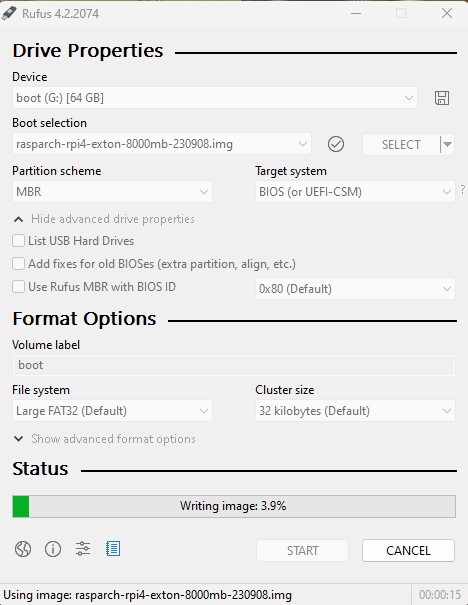
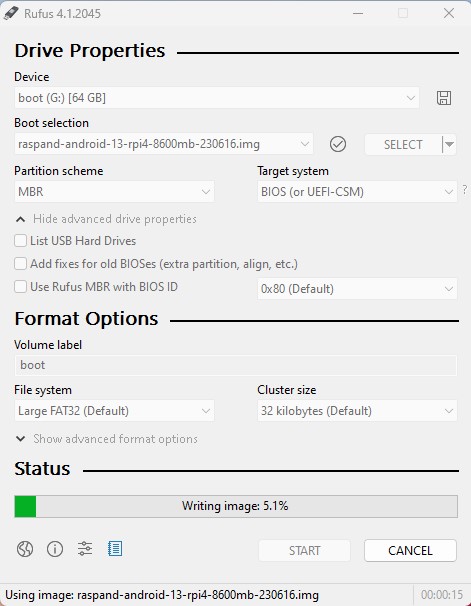
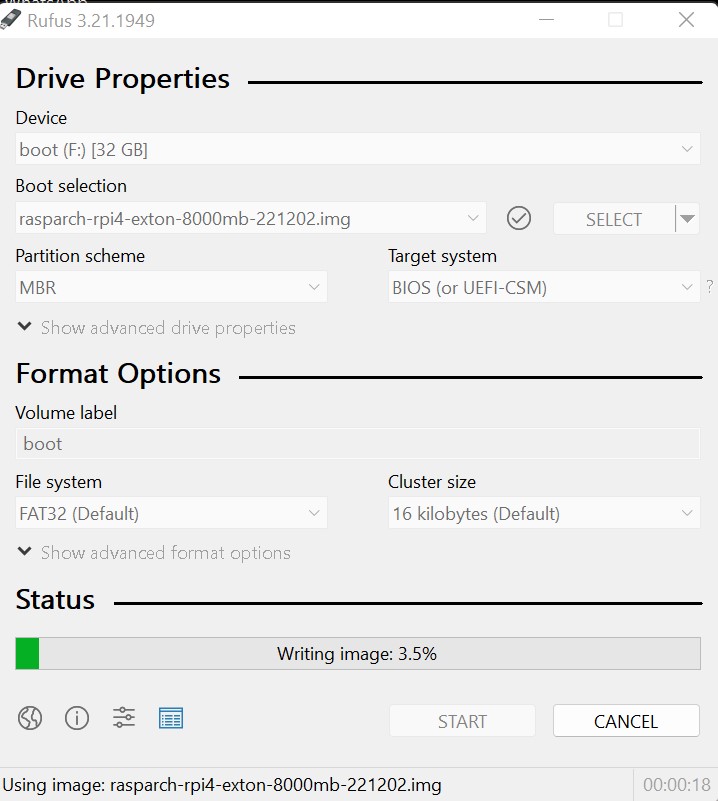
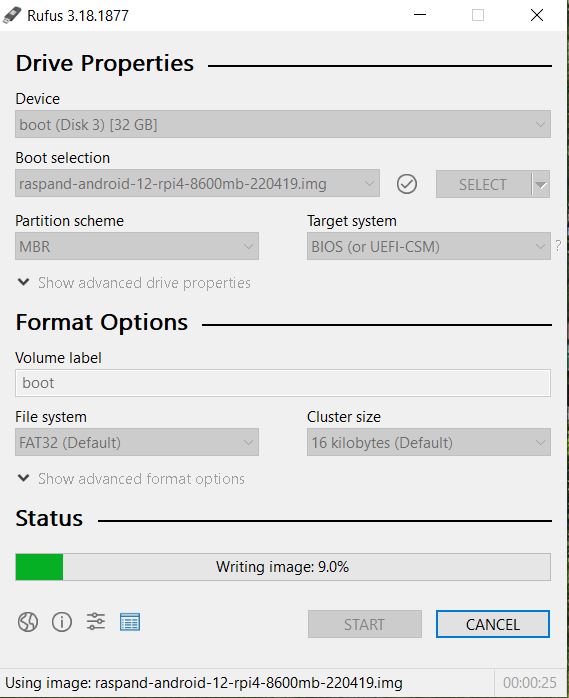
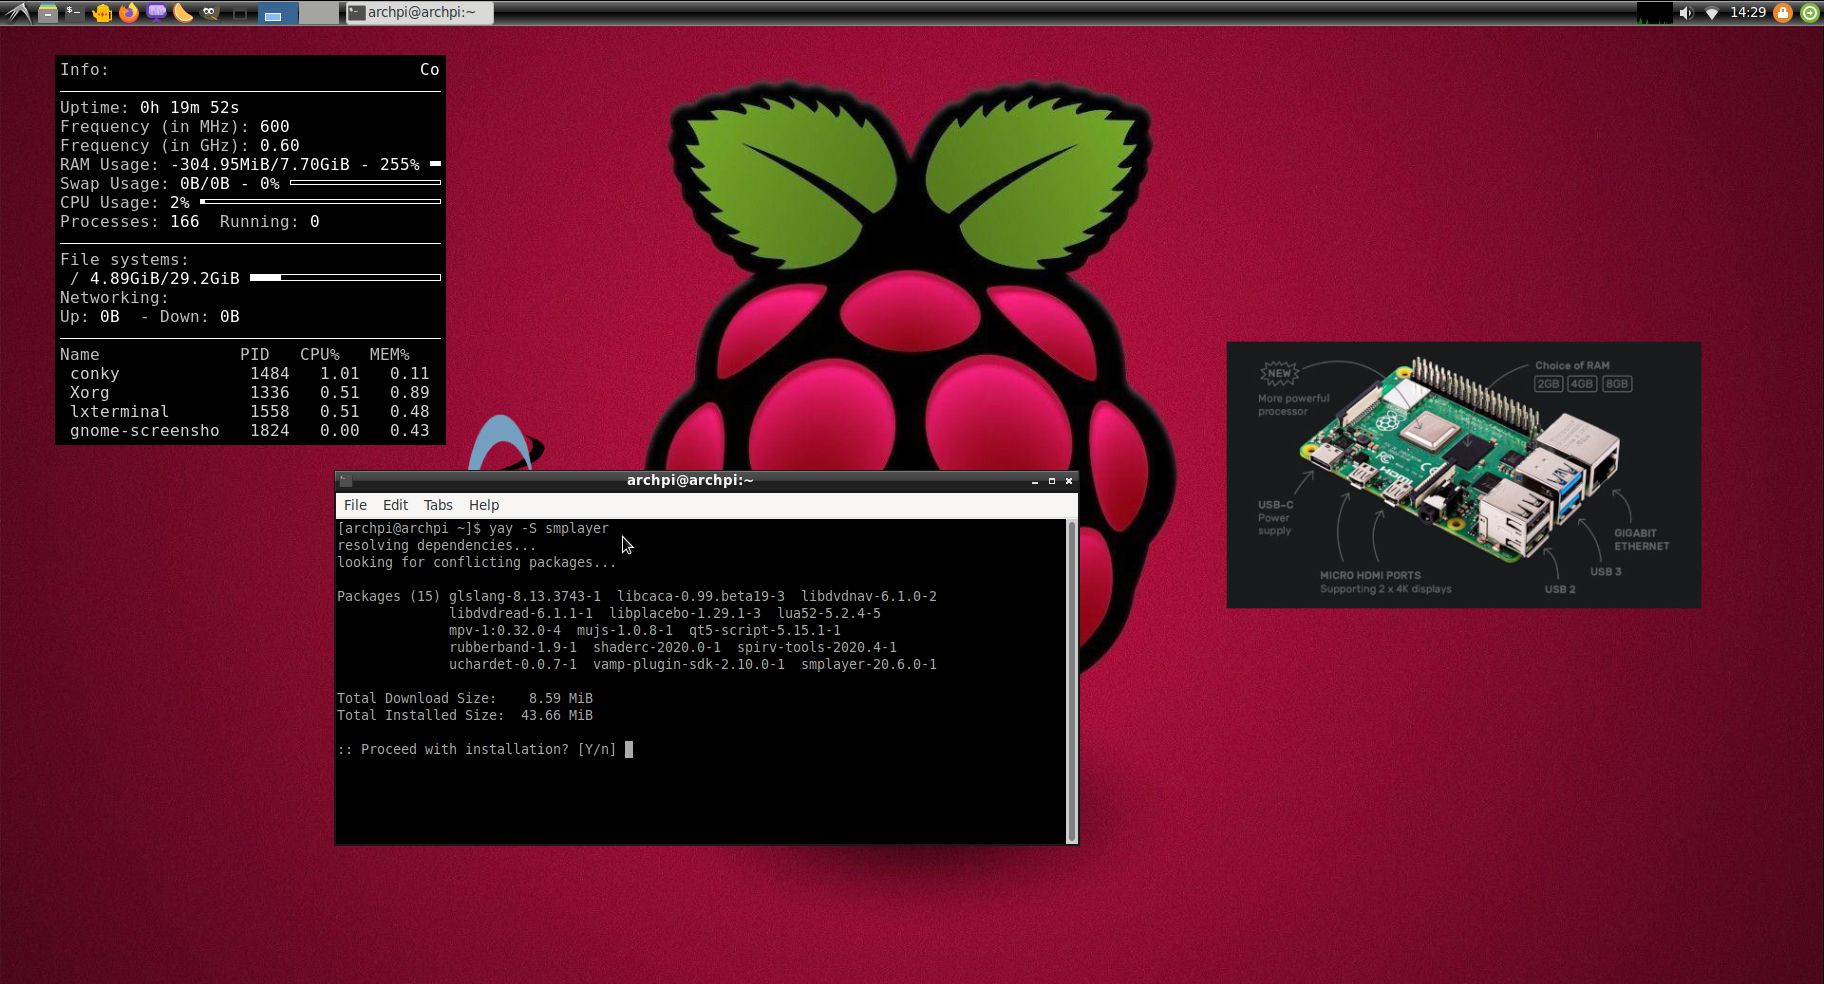
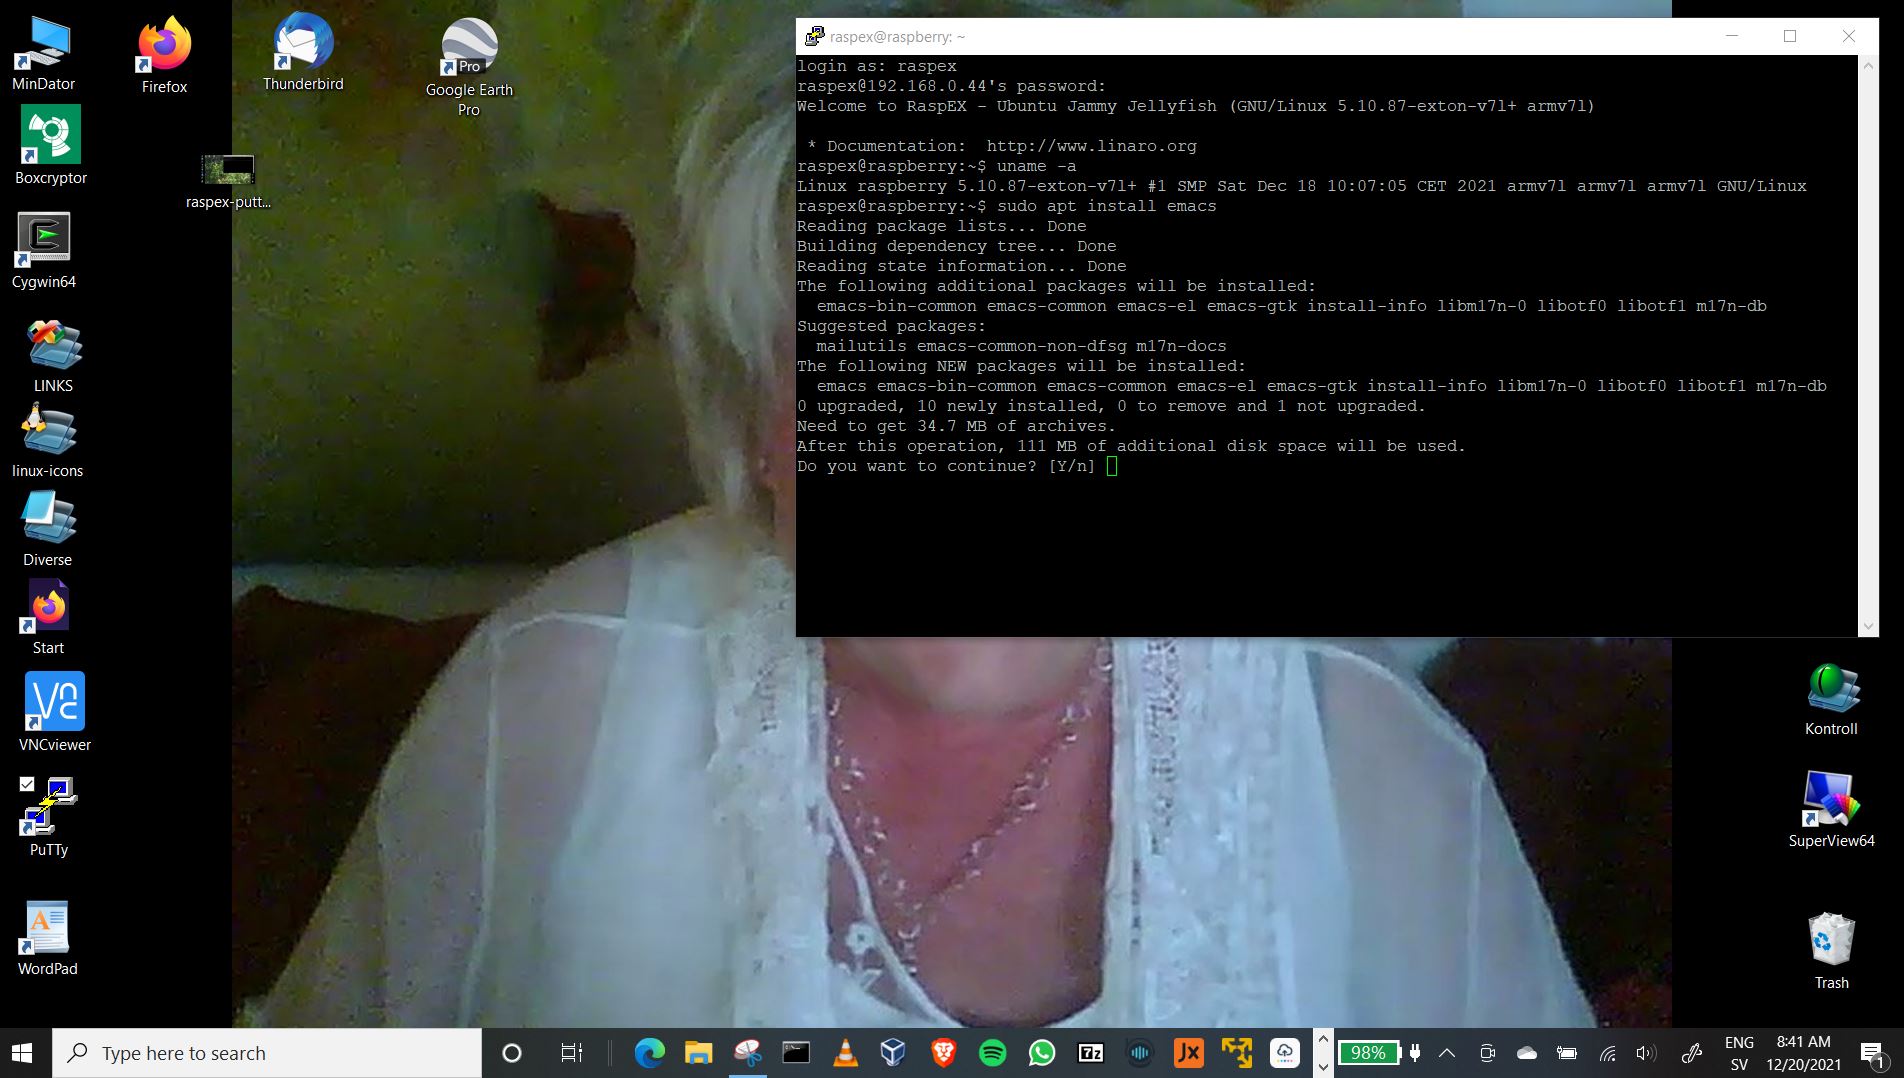
RaspAnd 14 can be installed to a Micro SD card (preferable a class 10 card) in Windows 11/10 using Rufus, Win32 Disk Imager or Etcher. You can alternatively (of course) use the dd-command in a Linux system. Unzip the downloaded file raspand-android-14-rpi5-1060mb-240625.zip. Then open a terminal and run the command dd if=raspand-android-14-rpi5-7000mb-240624.img of=/dev/sdX bs=4MiB
(Change X to b, d or…).
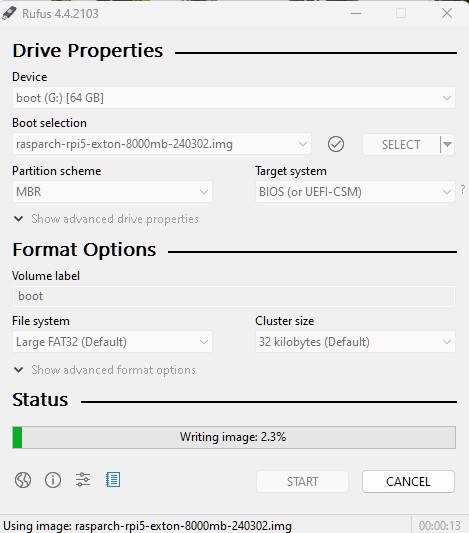
Using Rufus it will look like this.
Different Micro SD Cards
For best performance you should use SD Cards of good quality. I can recommend Samsung MicroSD Pro Plus 32GB Class 10. Write speed up to 95 MB/s. Also Samsung MicroSD EVO 16GB Class 10. Write speed up to 48 MB/s. Price 47 $ respectively 10 $ (in Sweden).
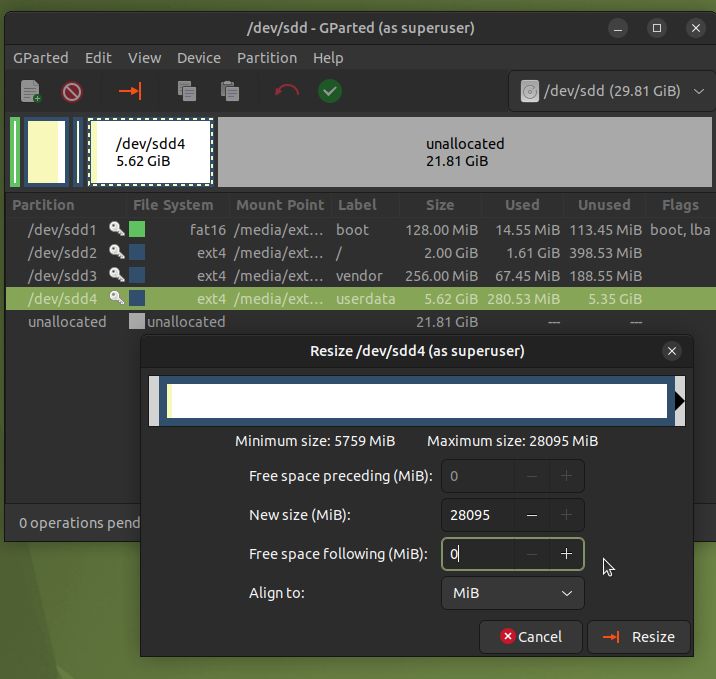
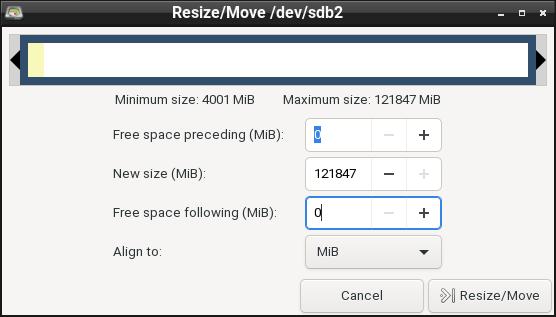
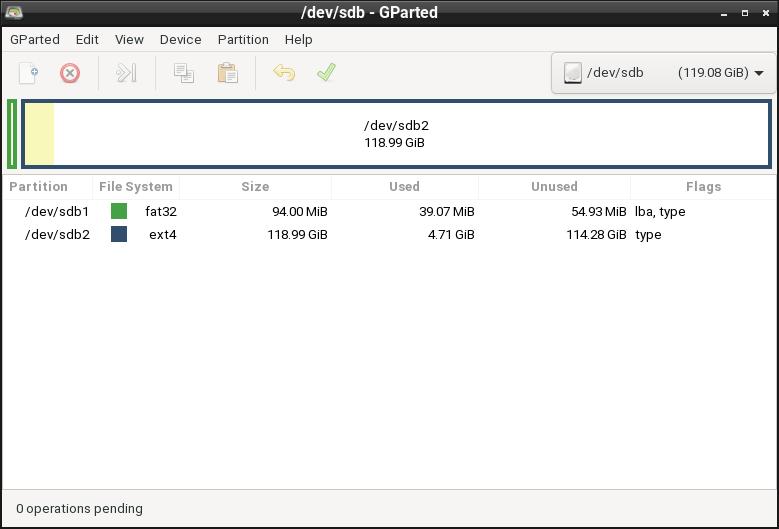
Using GParted to increase the data partition
As I said above RaspAnd 14 can be installed in Windows using Rufus, Win32 Disk Imager or Etcher. This method has one disadvantage. Only about about 5GB can be used as data storage no matter which card you use. Now say, for example, that you use Micro SD card (preferable a class 10 card) of 128GB about 123GB will be “wasted”. You can, however, change that with the help of GParted. See below how to do it.
How to get rid of the 5GB limit after Rufus, Win32 Disk Imager or Etcher has been used:
– write the image with Rufus, Win32 Disk Imager or Etcher
– start up Ubuntu or another Linux system – you can also use a Linux Live CD/USB stick
– insert your card
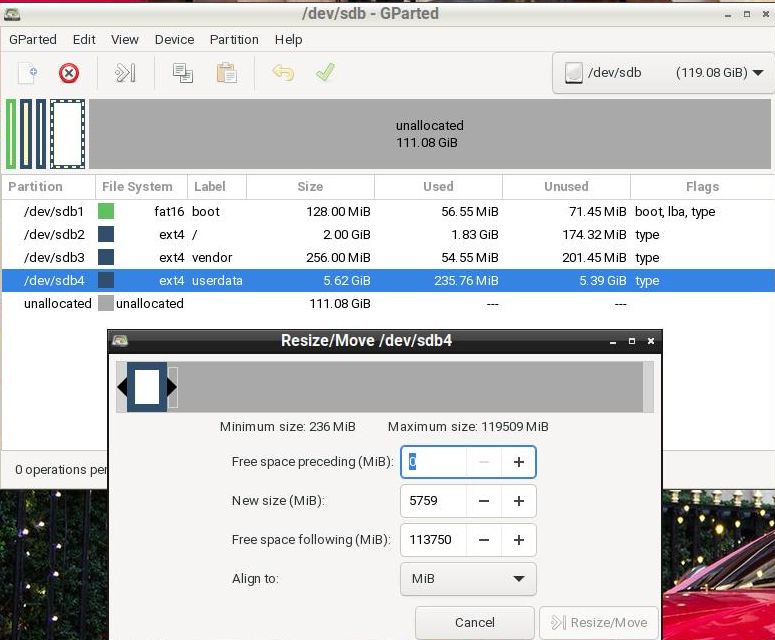
– start GParted – screenshot before resizing
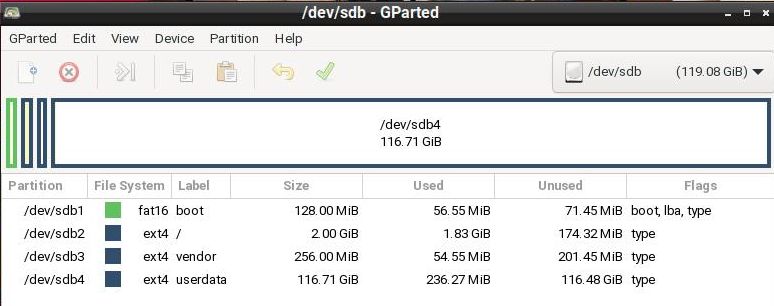
– resize the DATA partition – screenshot after resizing
– done!
Kernel
Kernel 6.1.84-gfd-v8 is used in RaspAnd 14 Build 240625.
After boot – first Desktop
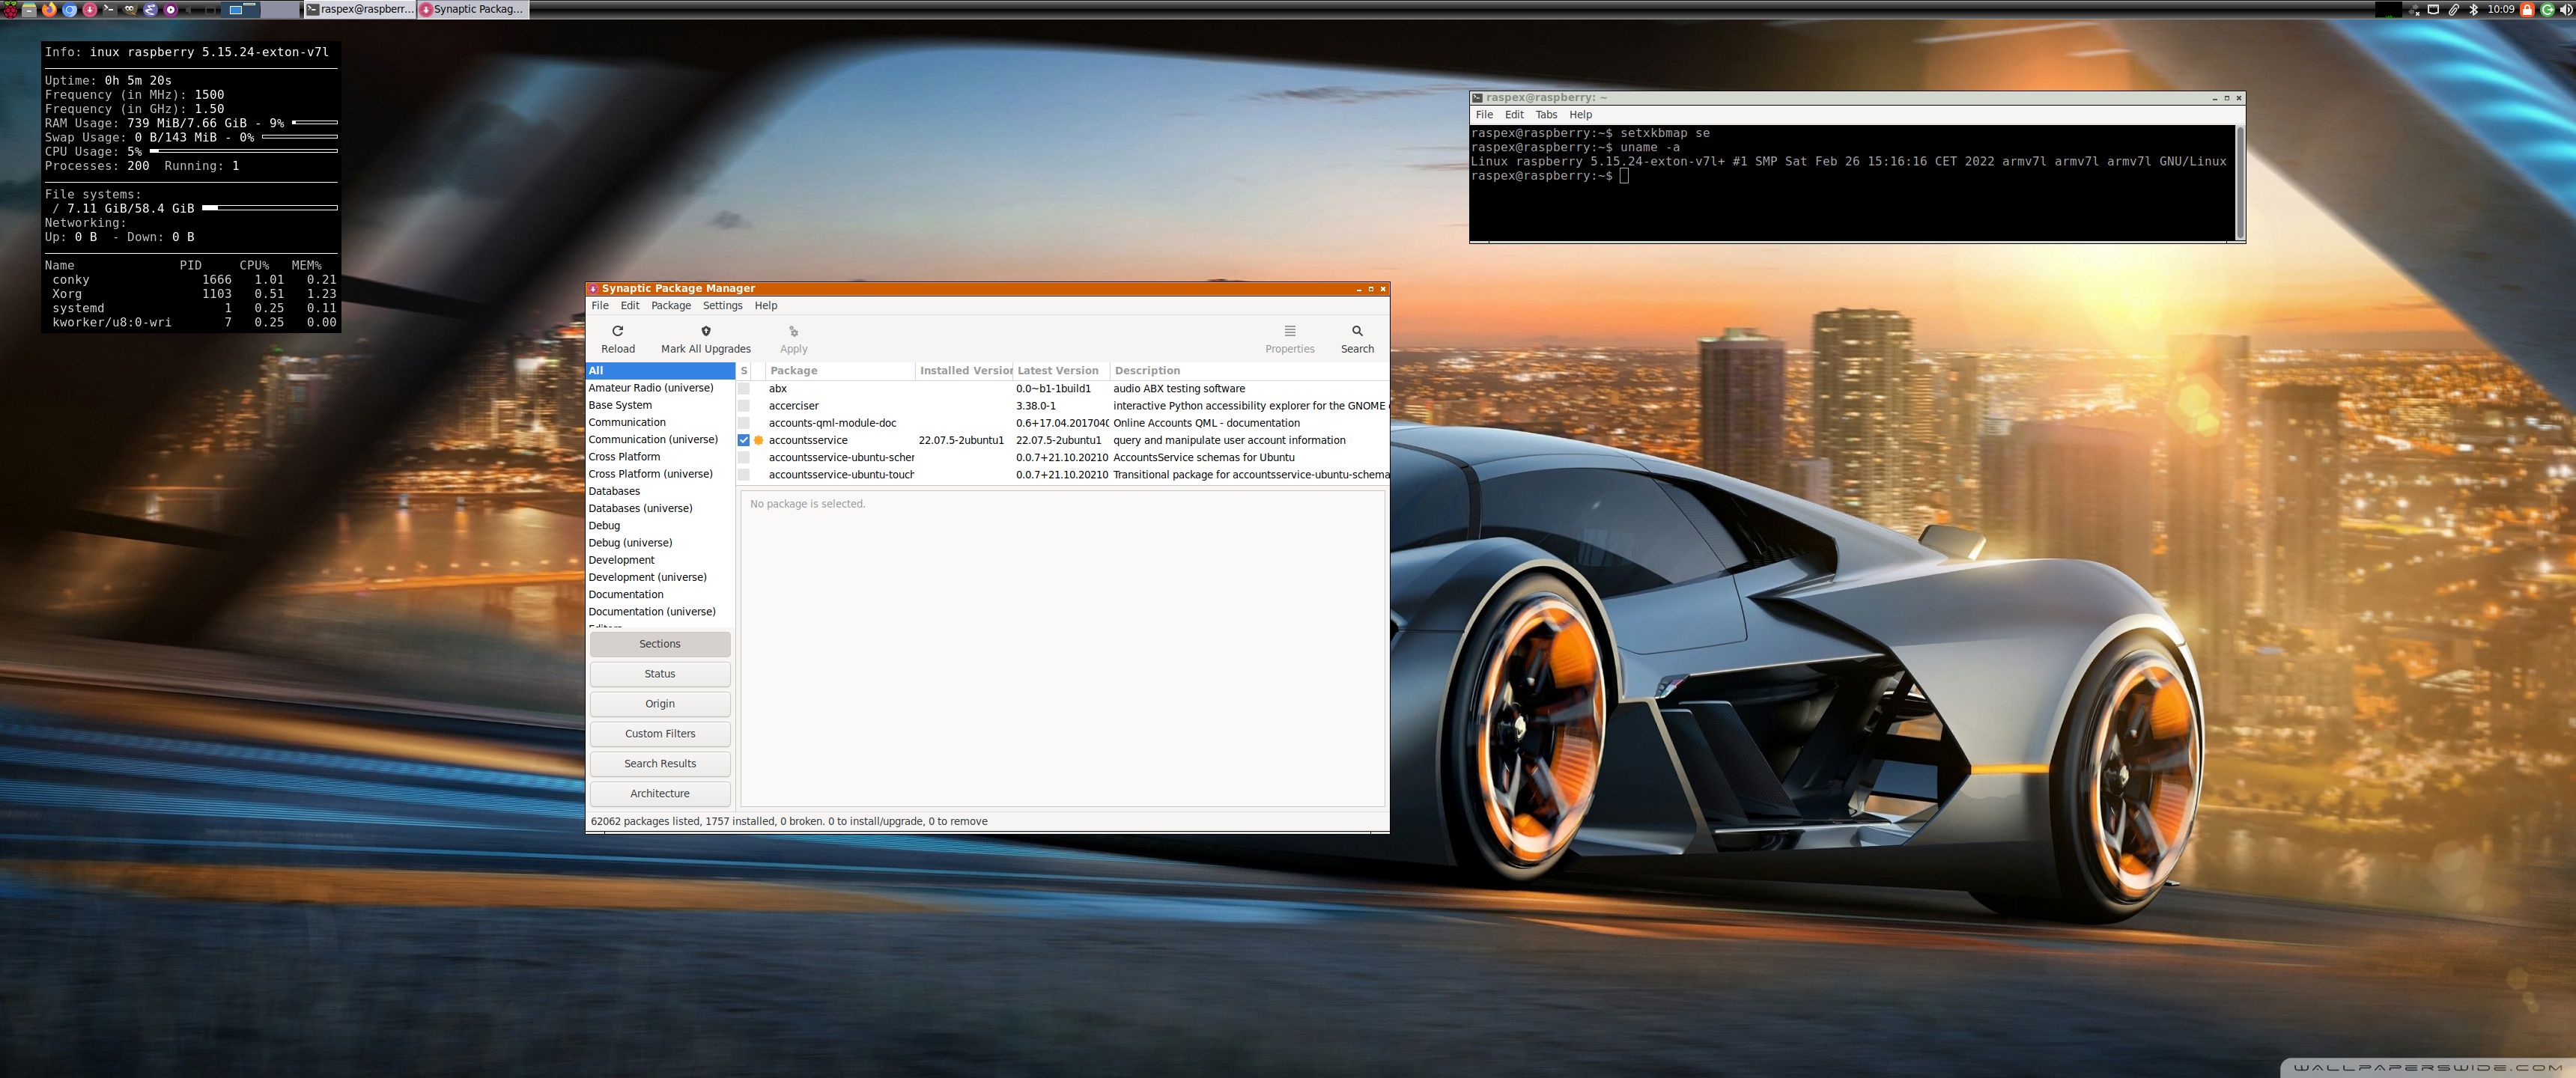
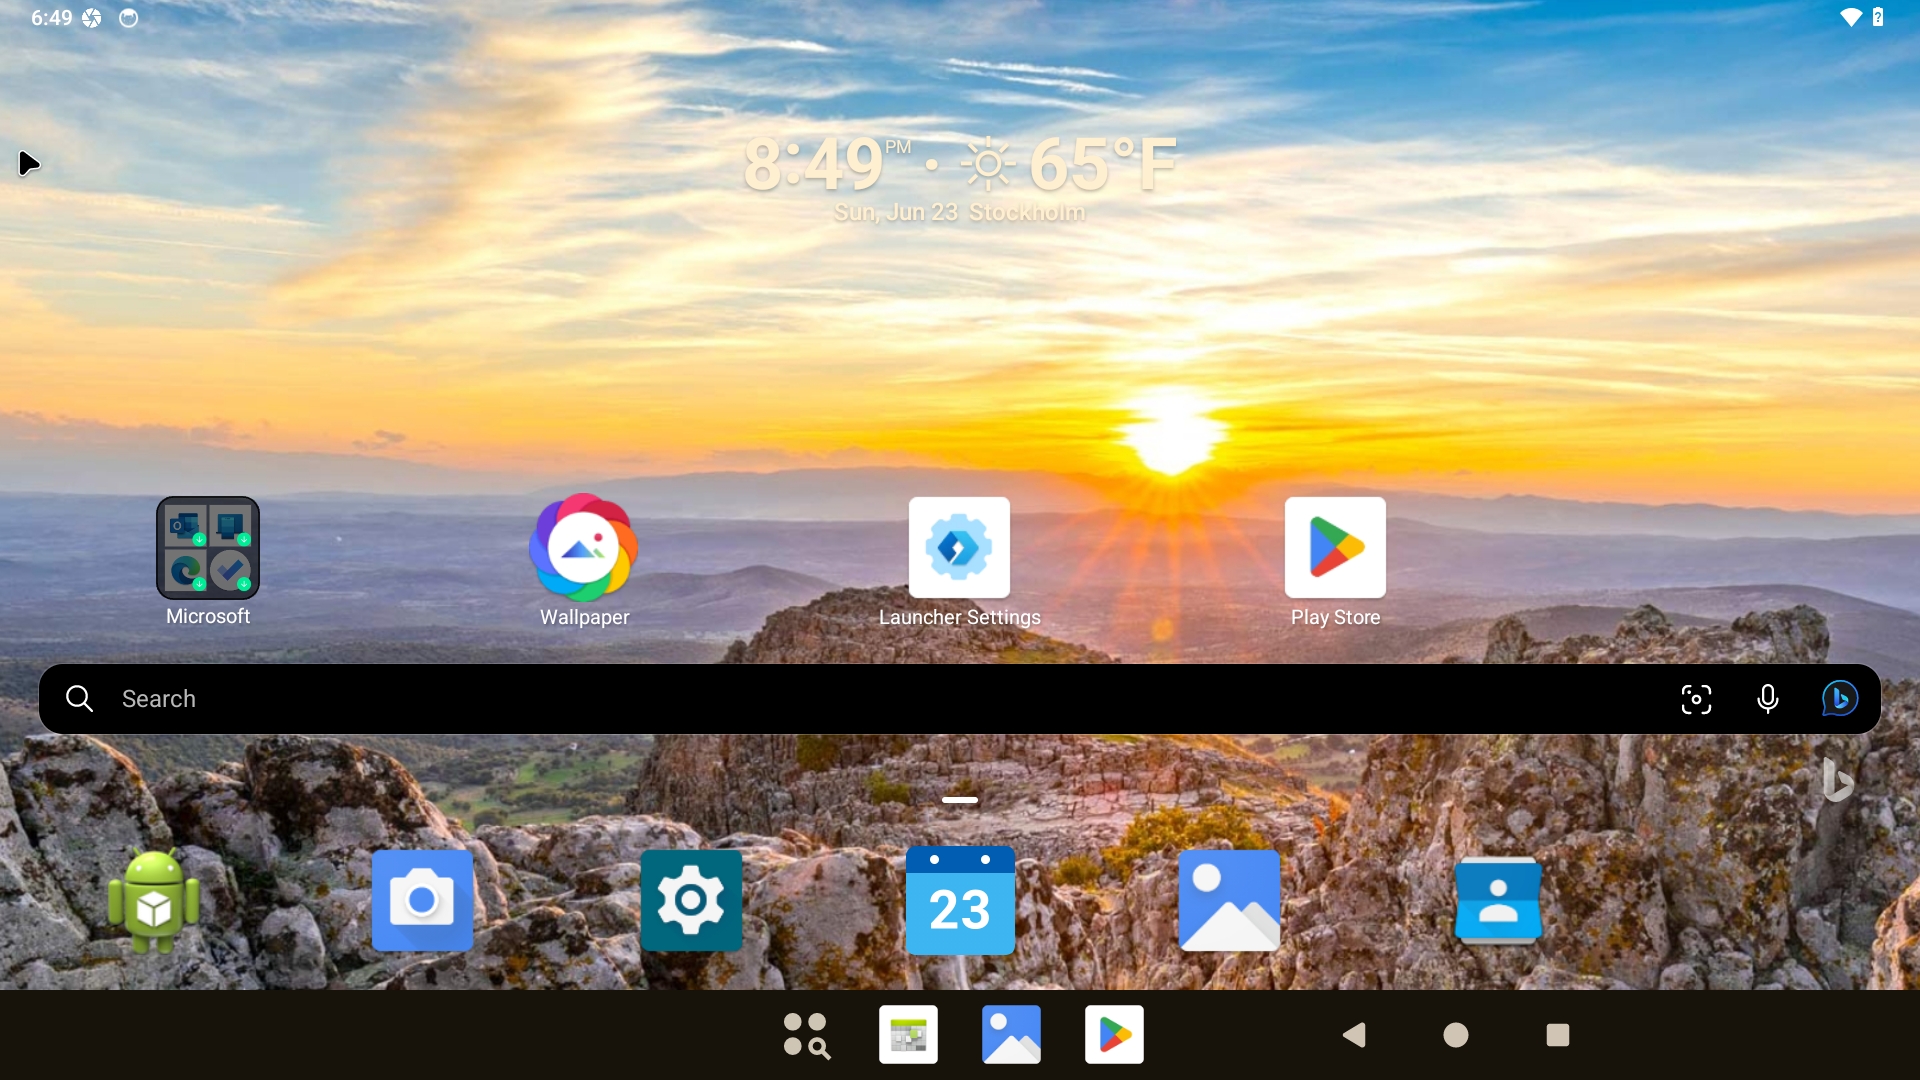
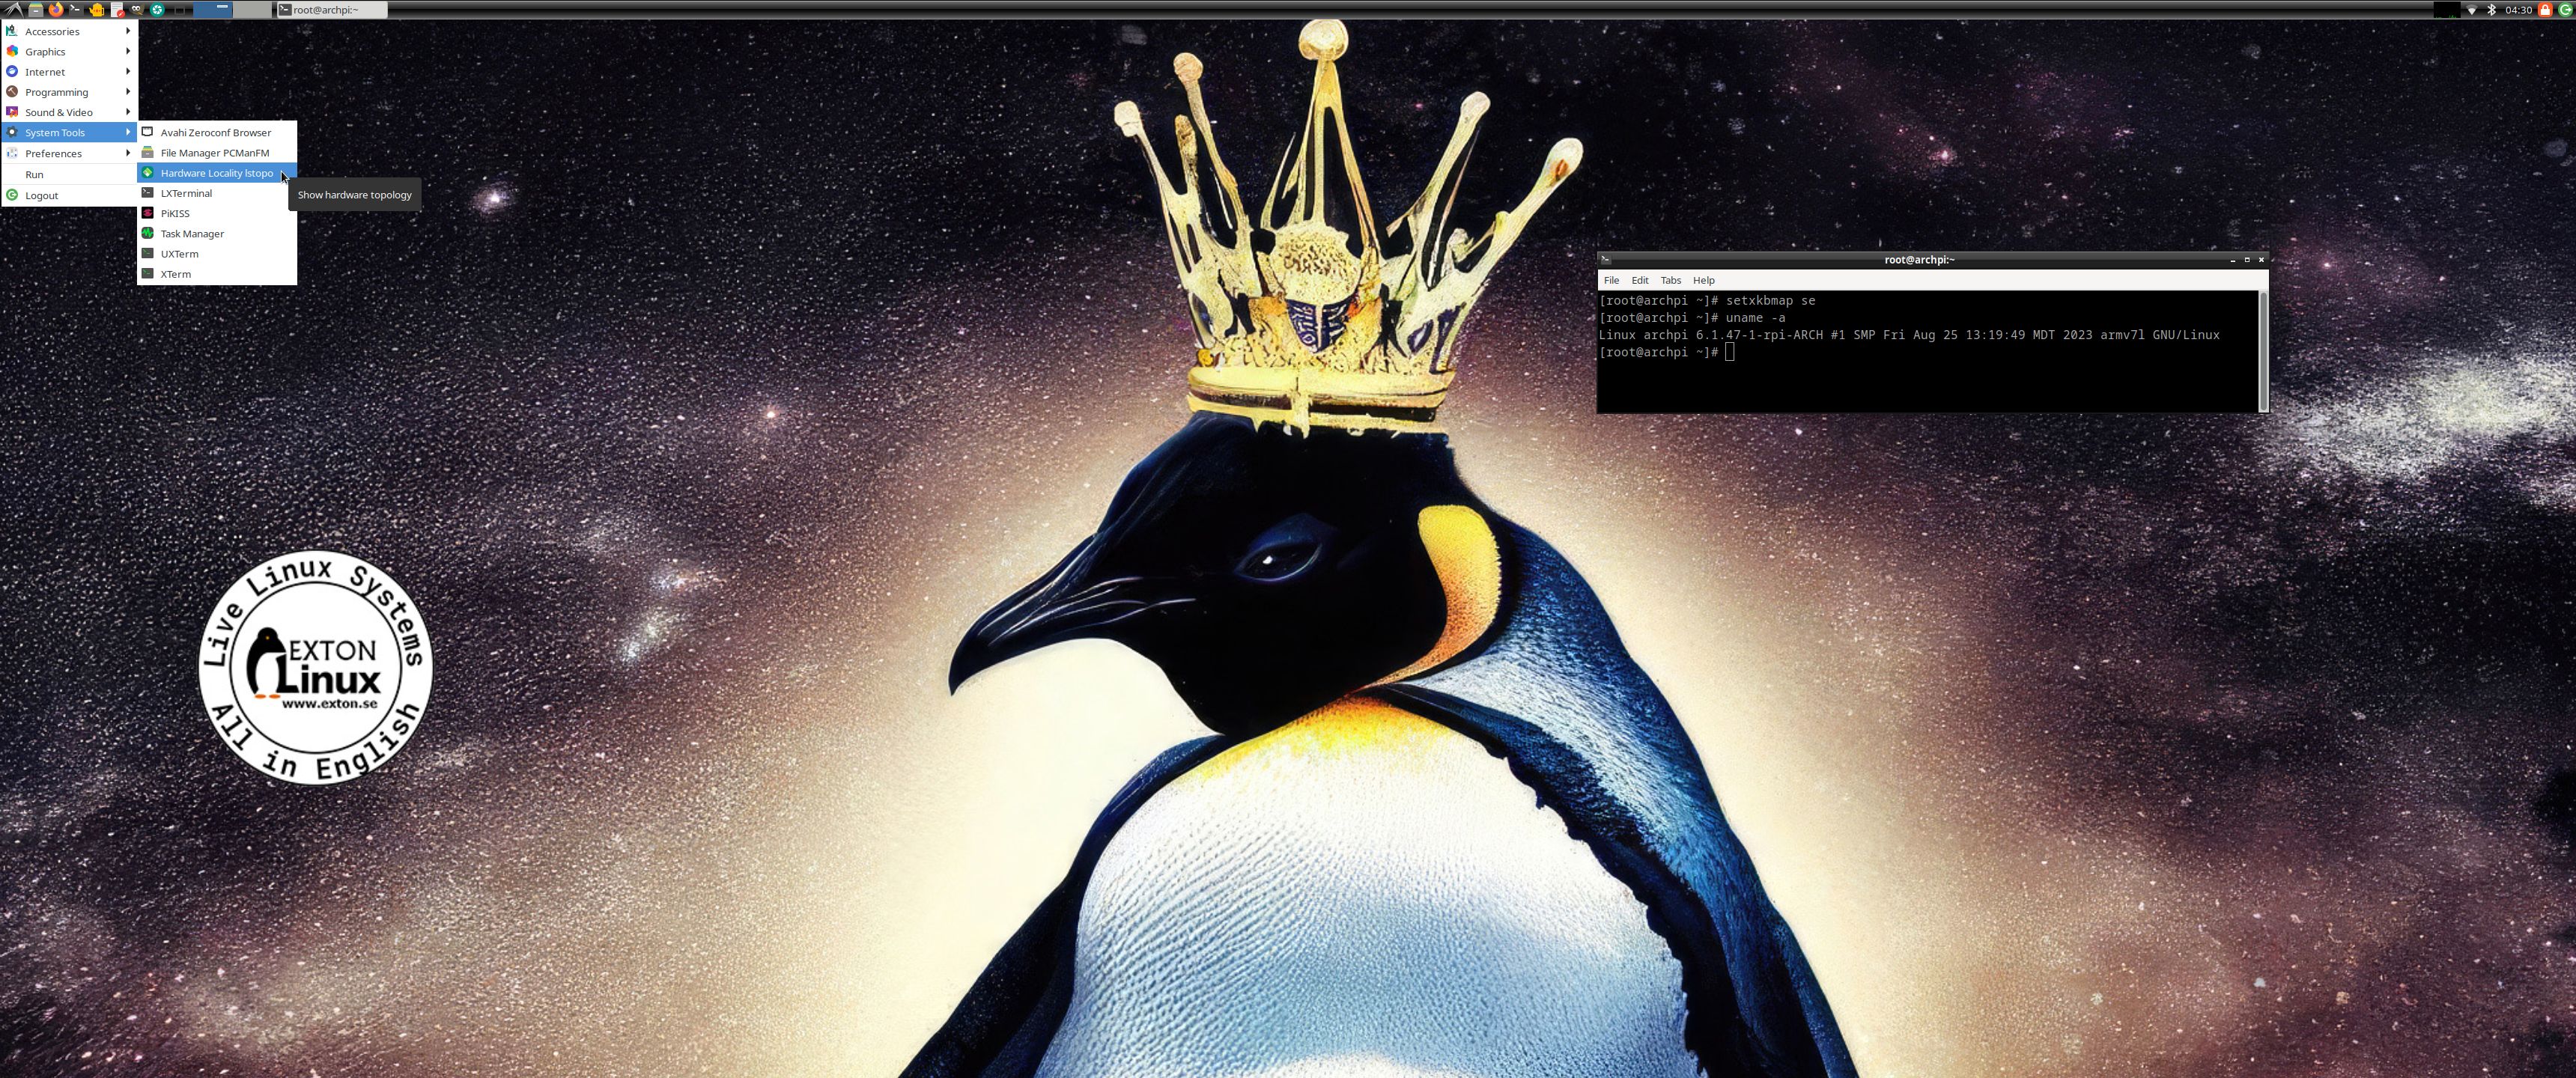
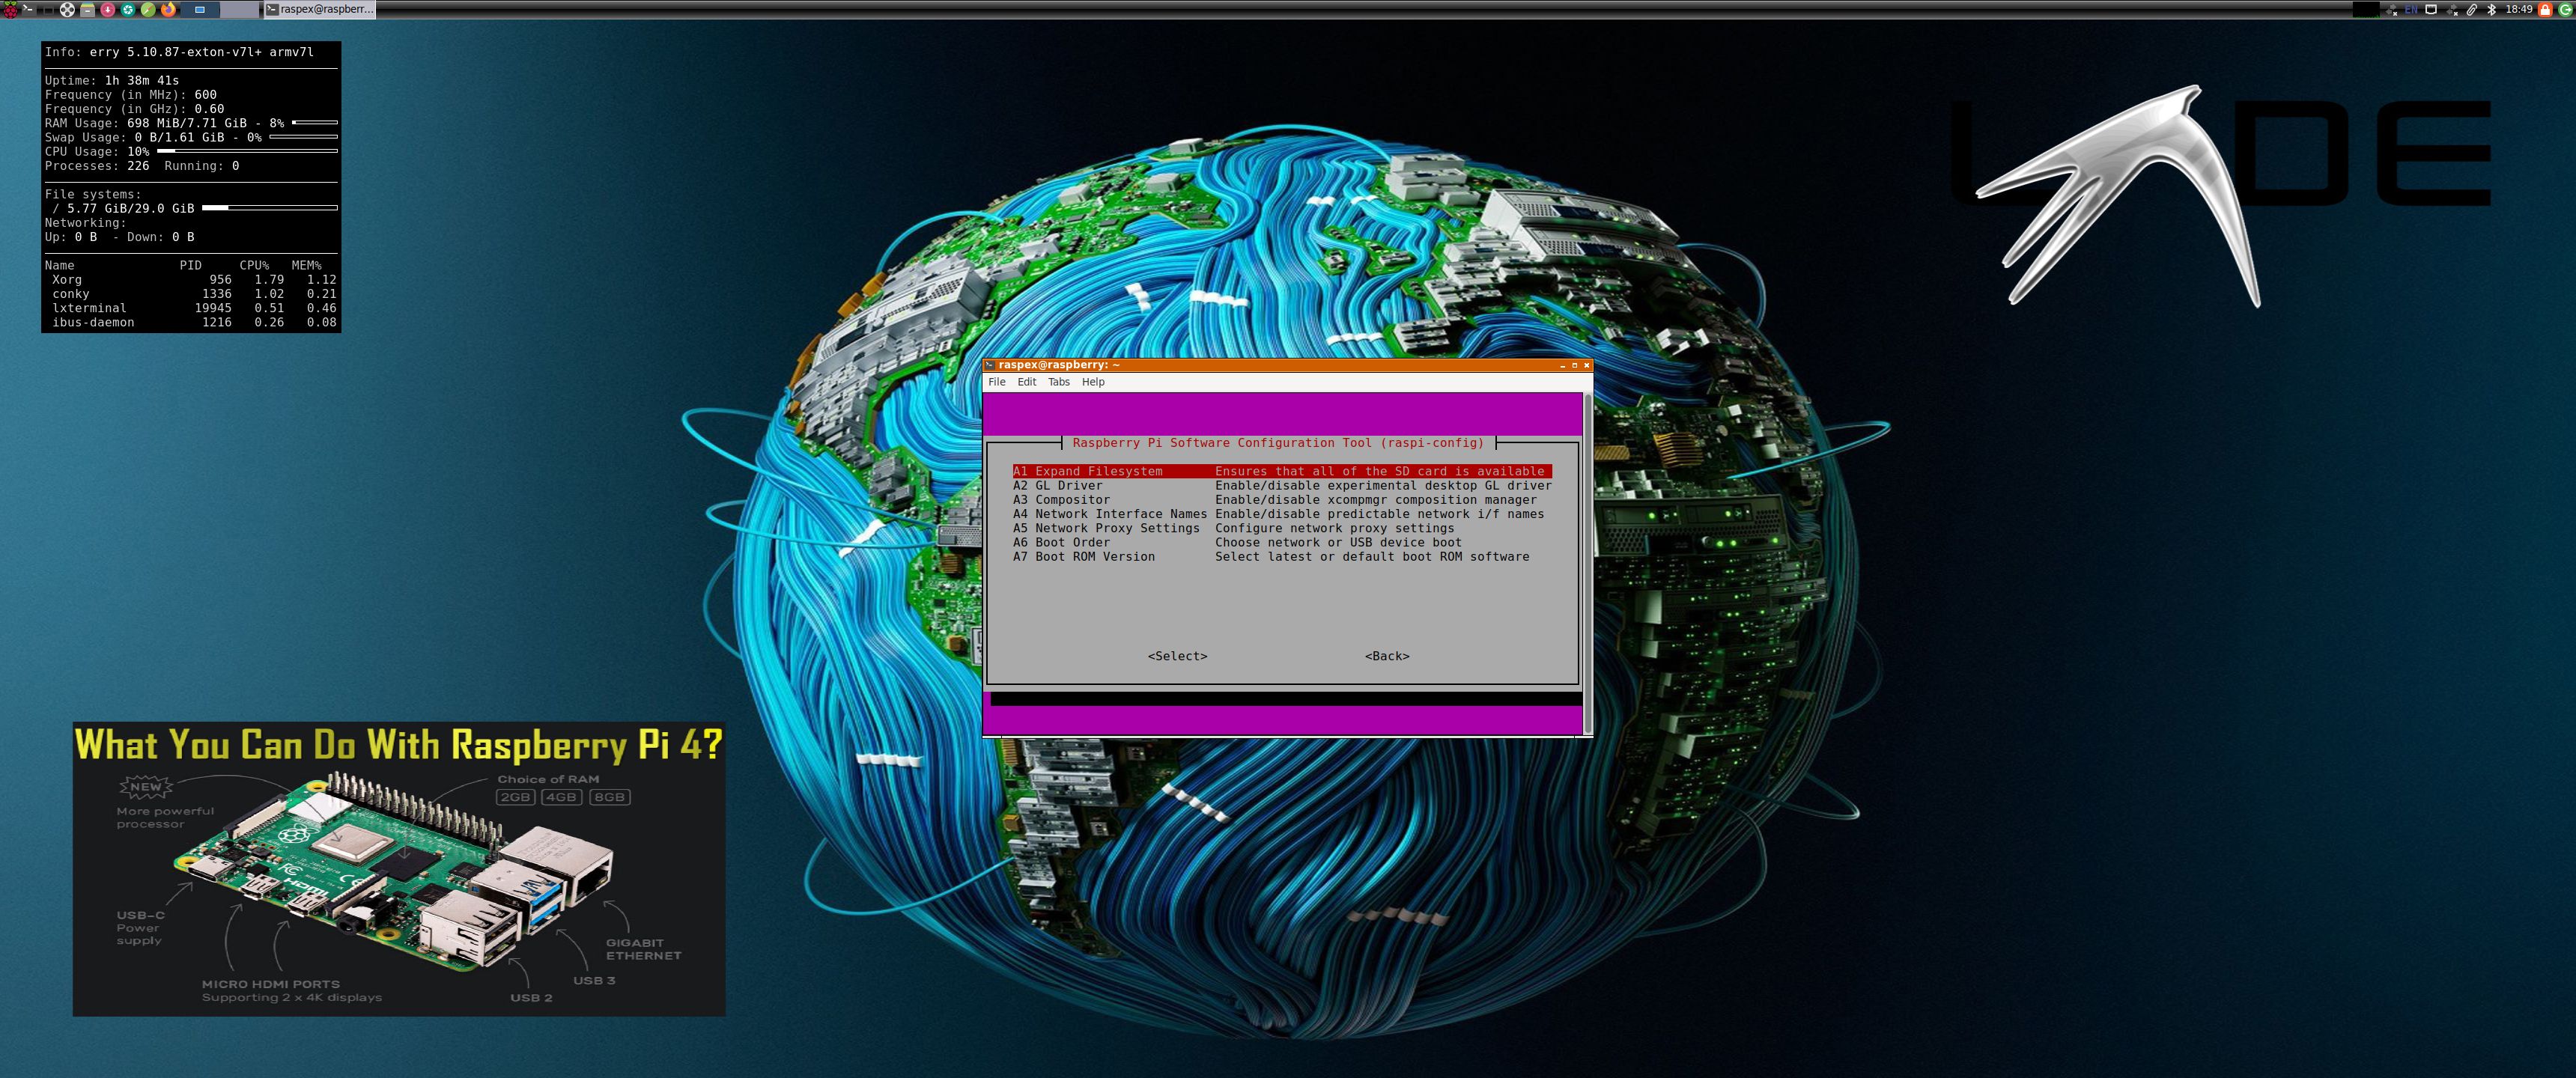
Your first desktop will look like this if you use the Microsoft Launcher (pre-installed). You can install another launcher via Google Play to use instead of Microsoft Launcher. One of the best is Computer Launcher Pro. Watch this screenshot when I have installed Computer Launcher Pro, which isn’t pre-installed.
Screen resolution
The max screen resolution is 1920×1080 according to my experience. You can experiment with other resolutions if you want.
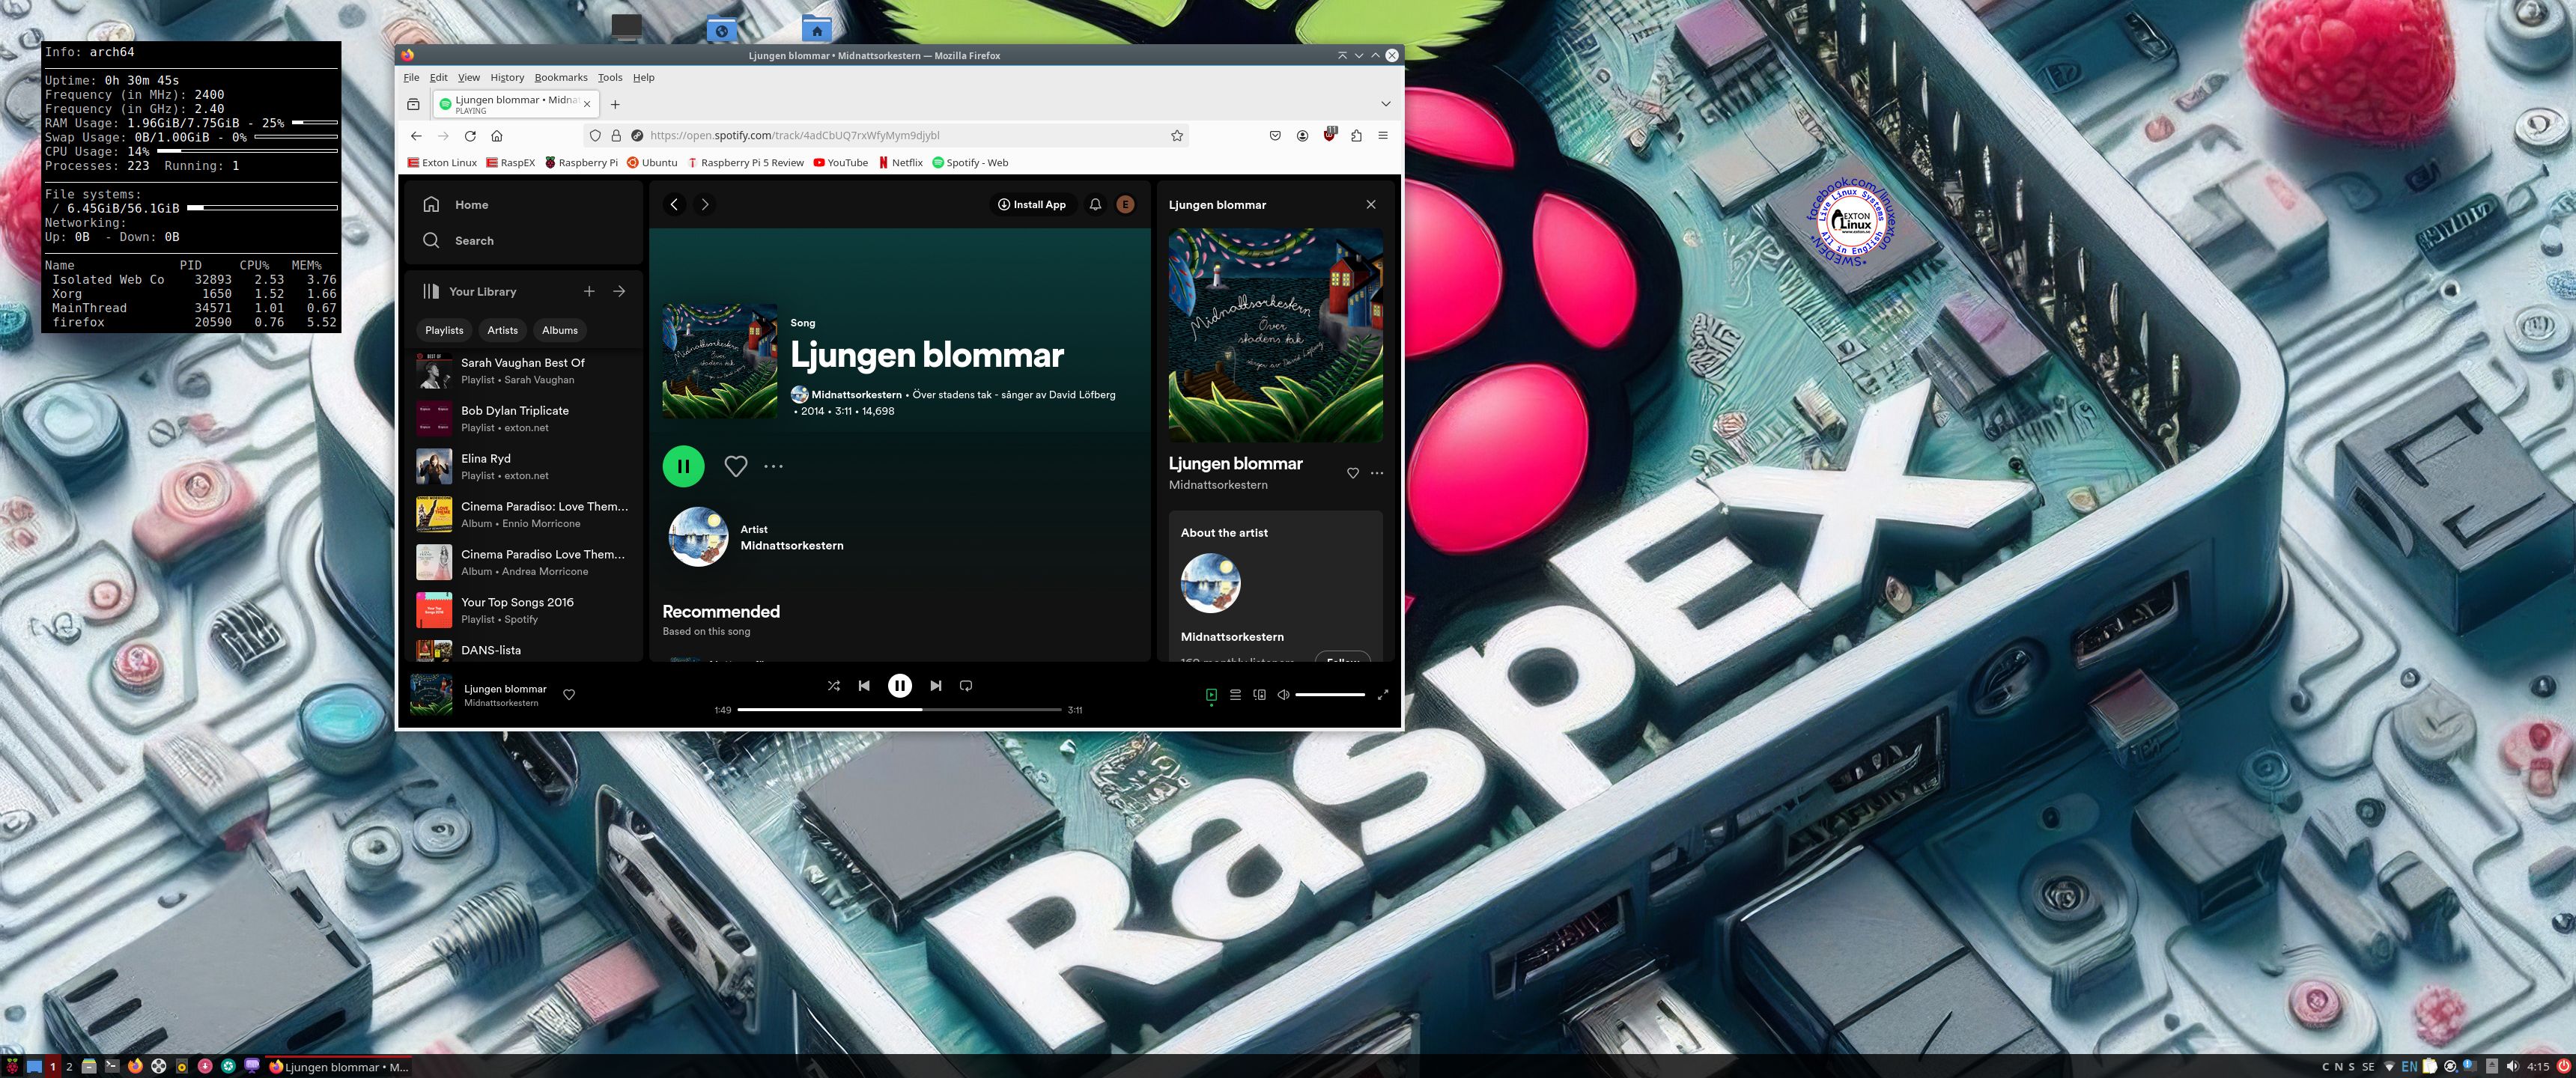
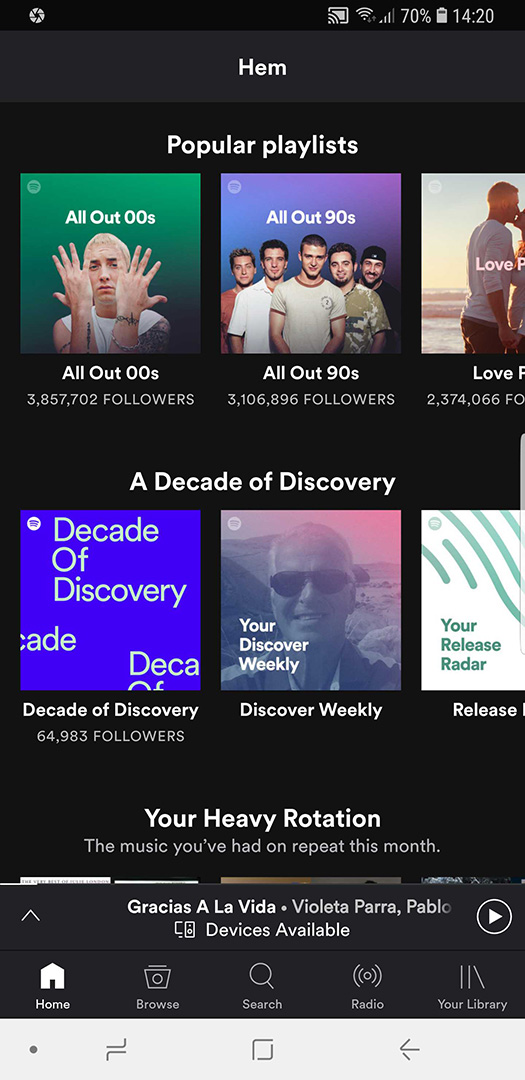
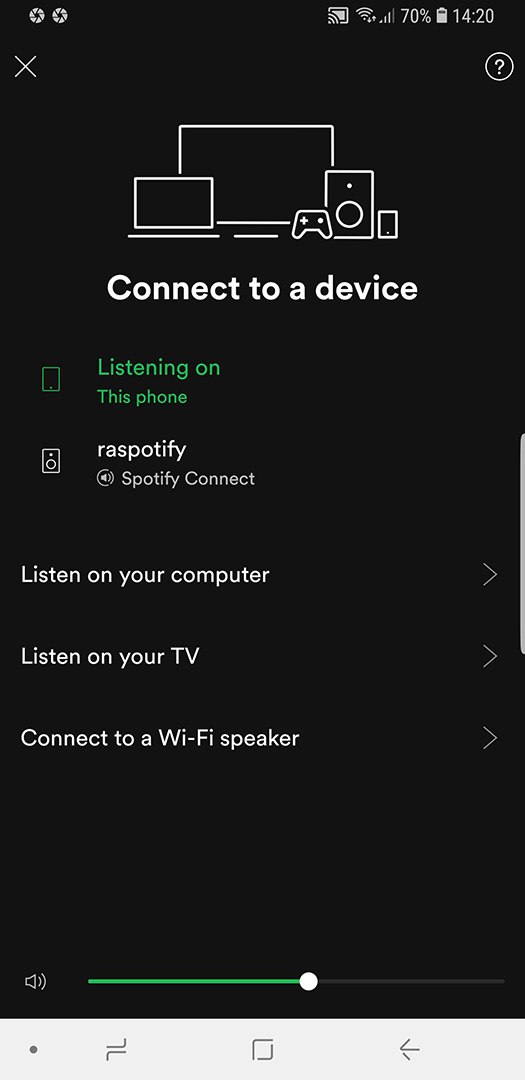
Spotify
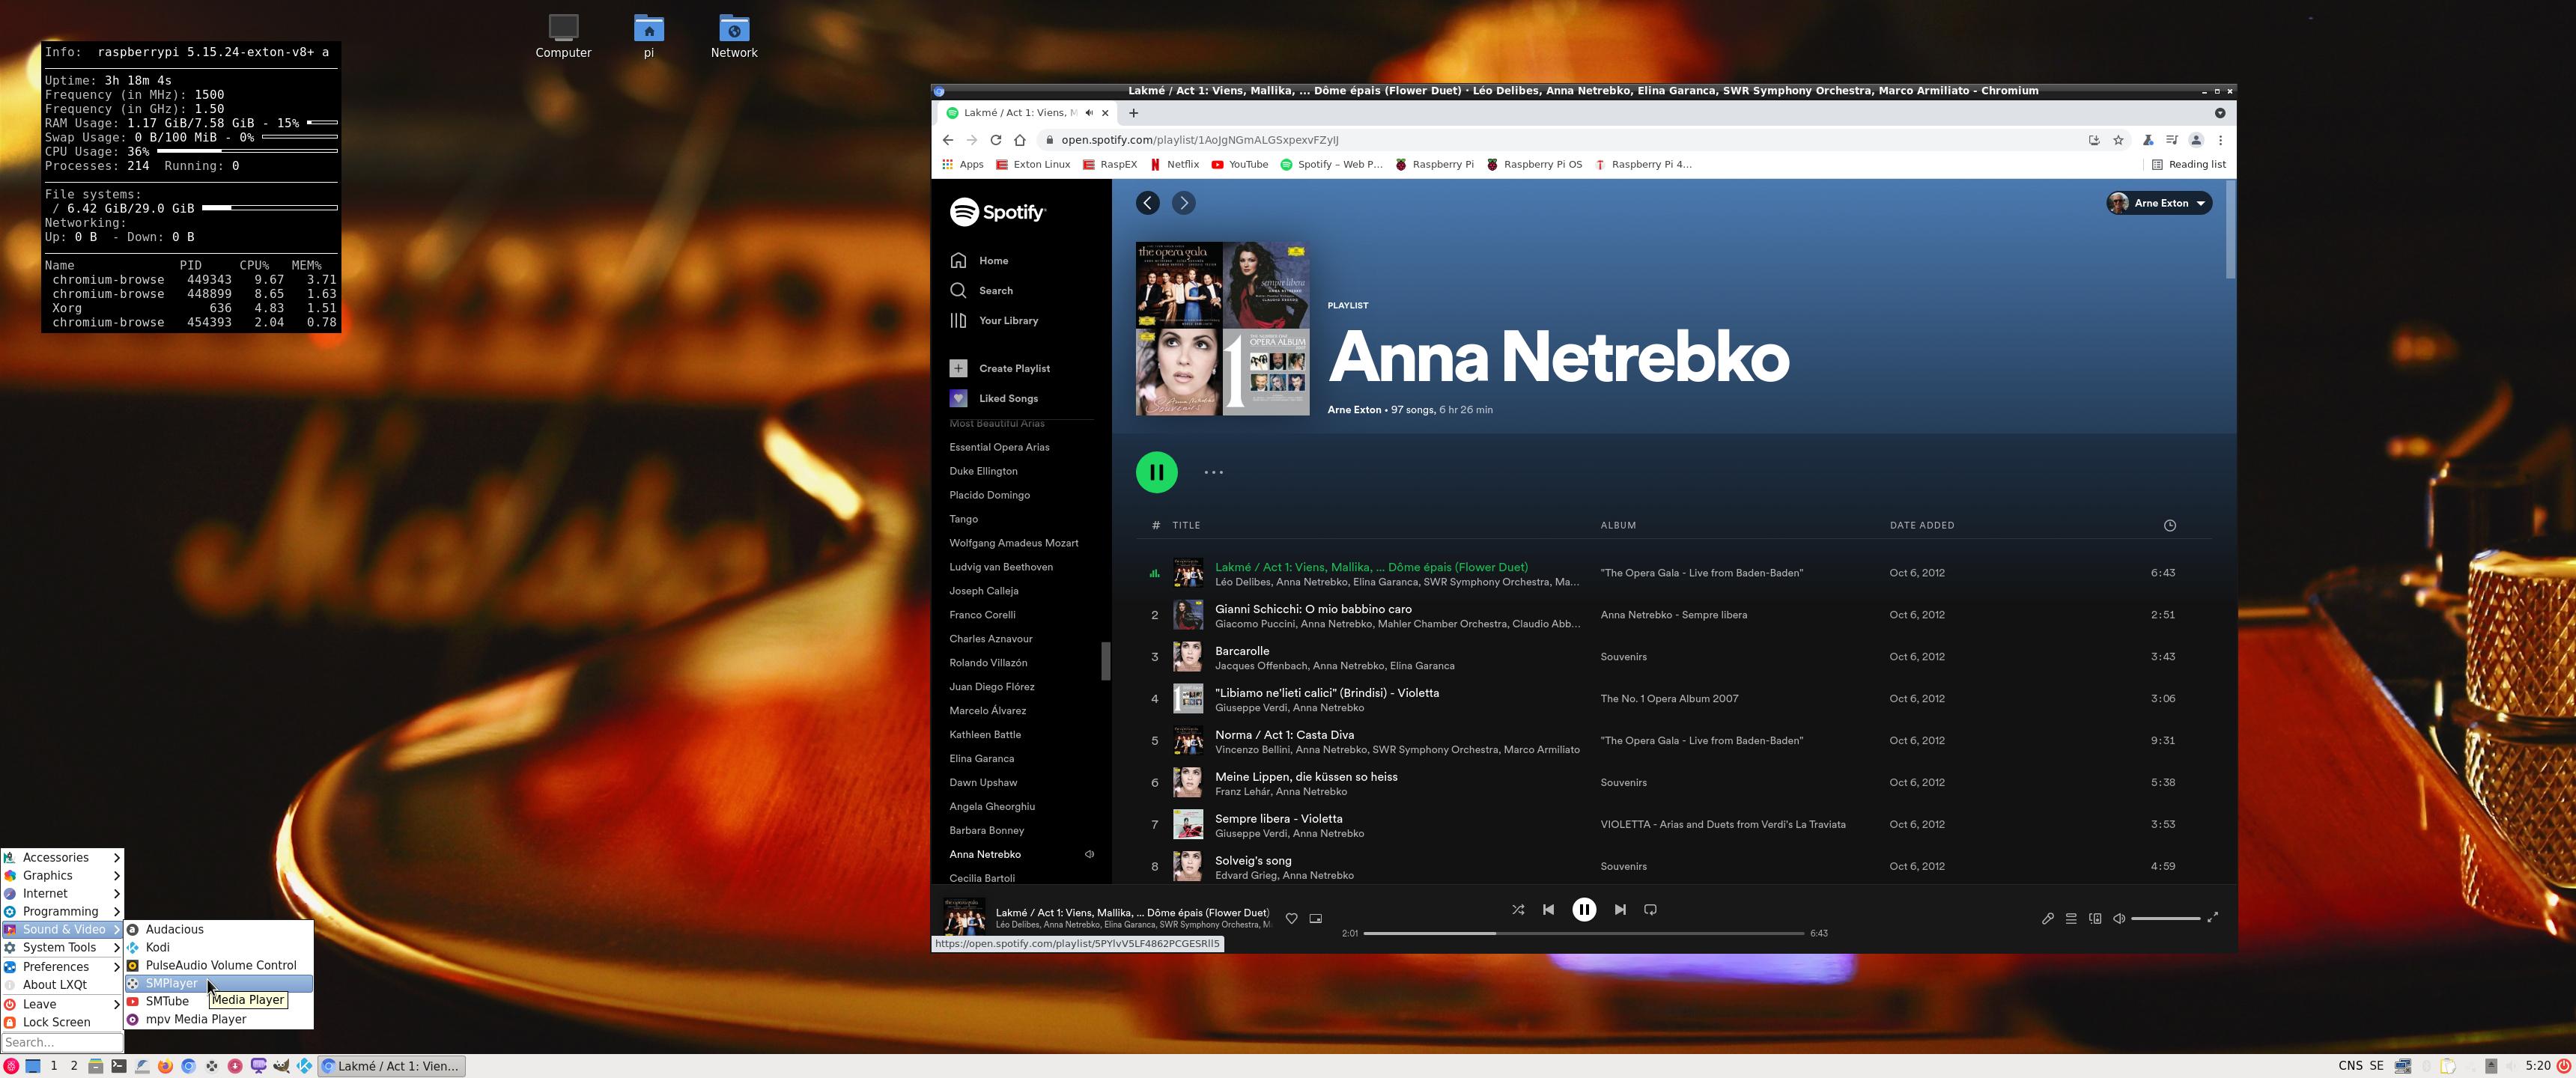
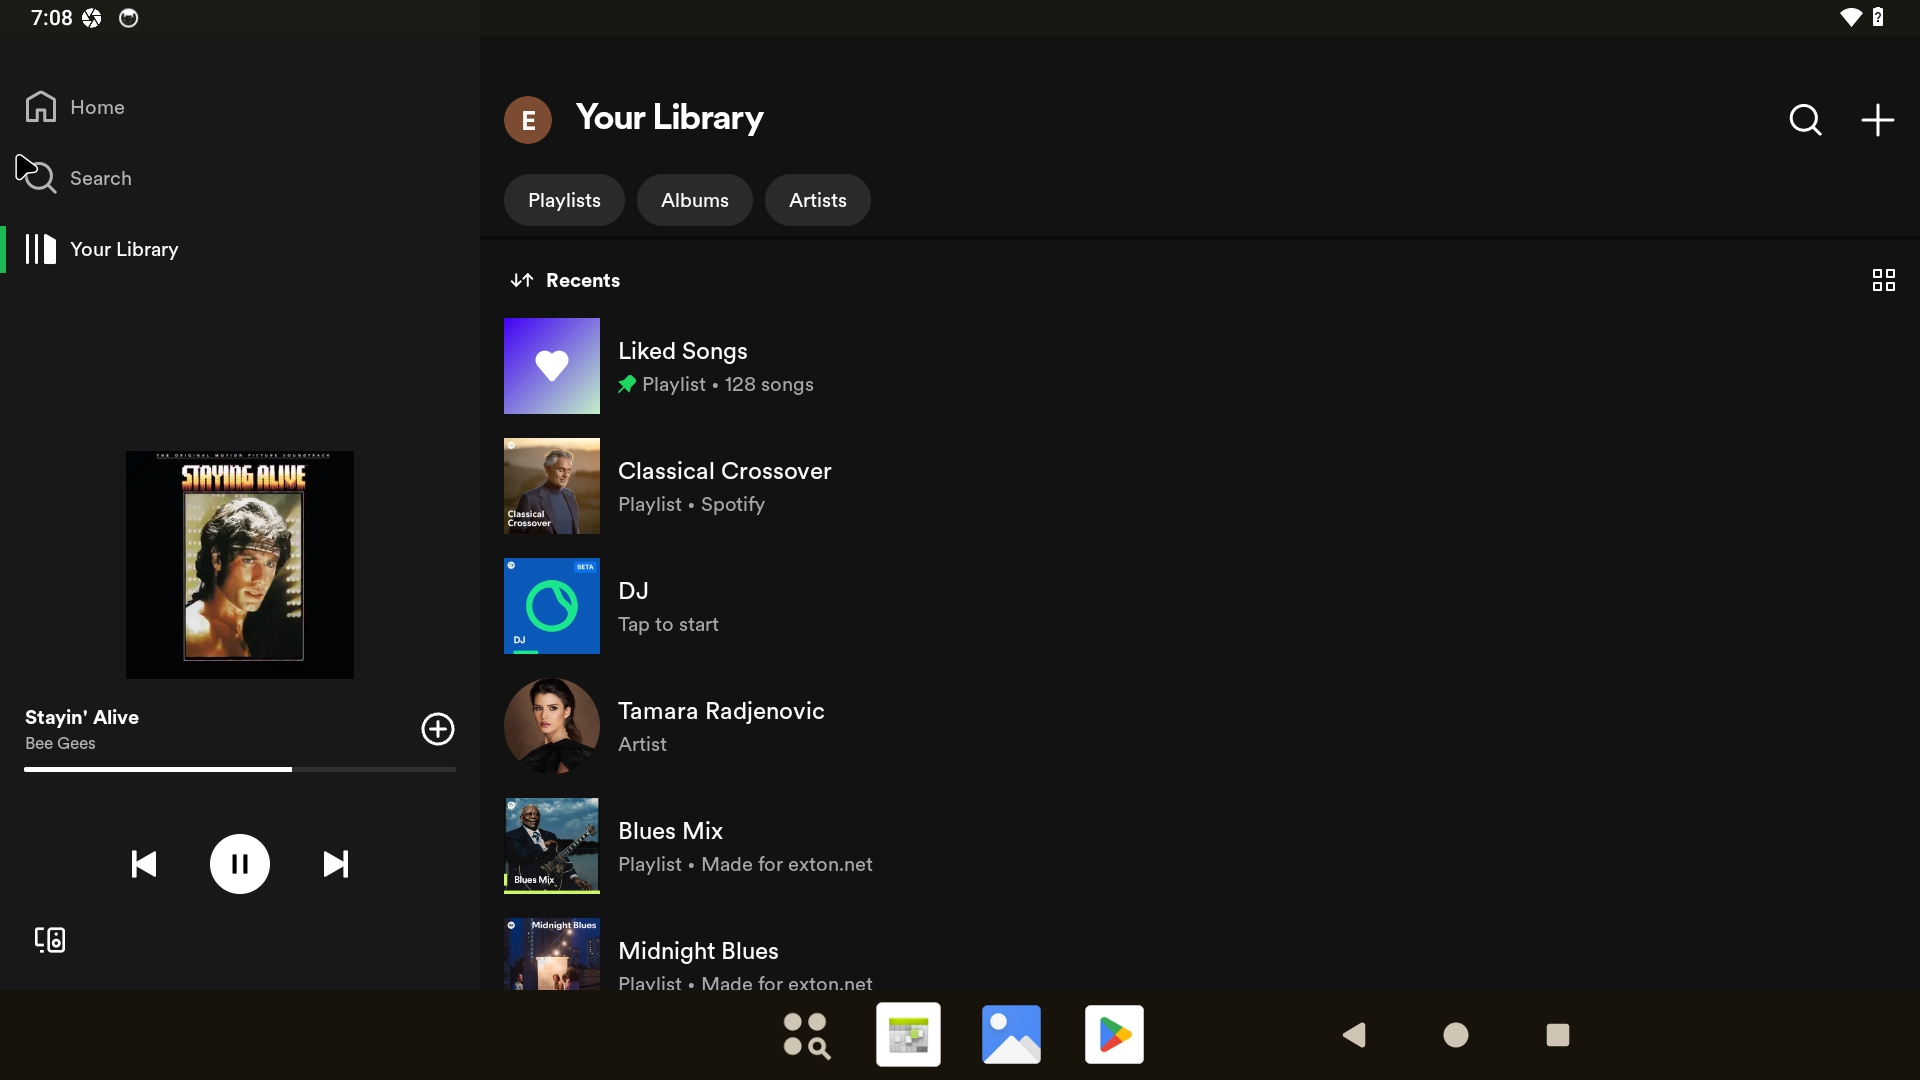
The Spotify app works very well. Watch this screenshot when Spotify is running.
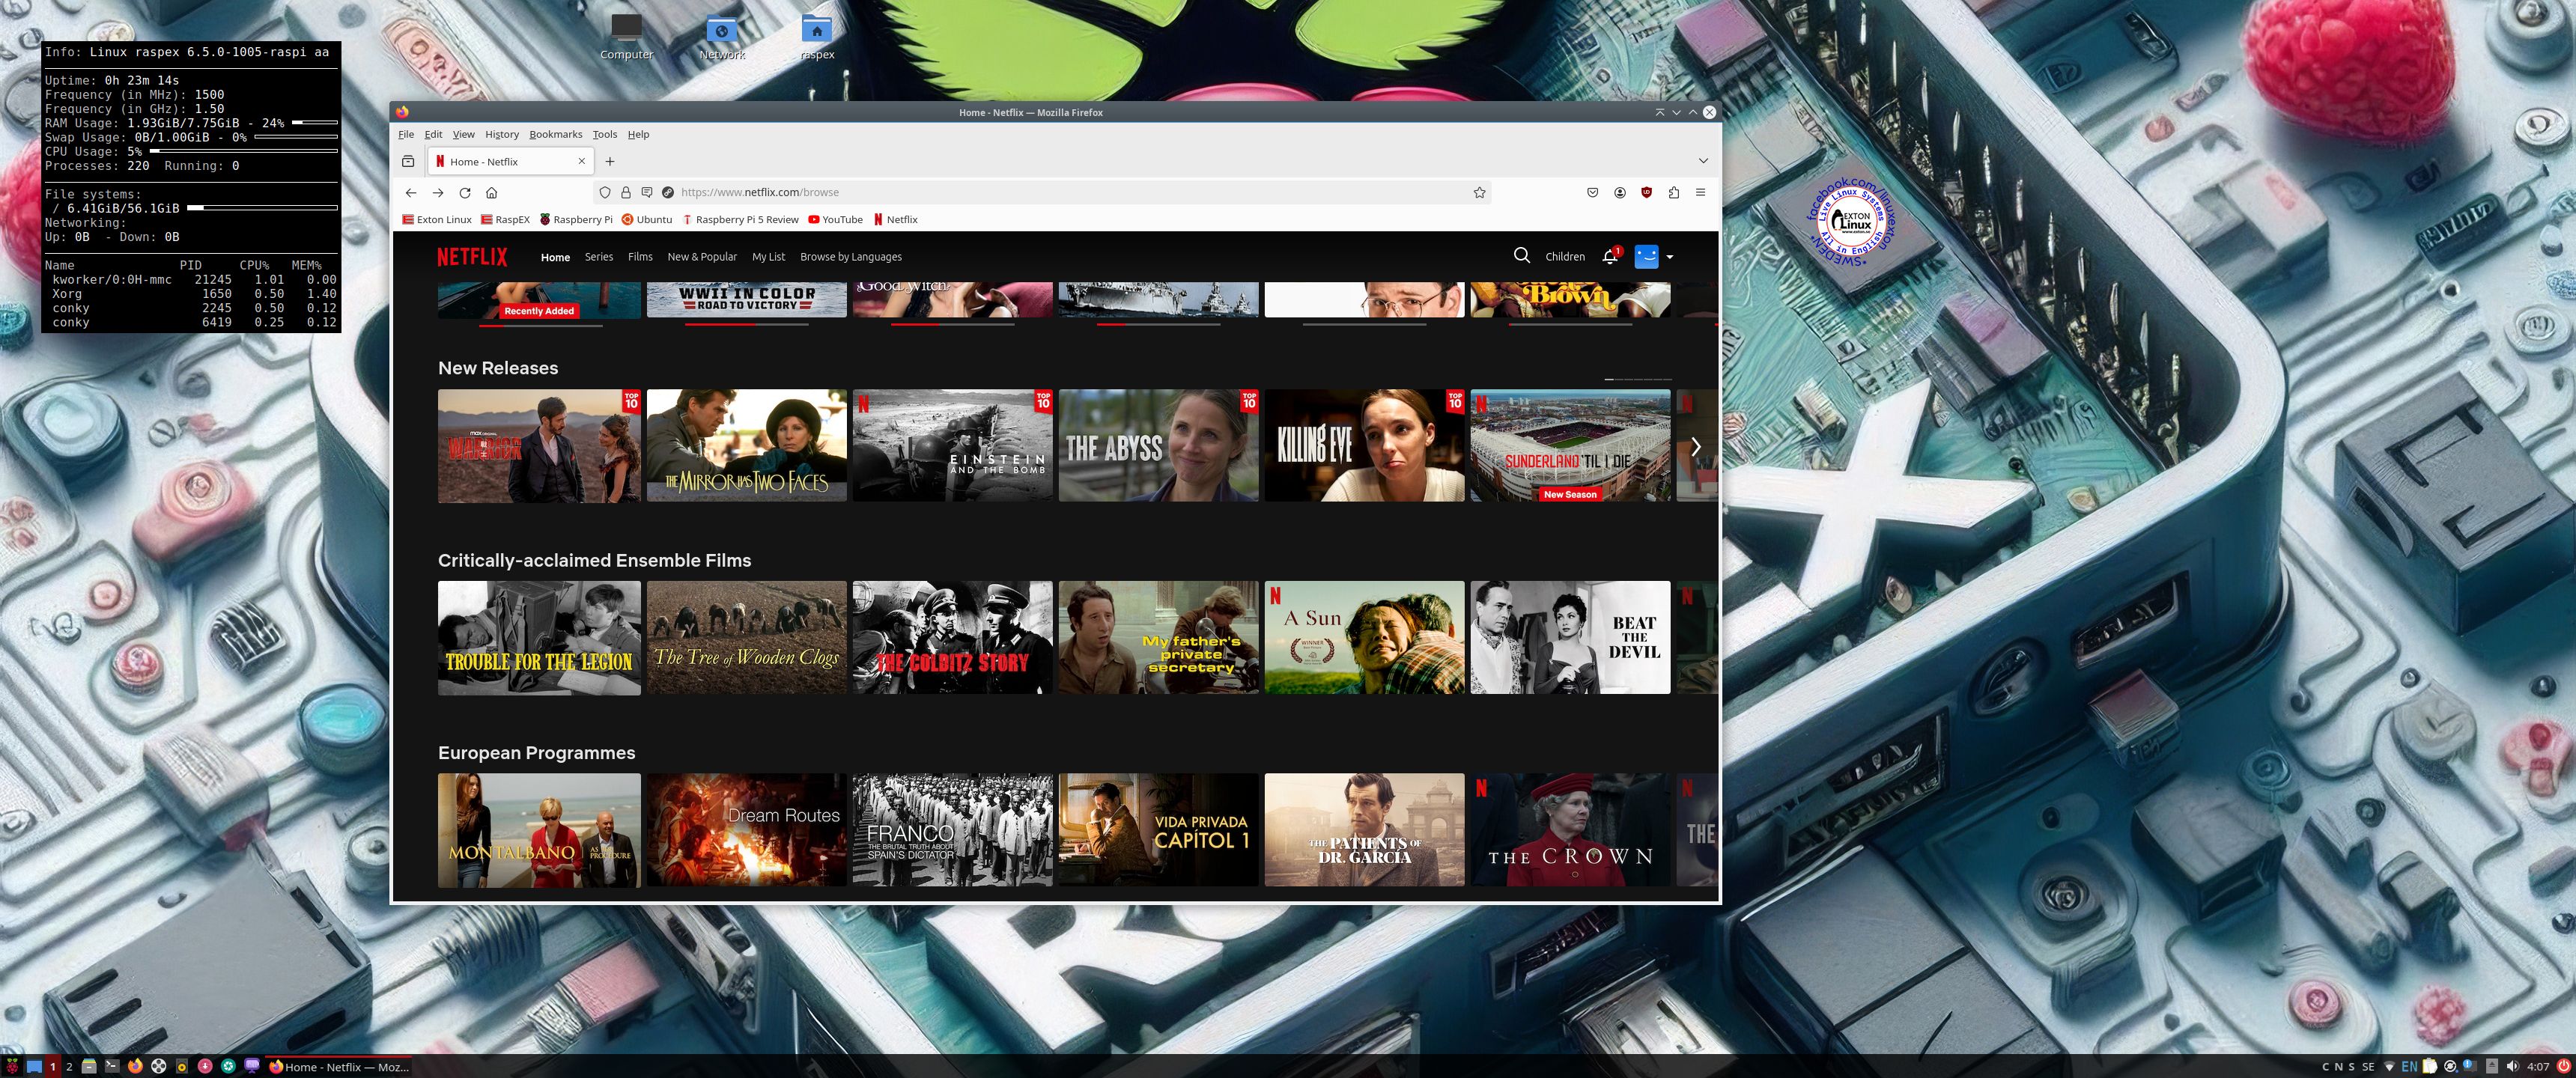
Netflix
You can’t run Netflix in RaspAnd 14, which is rooted. The Netflix app works very well in RaspAnd 11 build, which isn’t rooted. (You can’t run Netflix on rooted devices).
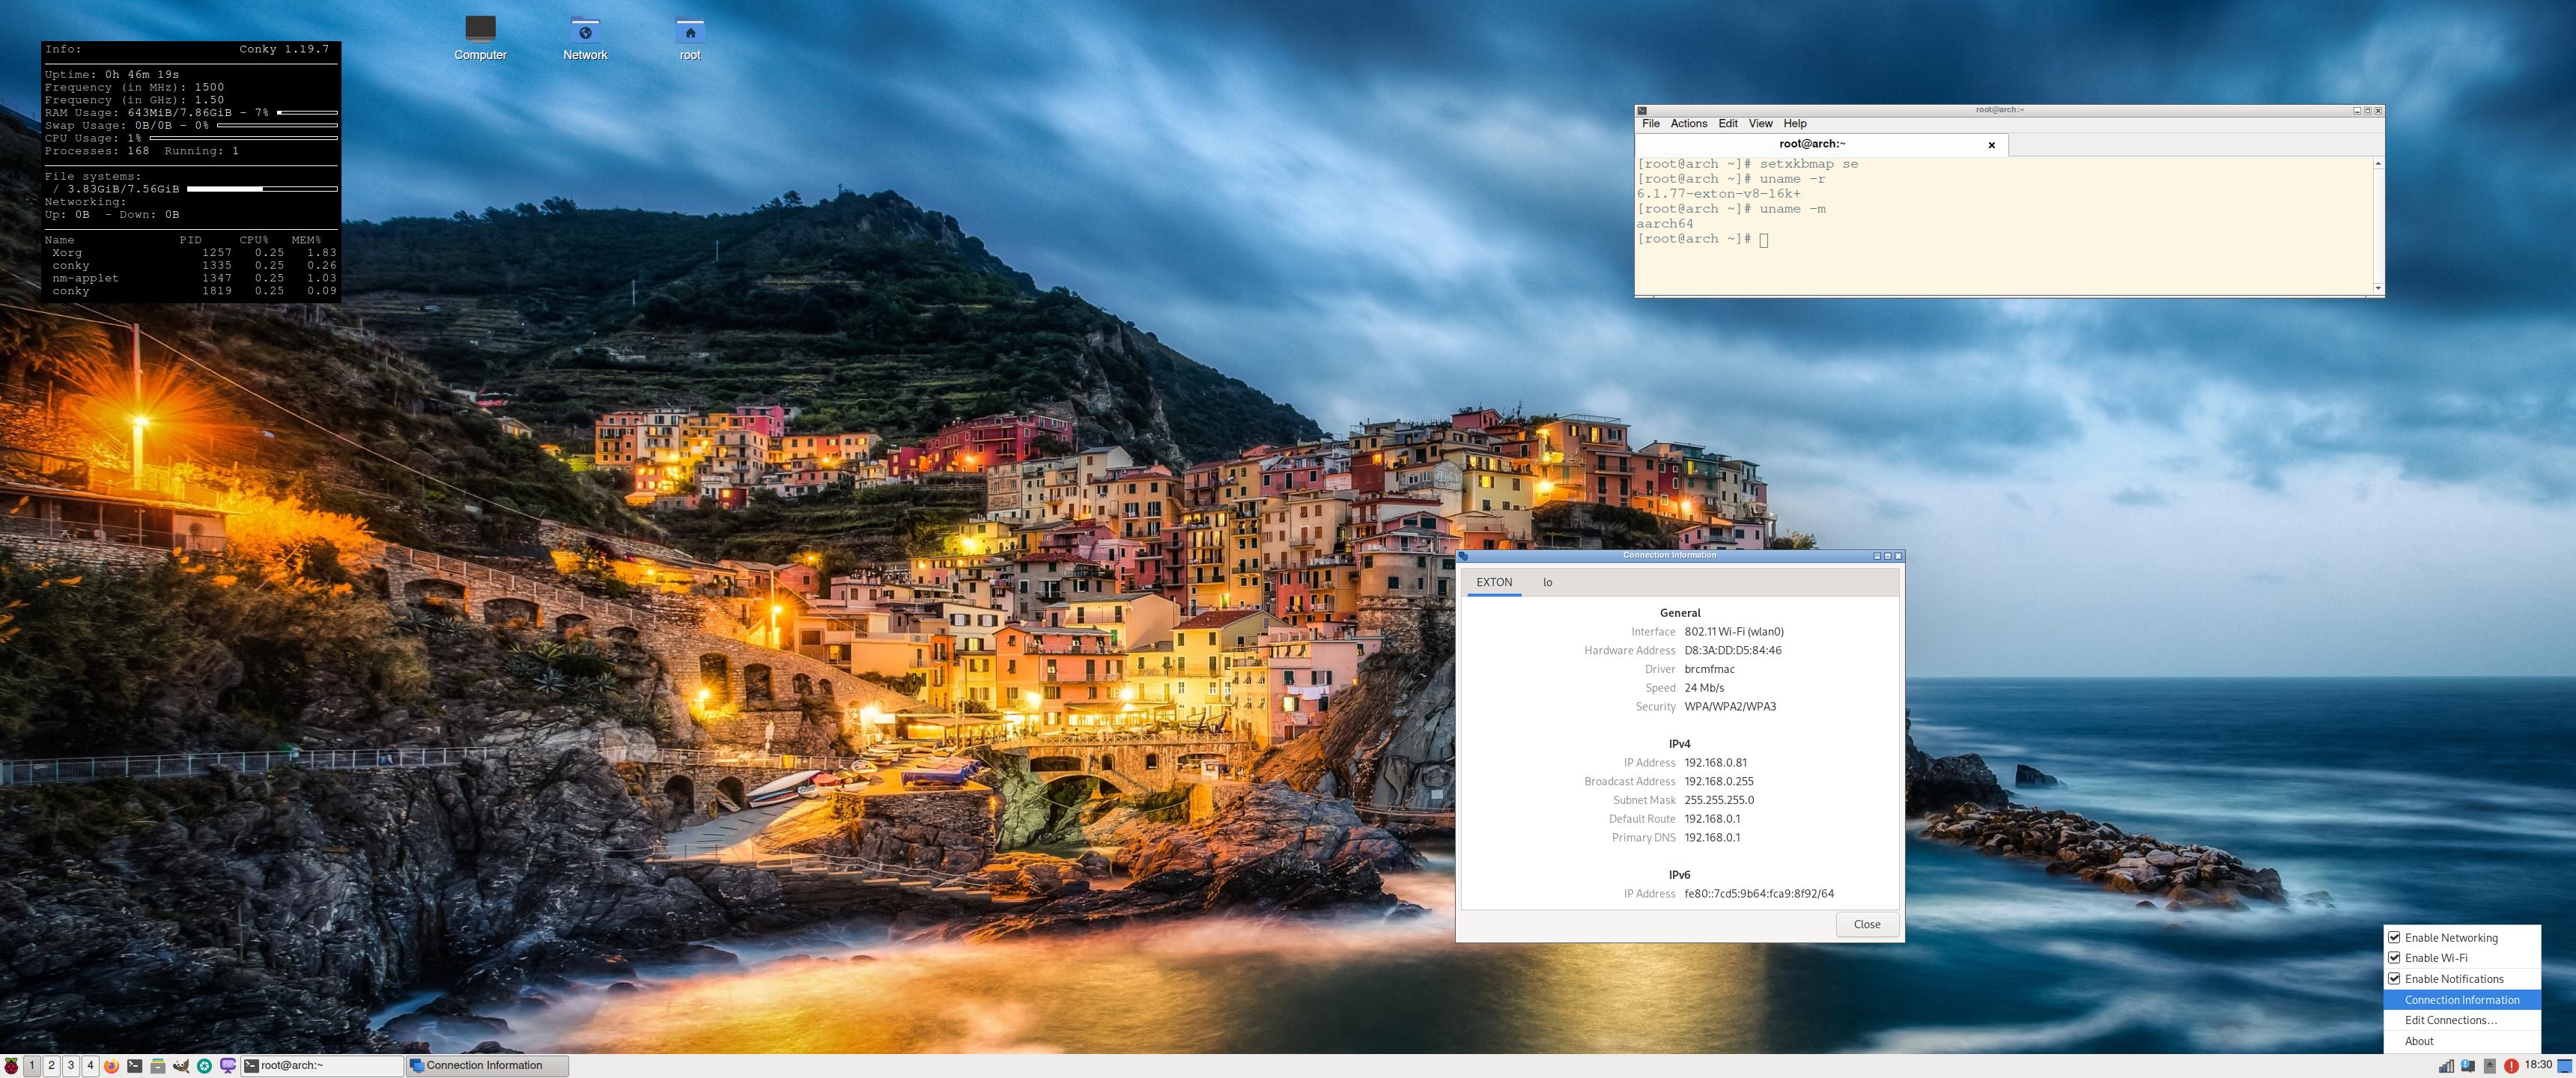
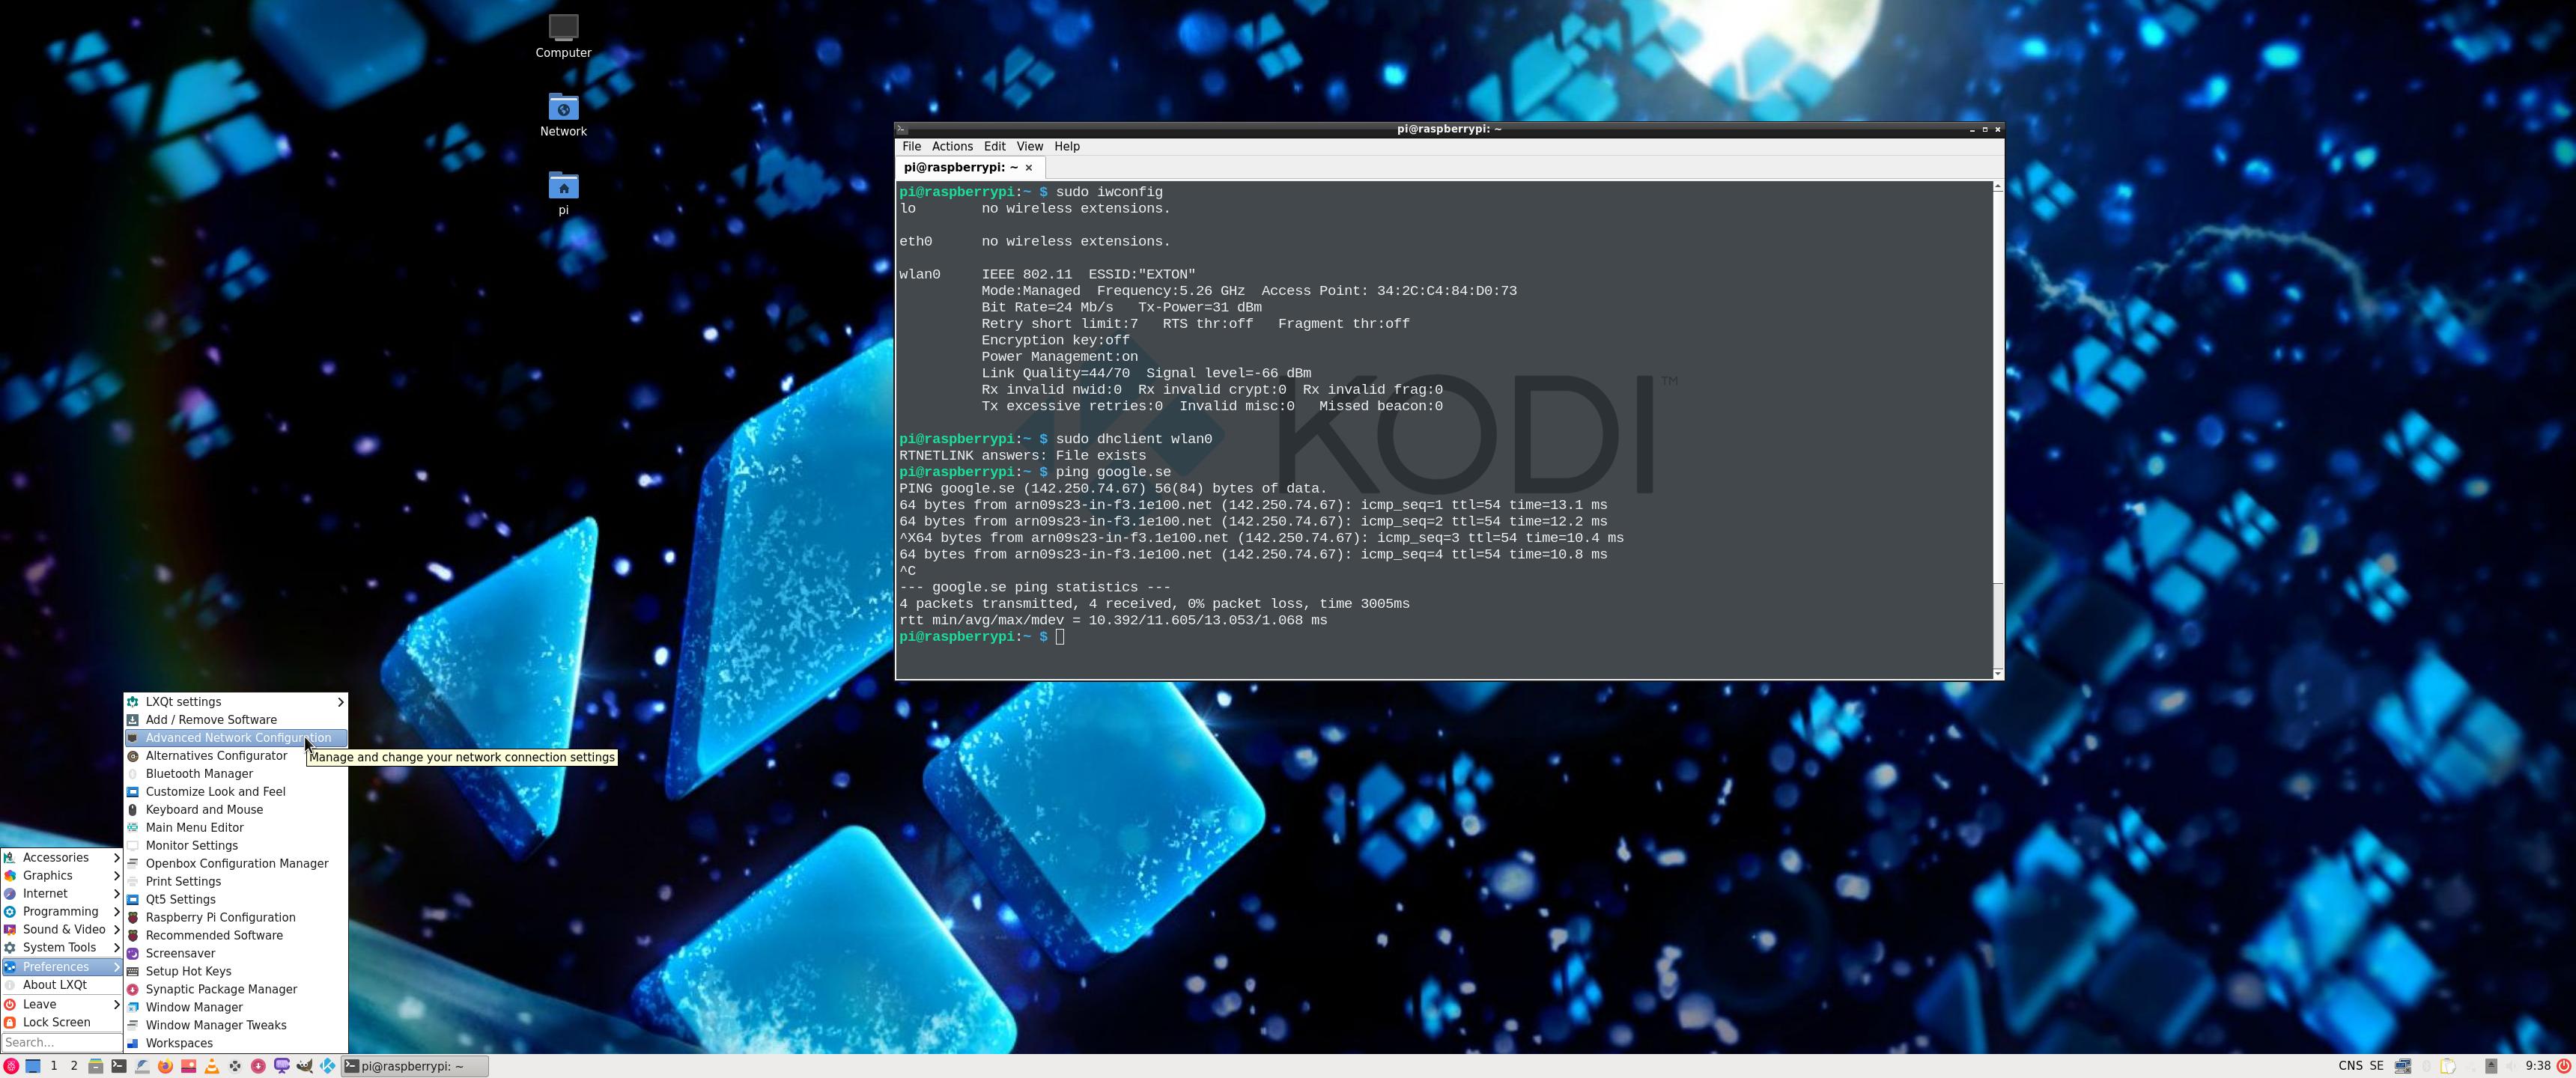
WiFi support
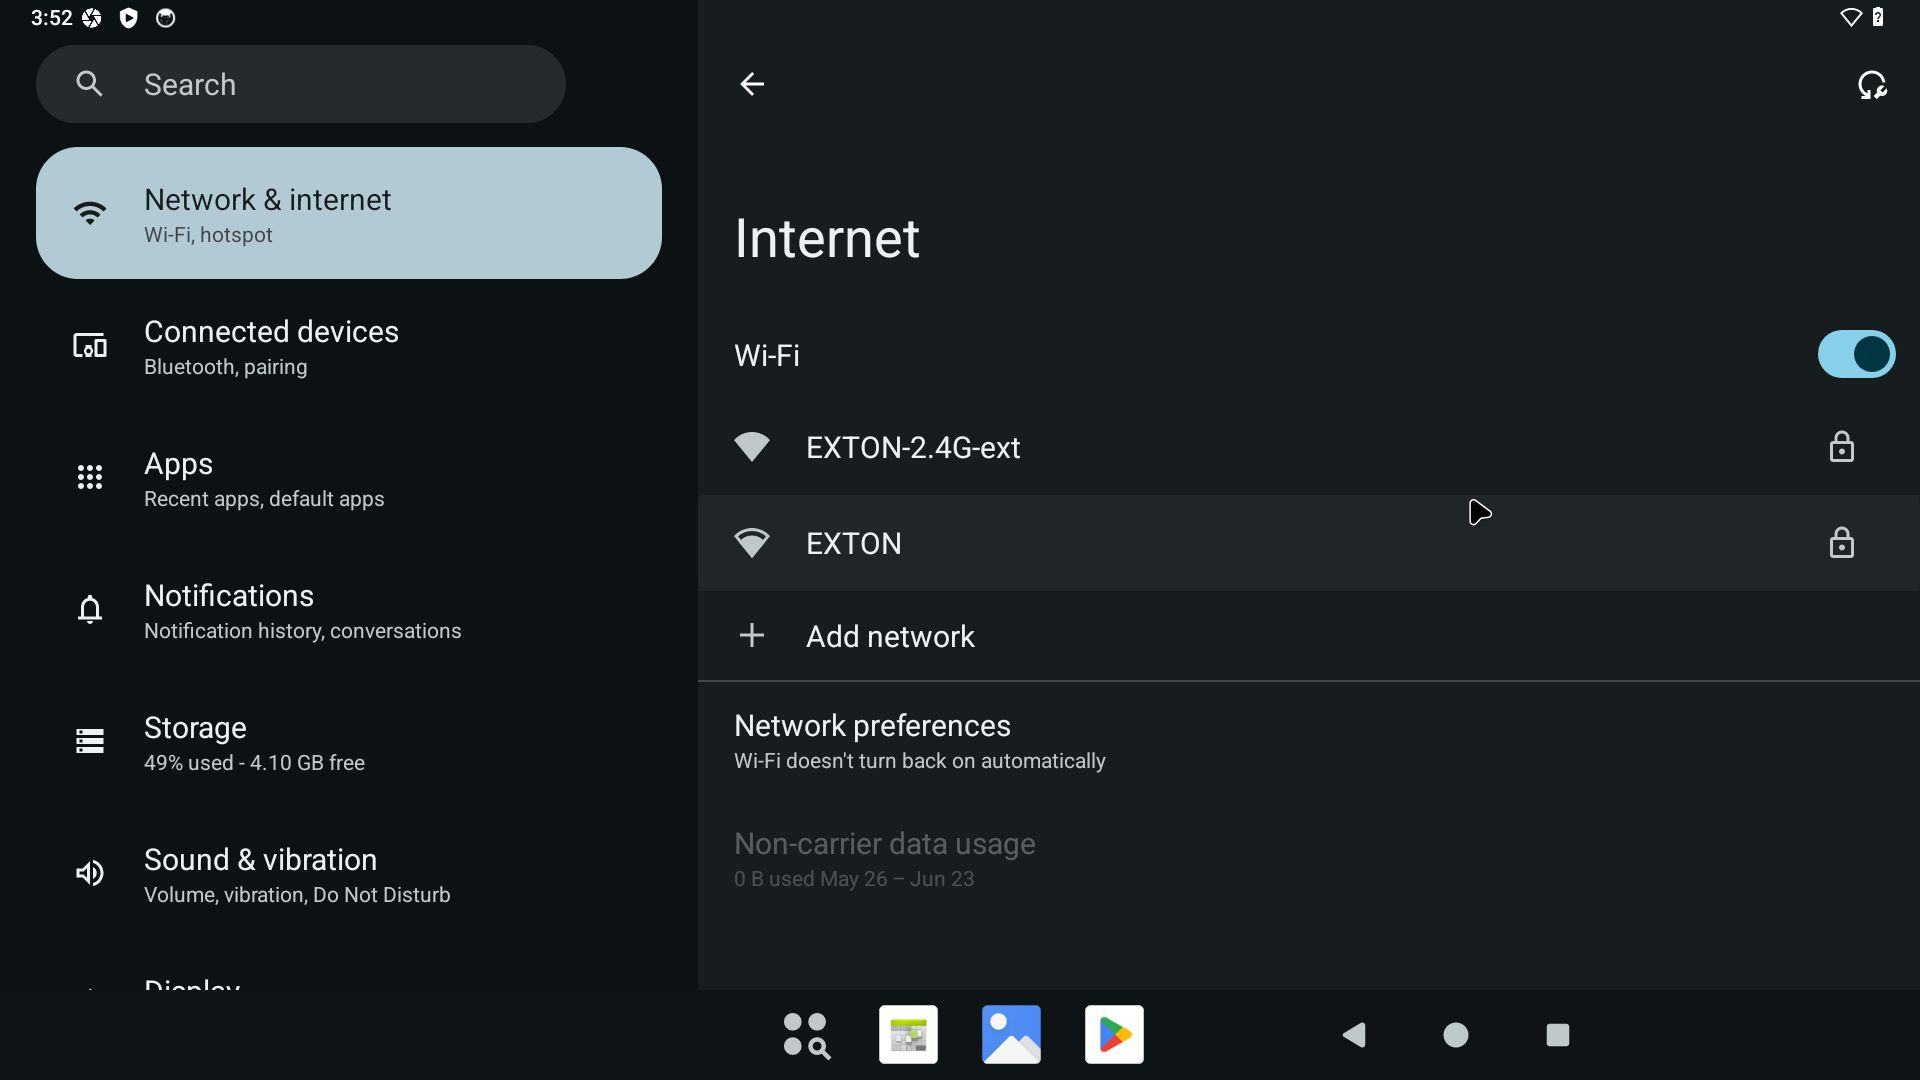
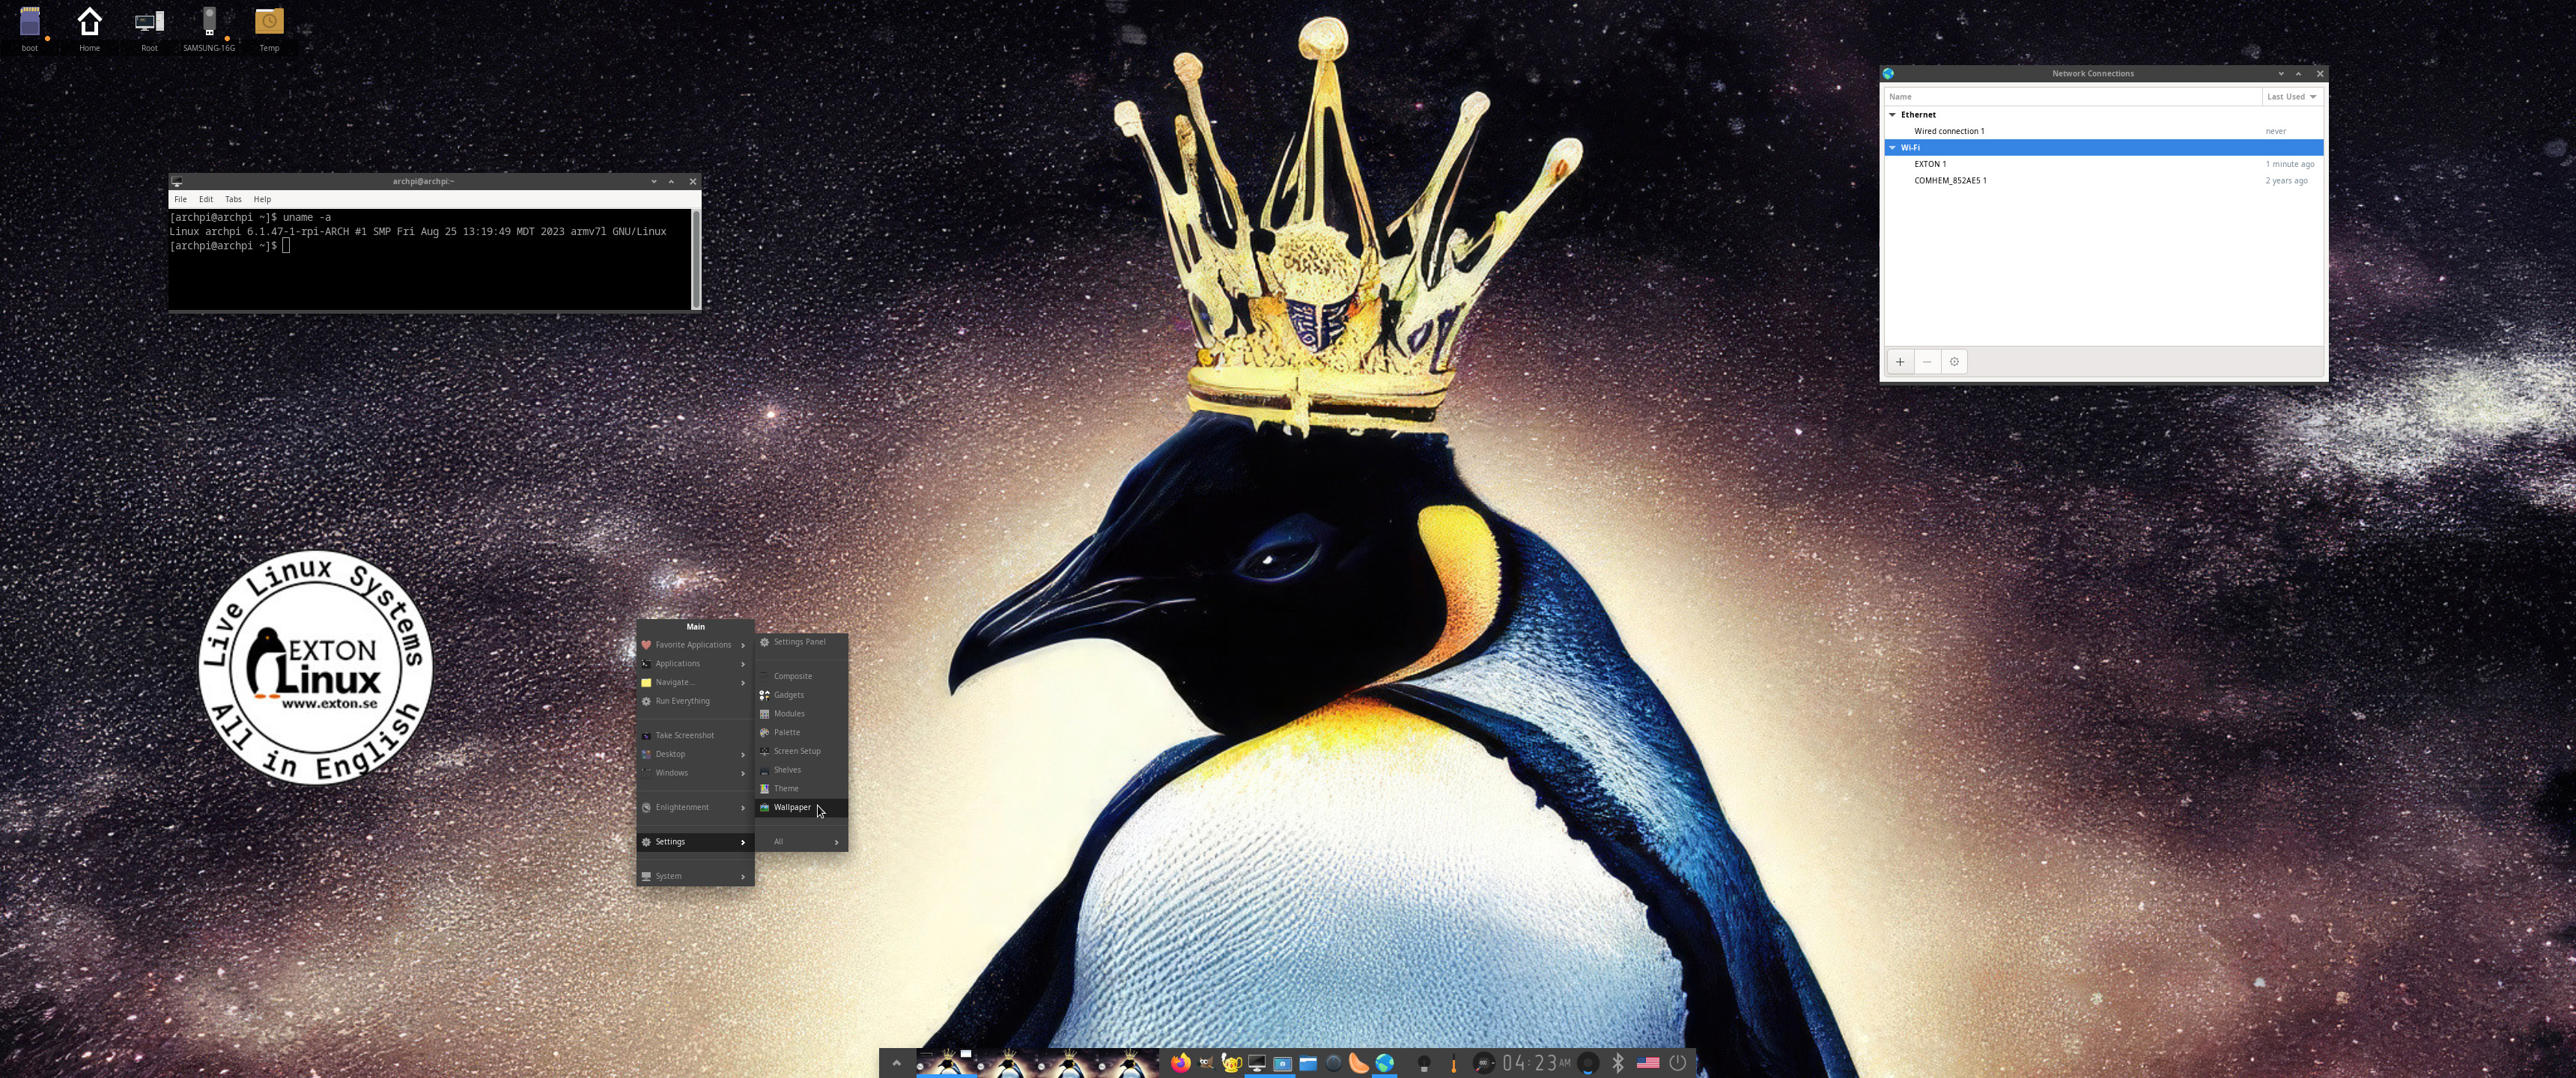
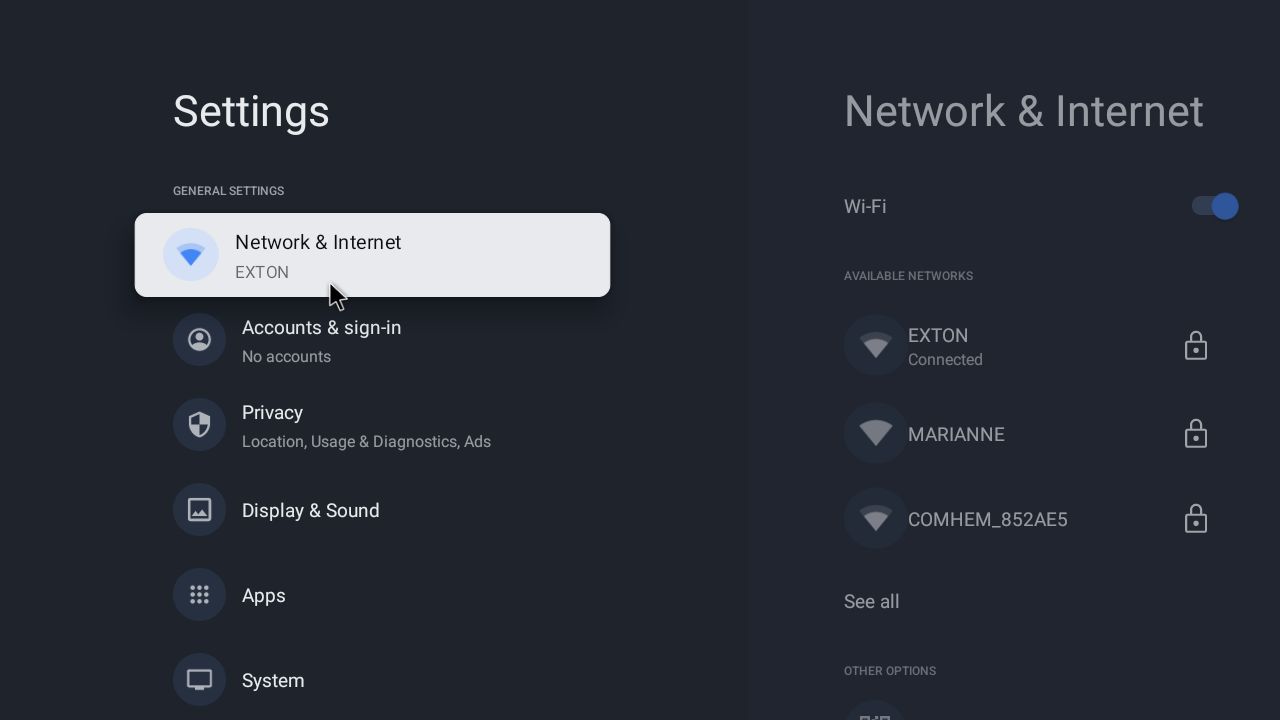
The newer versions of RaspAnd has excellent support for WiFi (on Raspberry Pi 5, 4, 3 Model B and Model B+). Previous problems with the WiFi connection are gone. I.e. the WiFi connection will automatically be re-established after every reboot. Just go to Settings/Network and connect. Watch this screenshot.
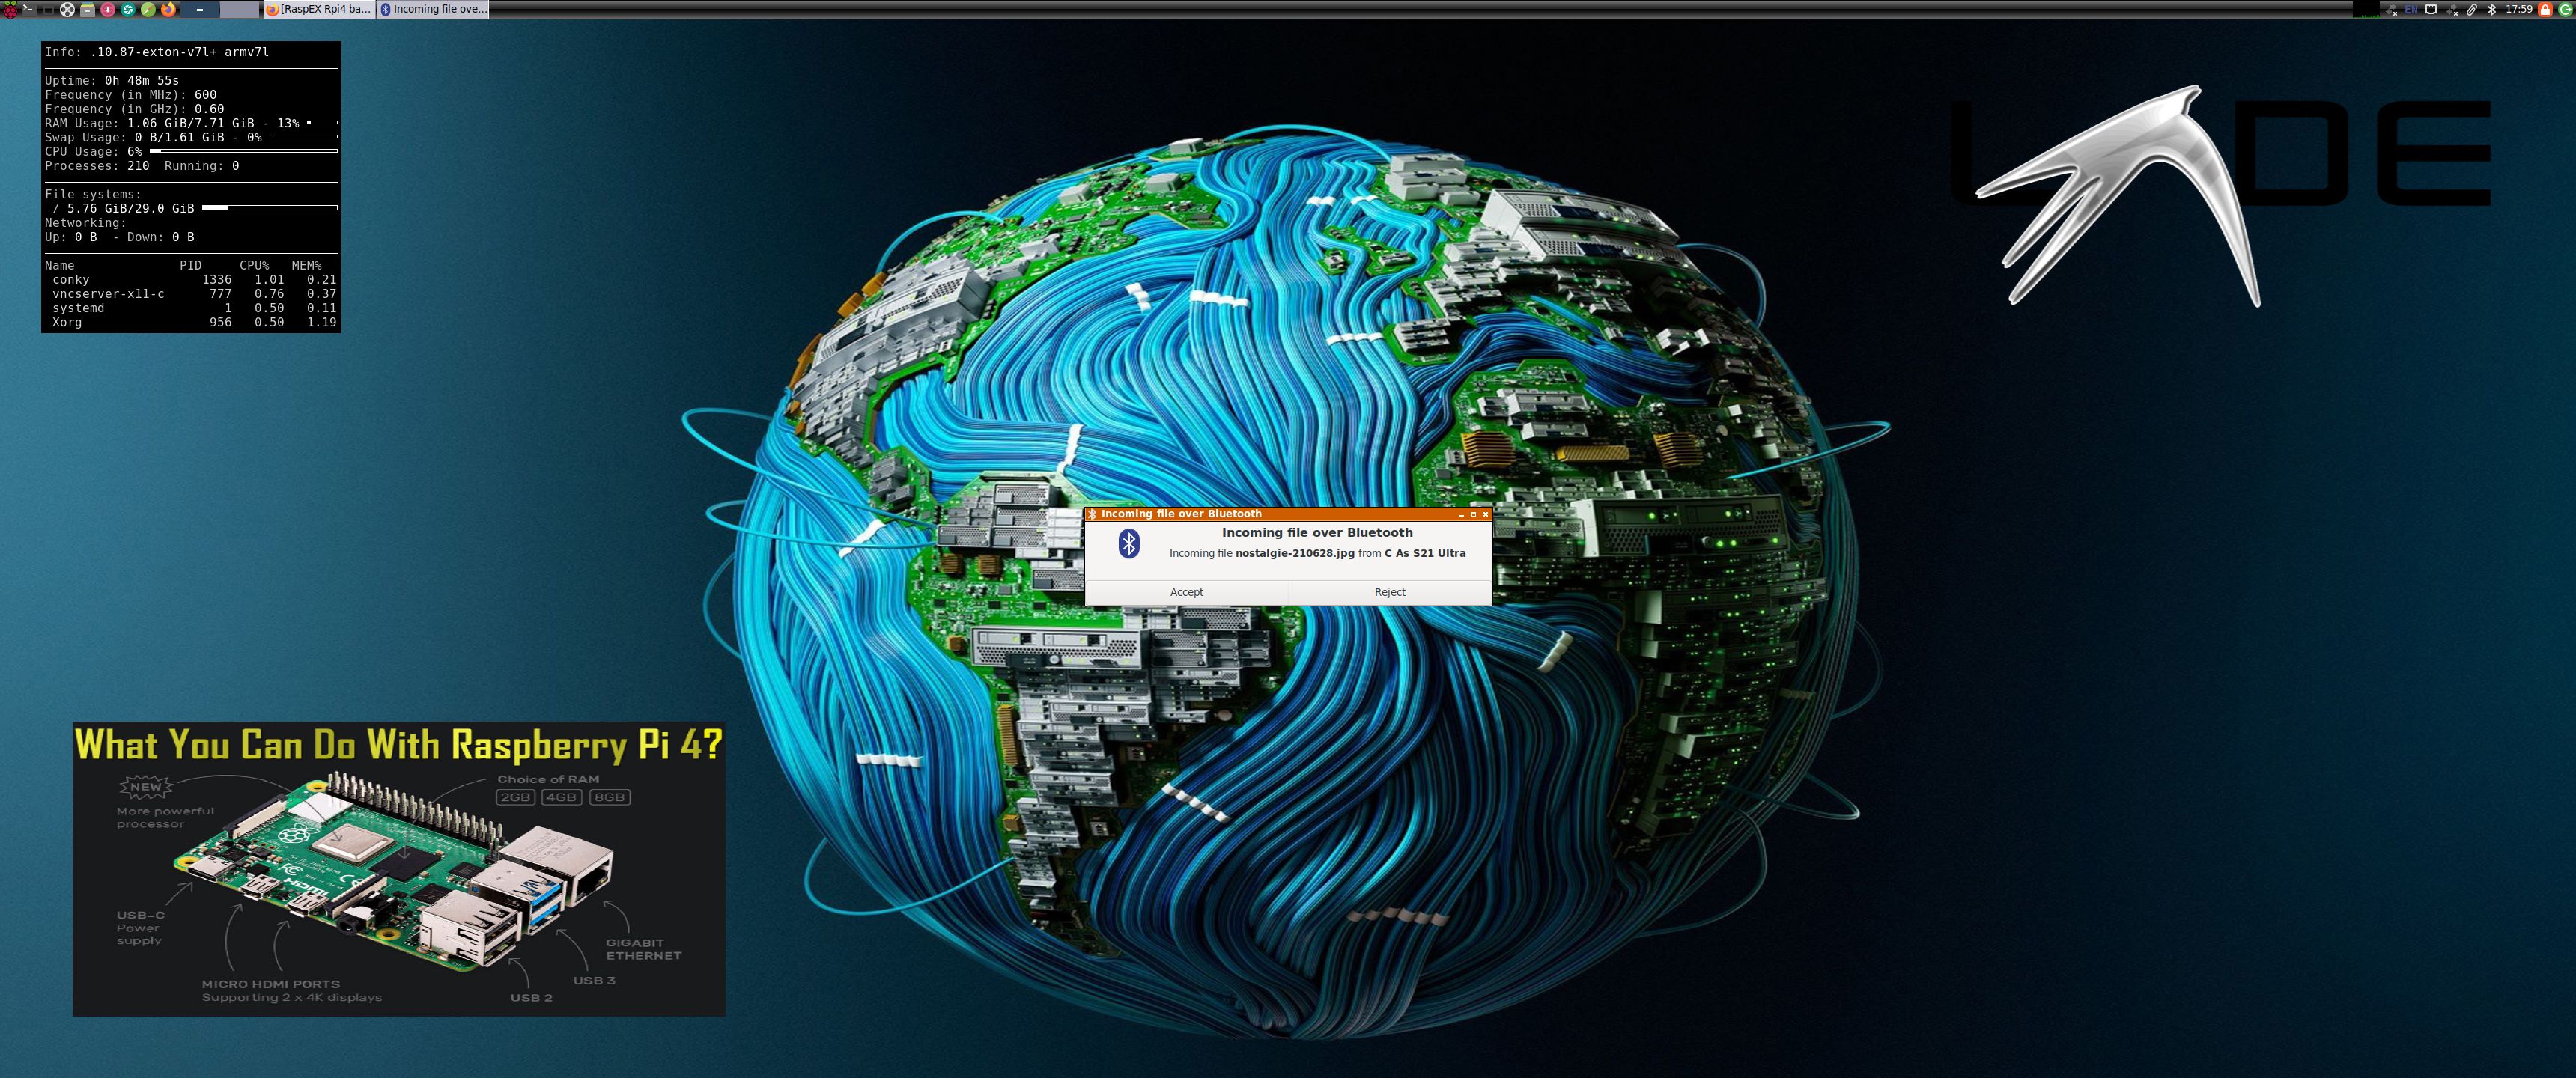
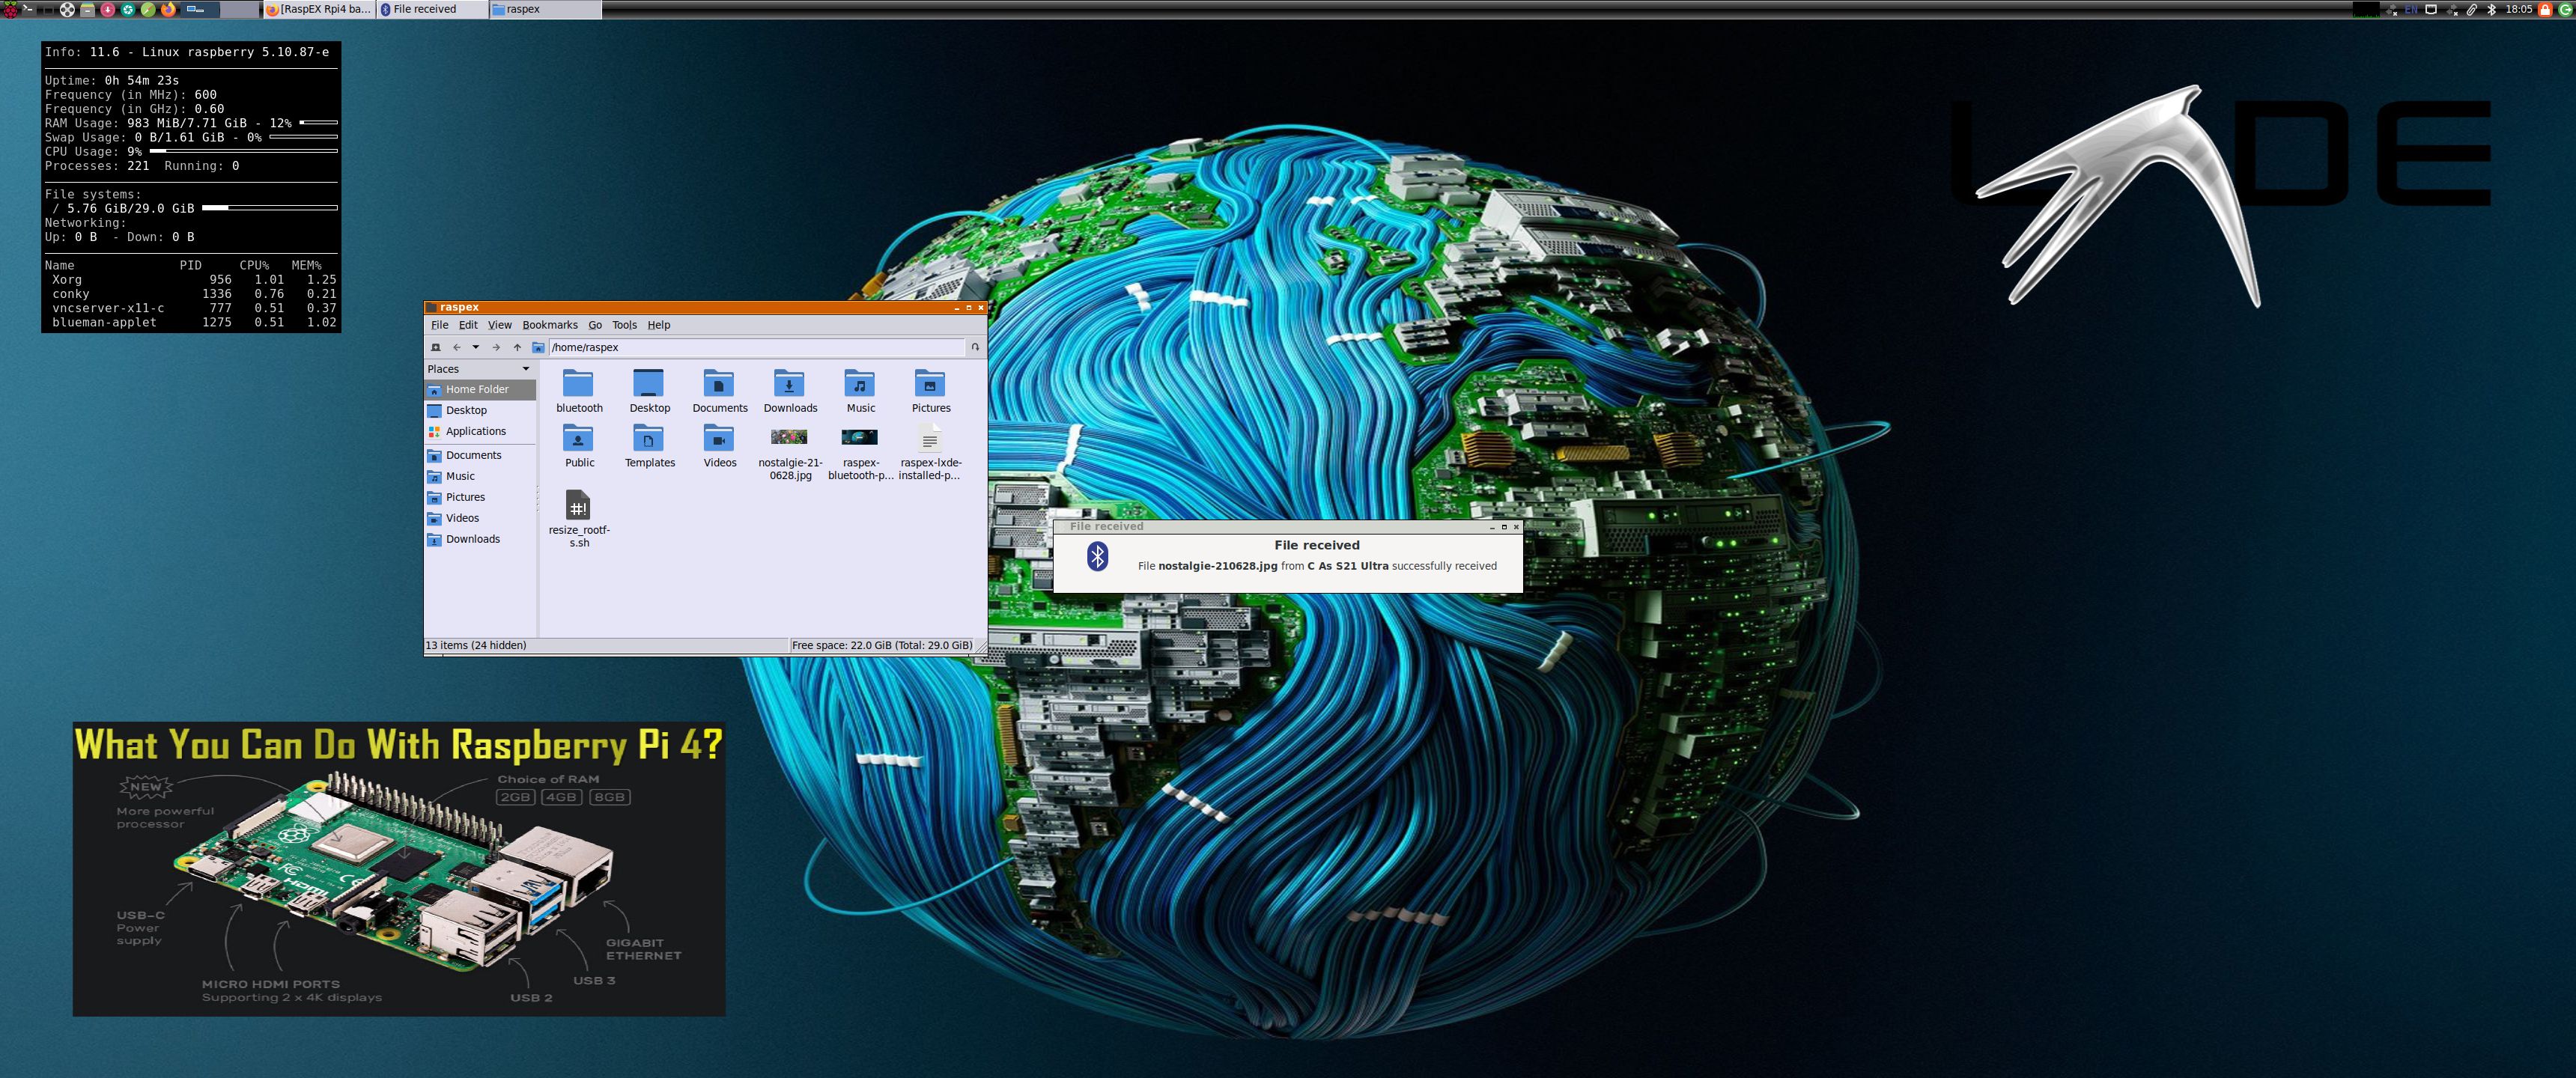
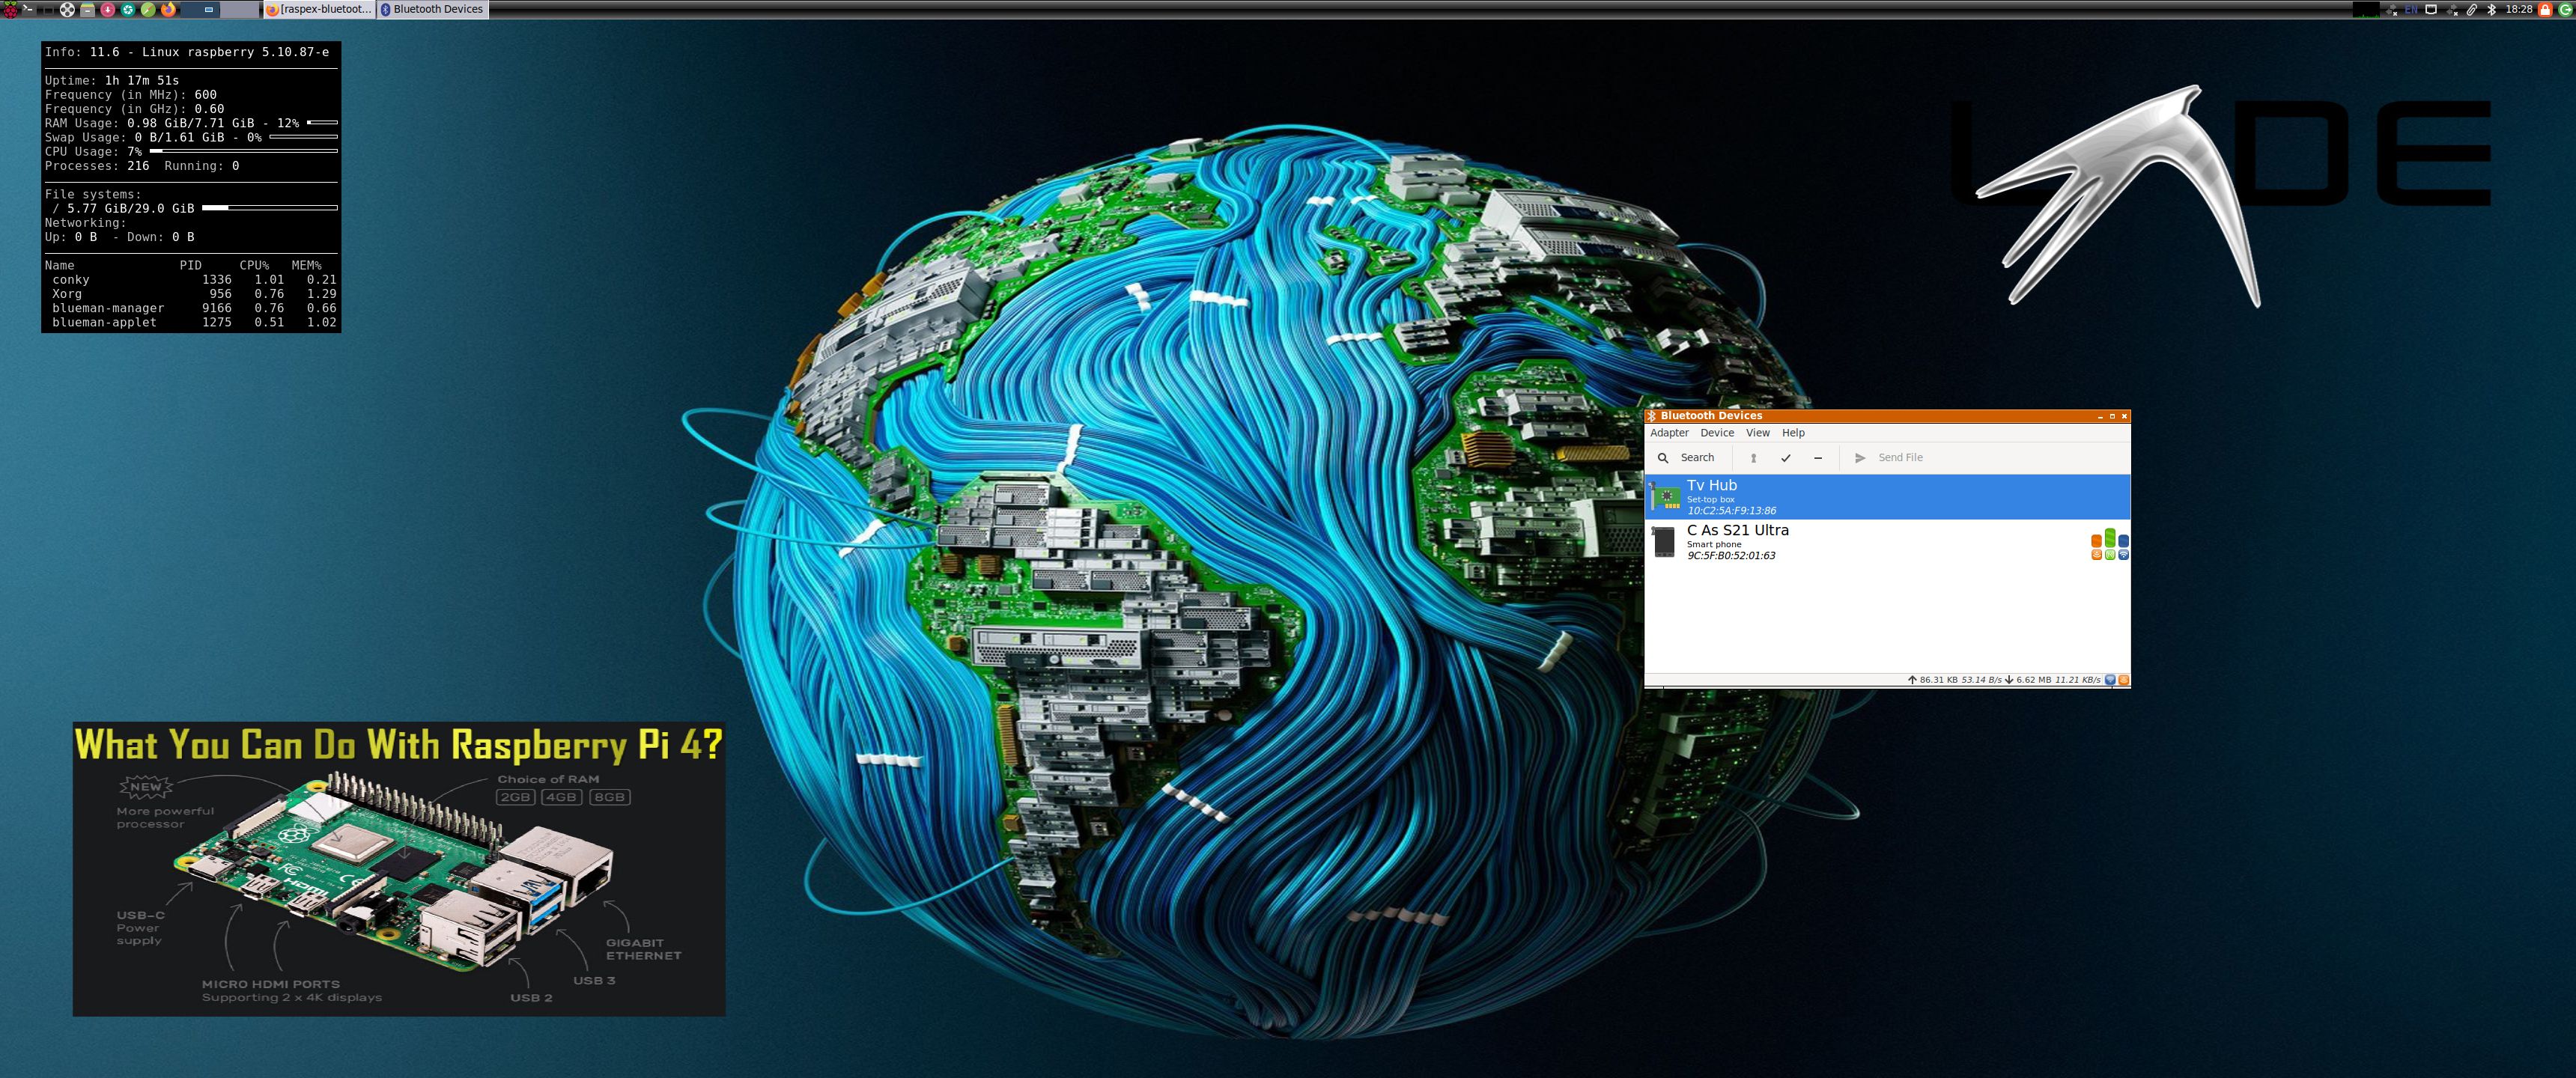
Bluetooth
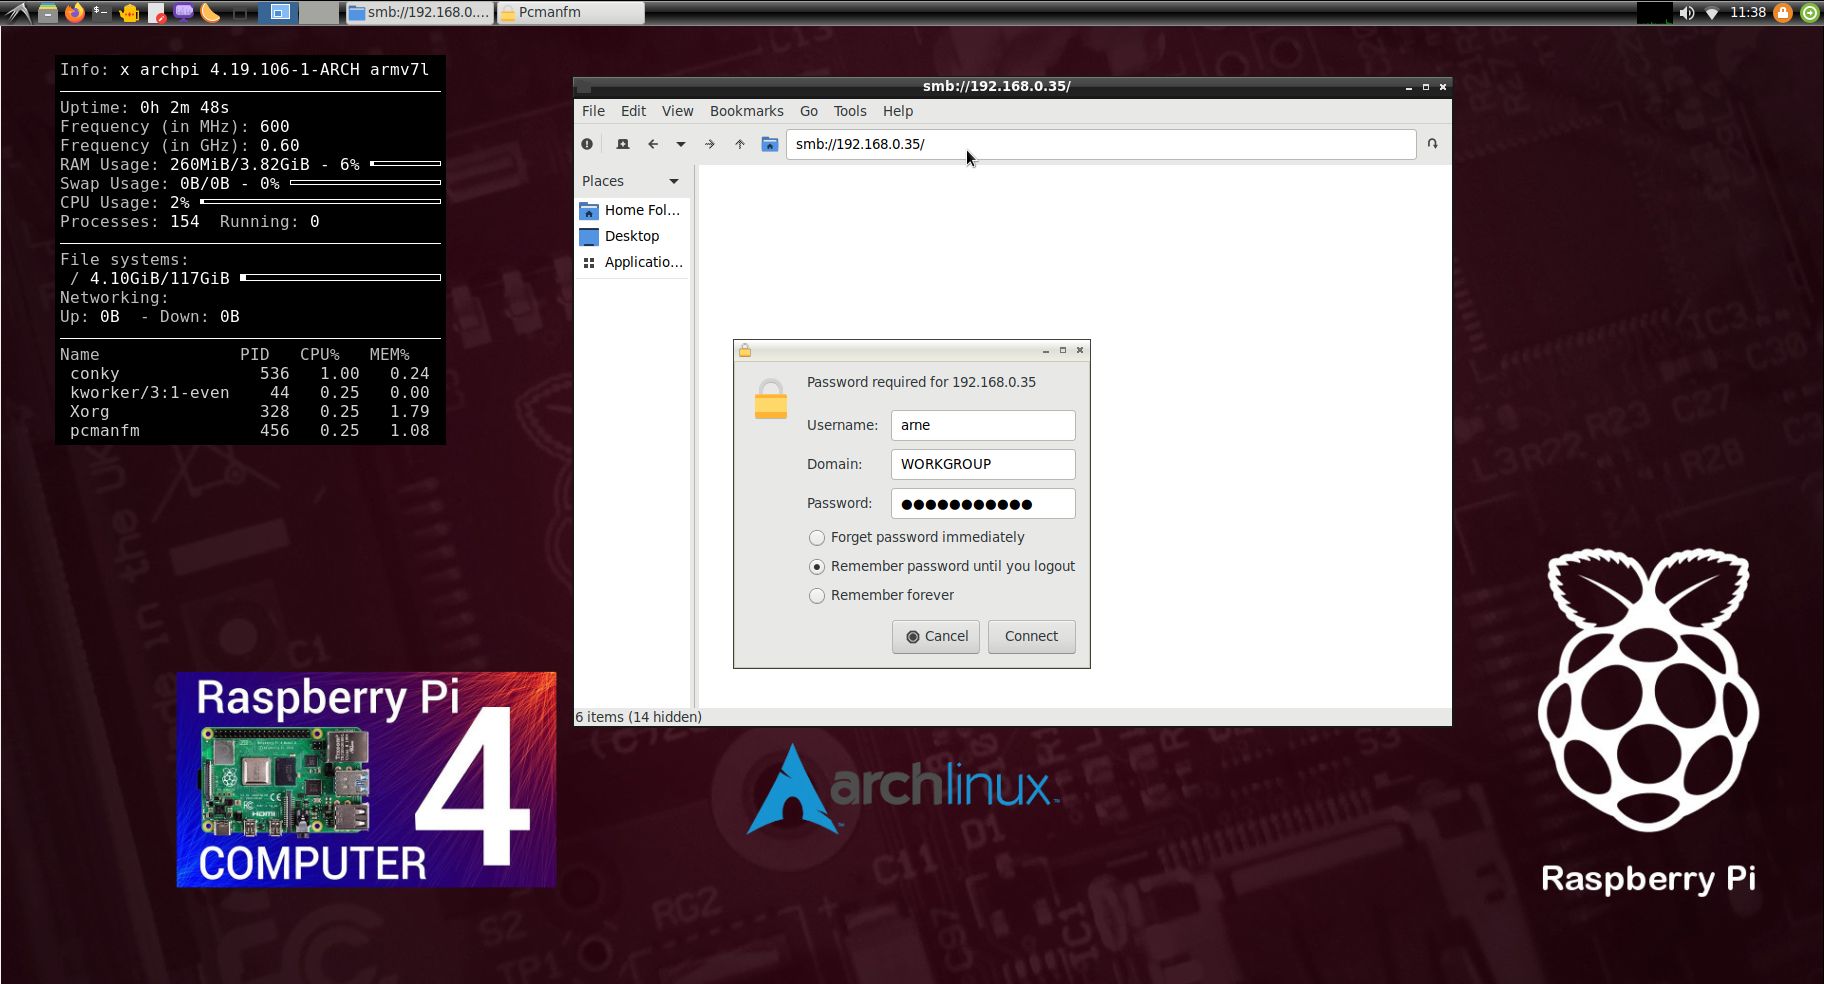
Bluetooth works very well in this RaspAnd 14 build. I.e. you can send and receive files without problems. Watch this screenshot showing the pairing process with my Android phone. I haven’t tried other Bluetooth functions.
PERFORMANCE
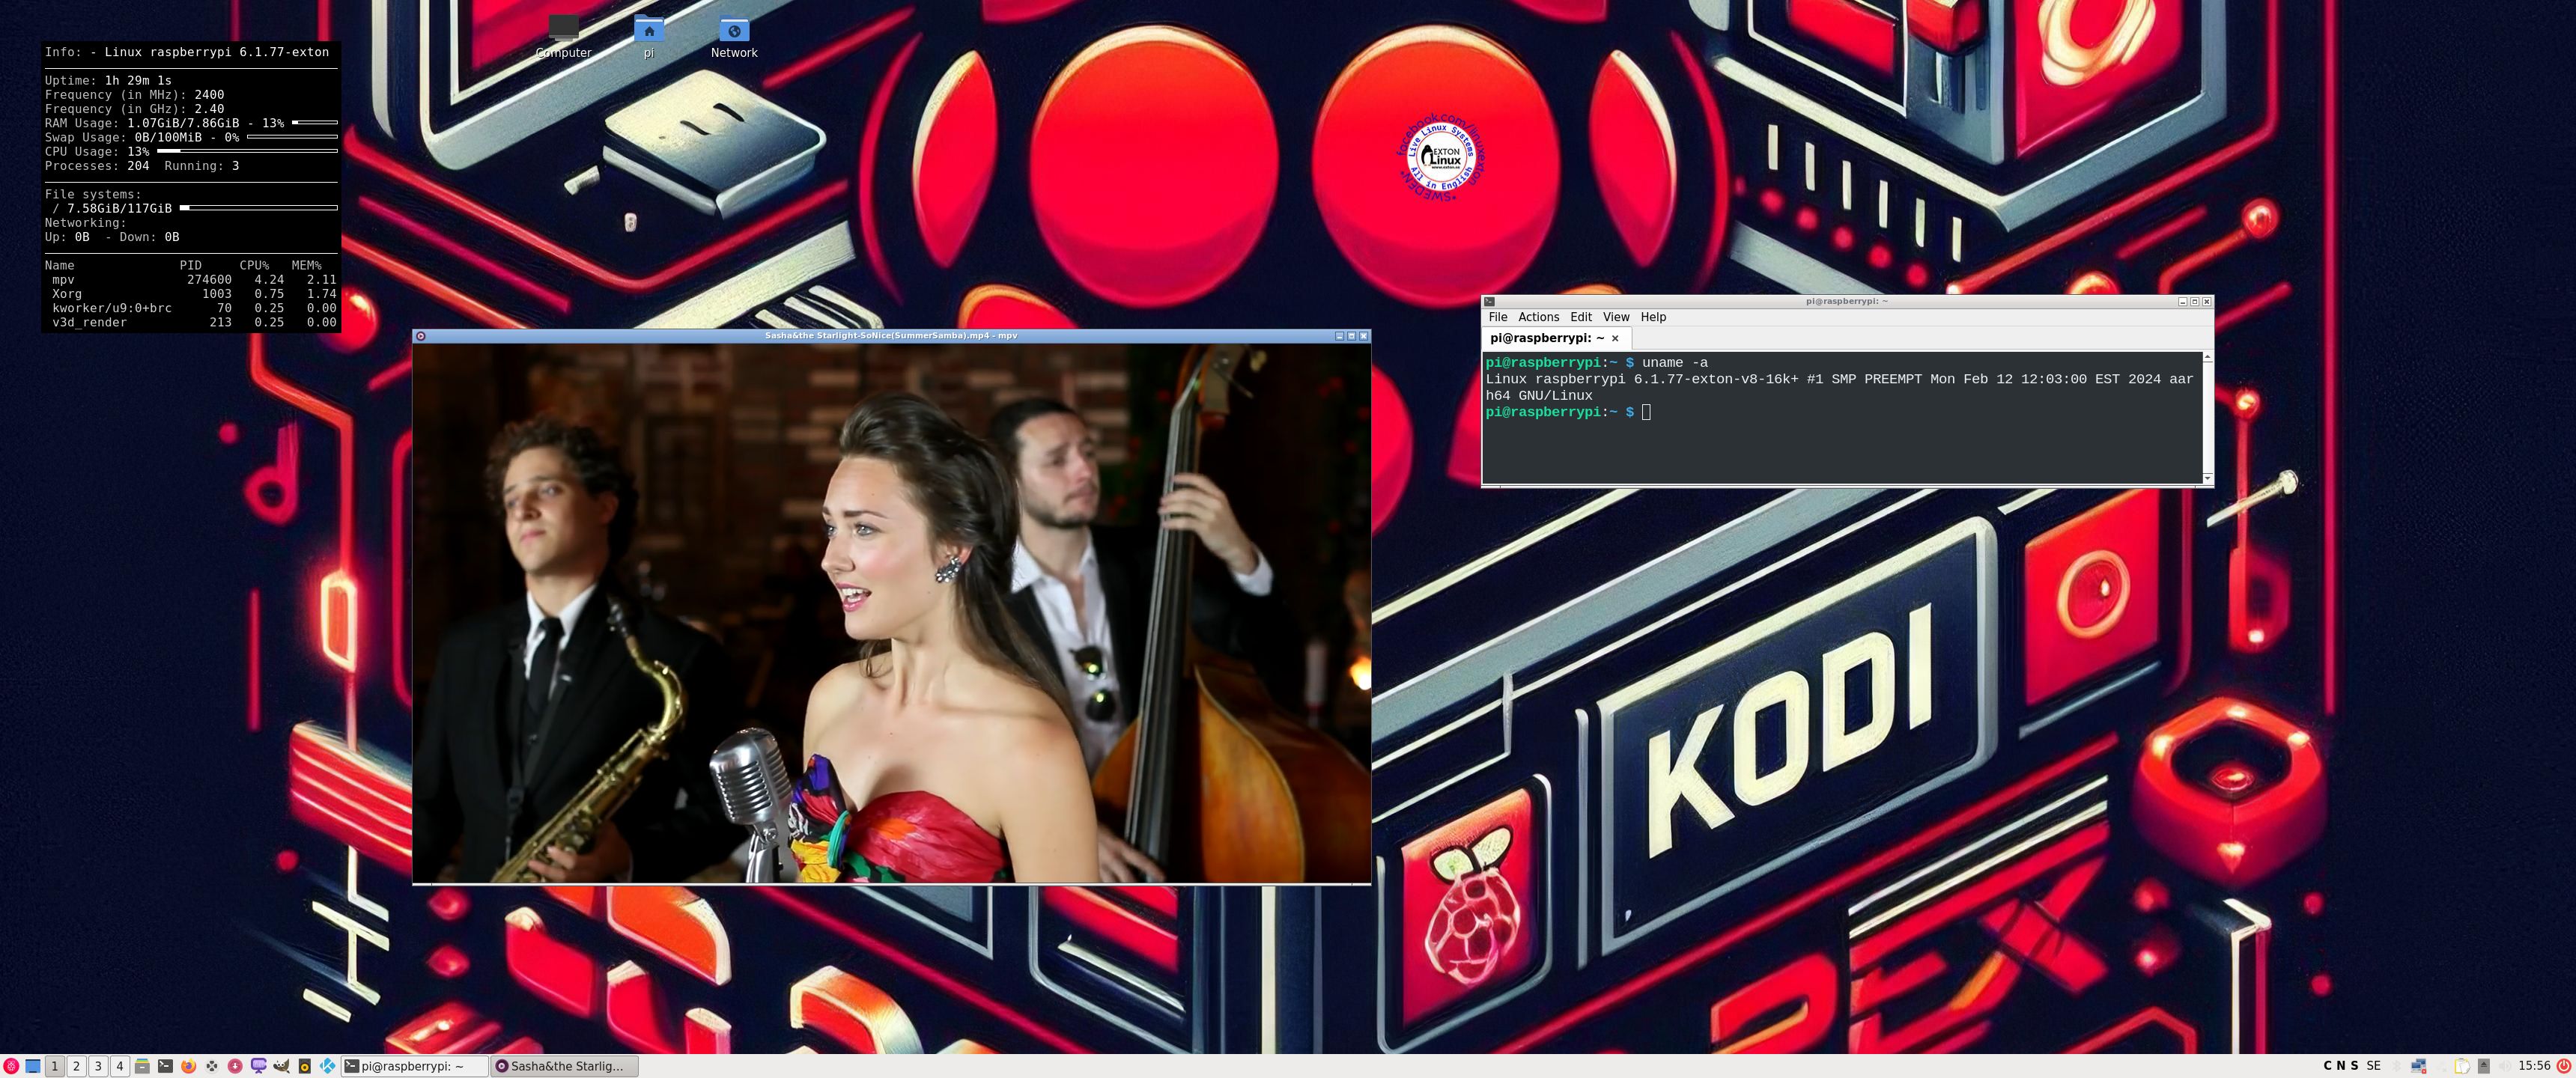
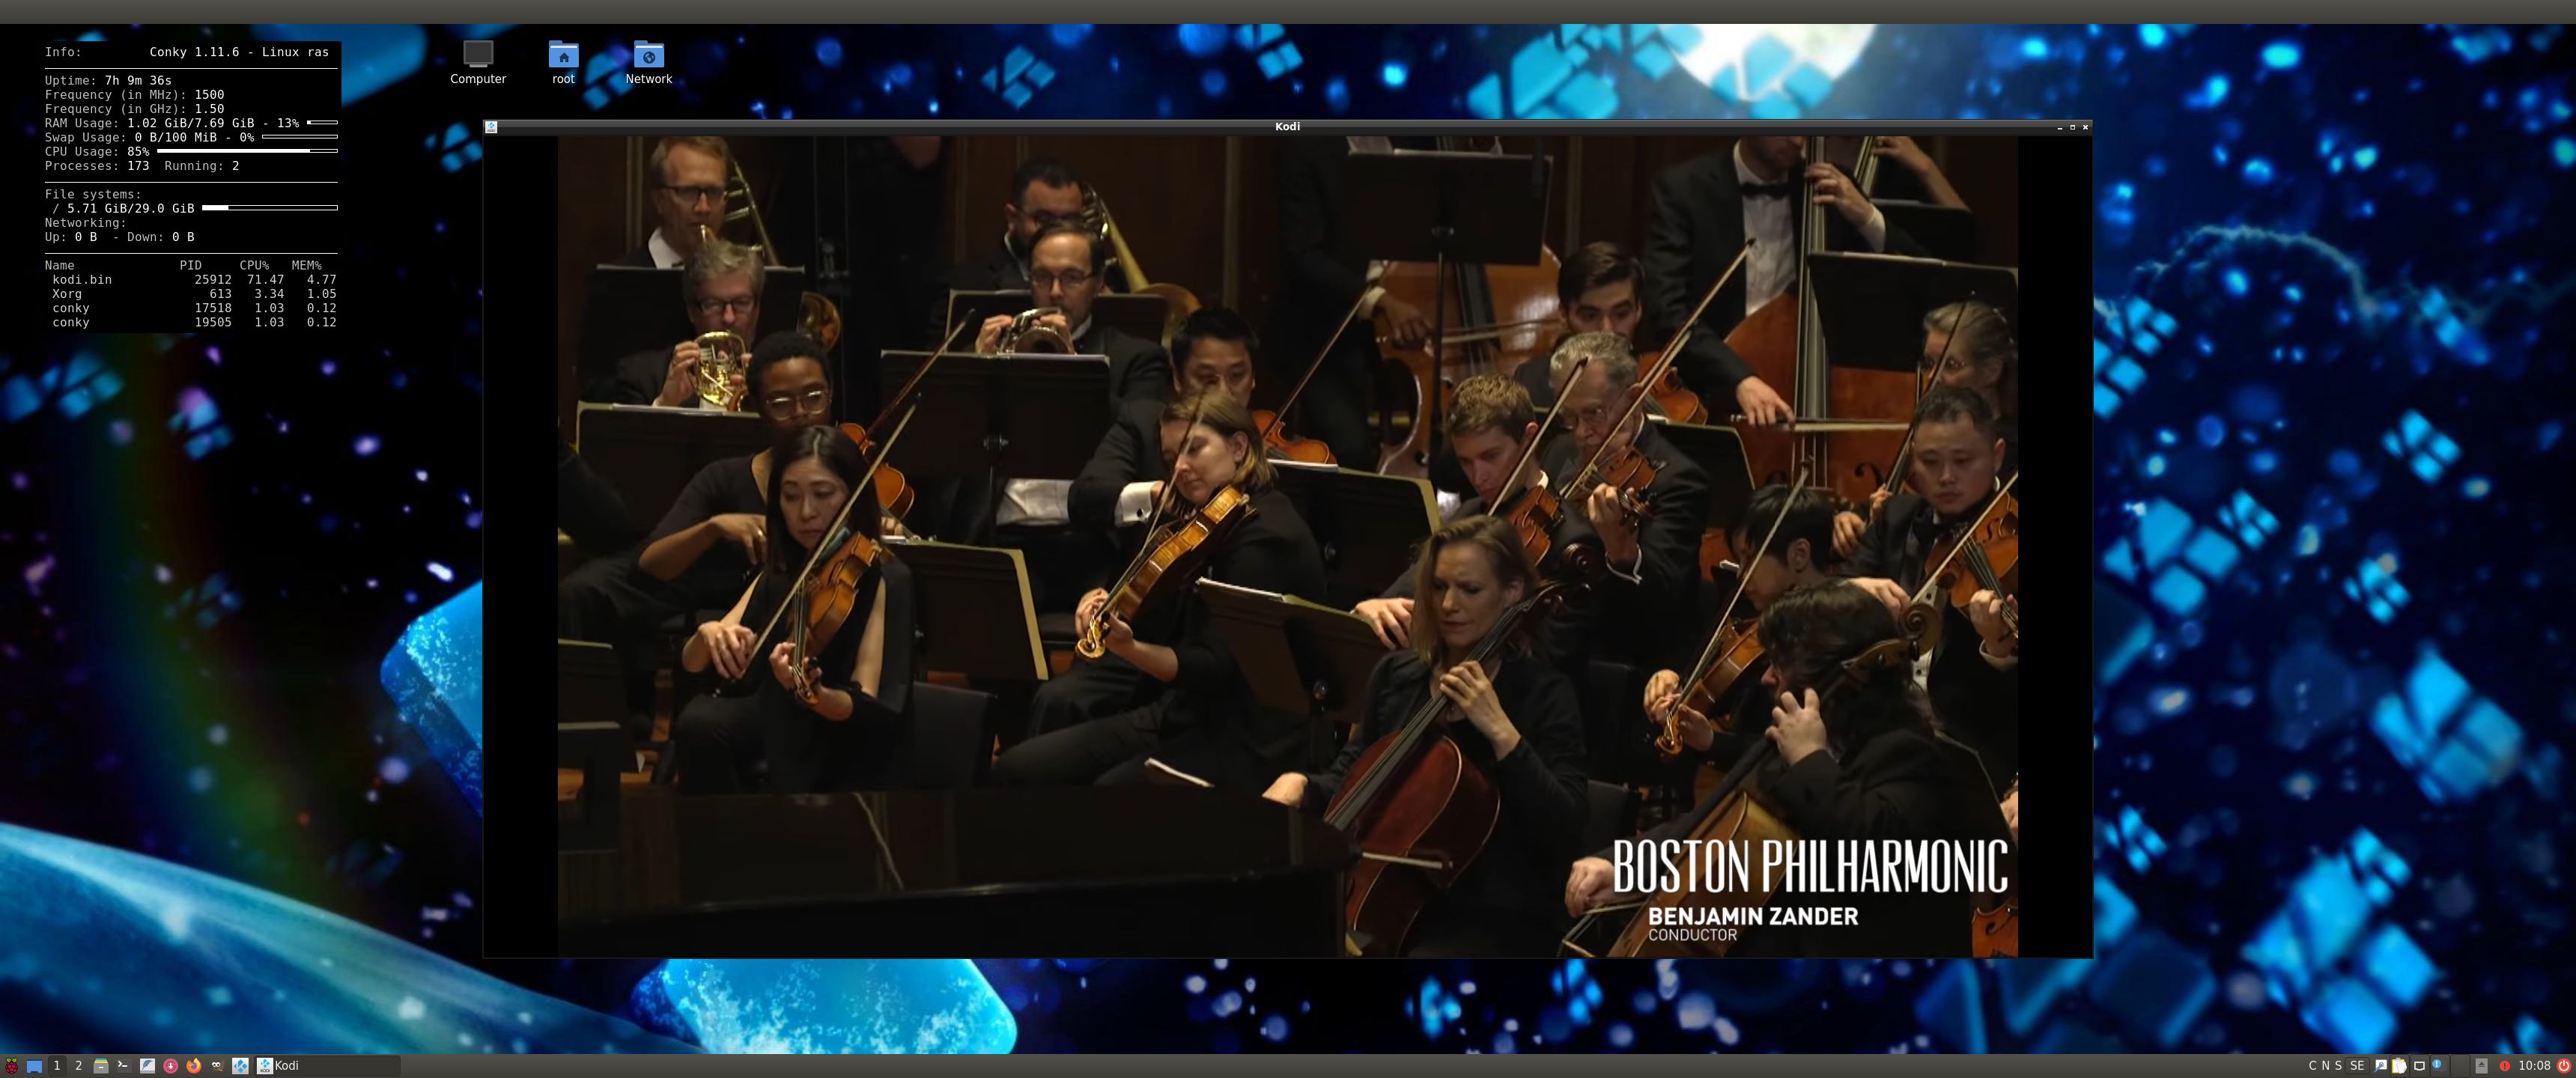
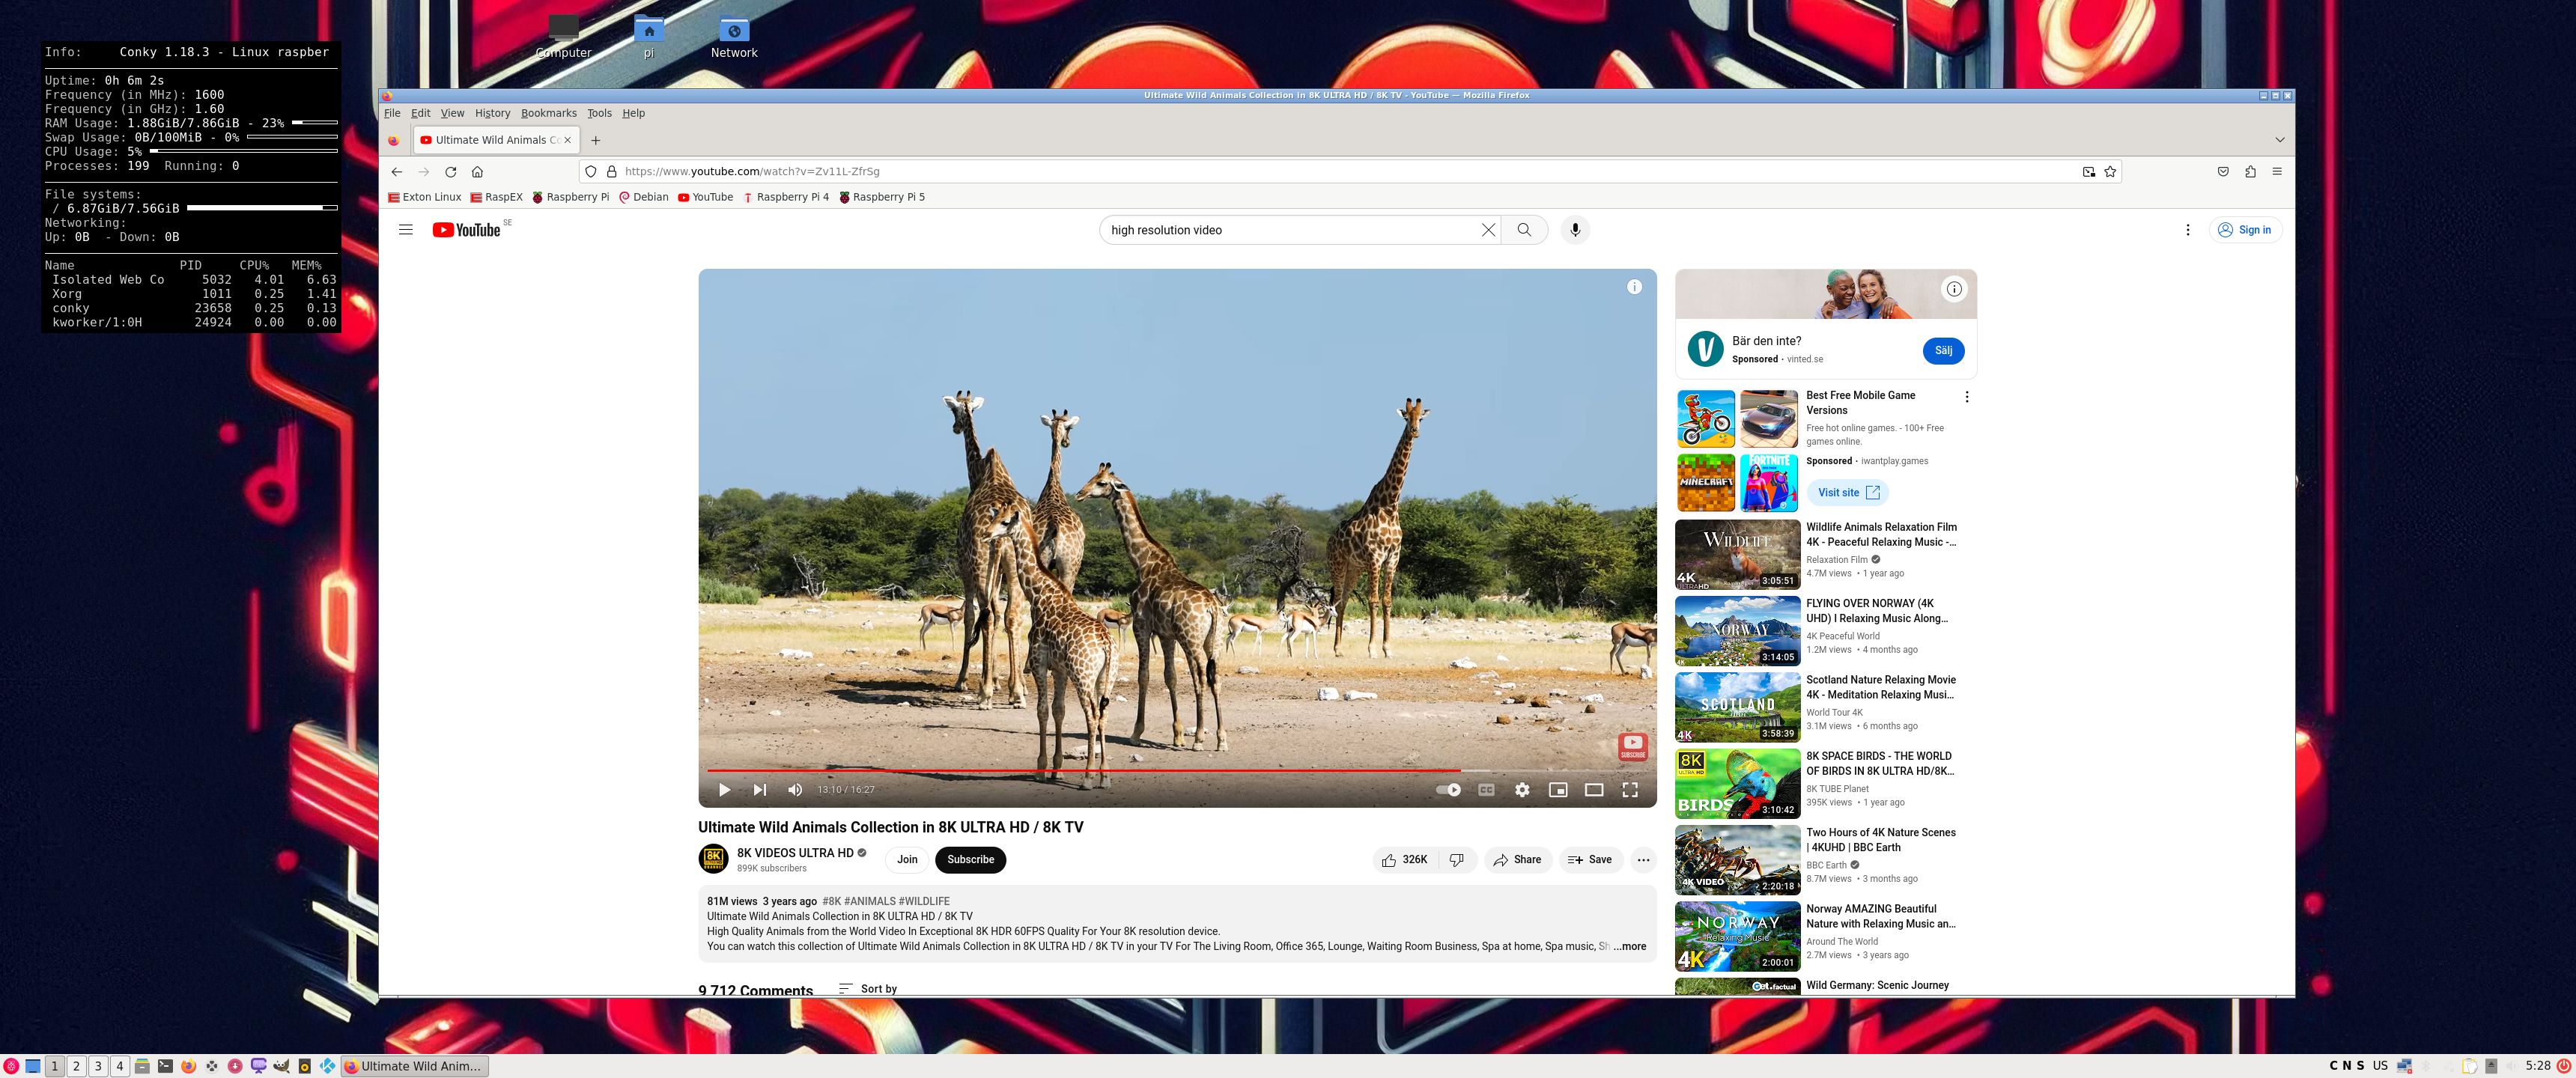
Everything works! The System is responsive and quite fast.
SCREENSHOTS
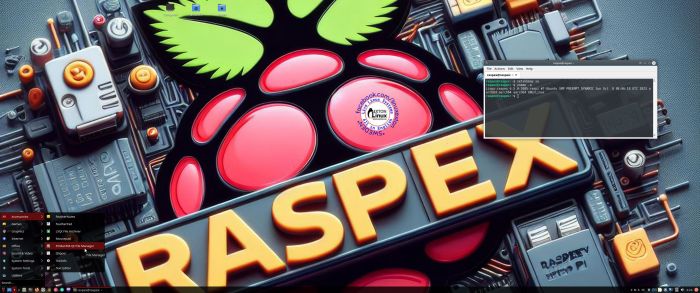
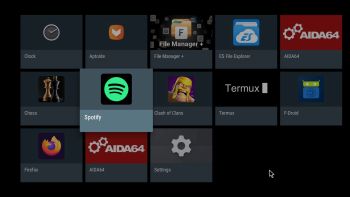
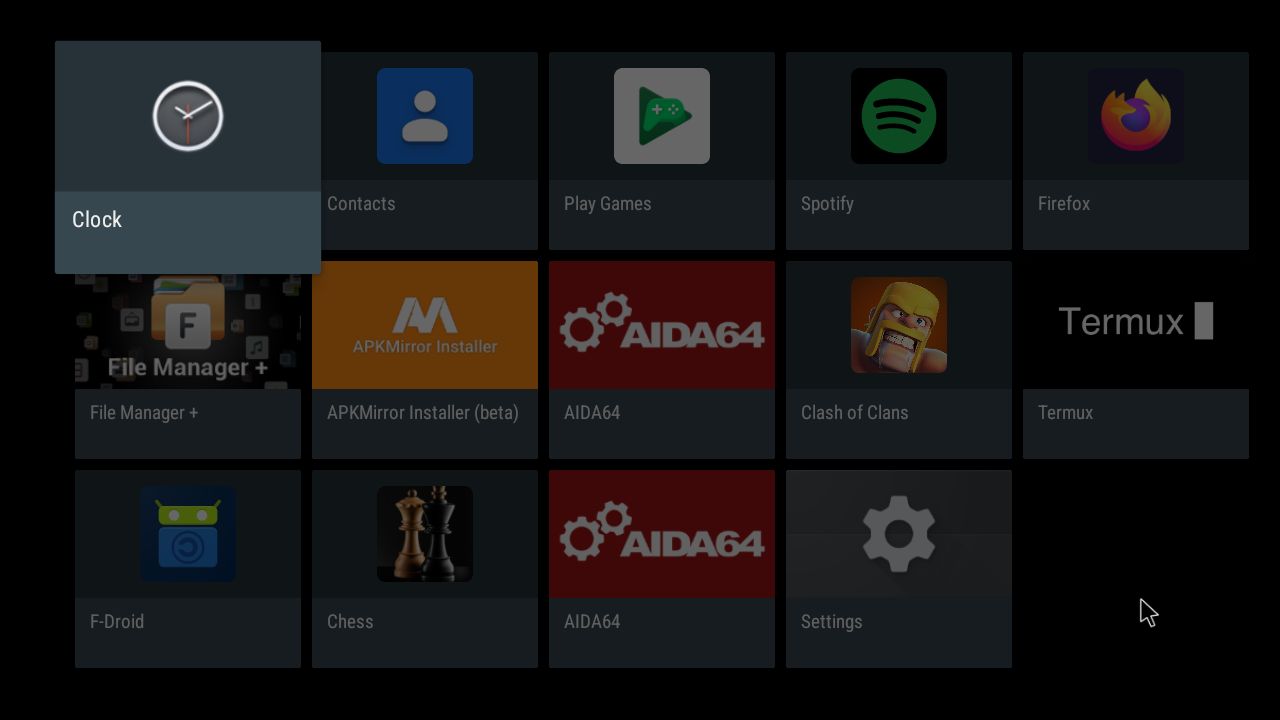
1. The Desktop with GAPPS (Google Play Store), Aptoide App Store, AIDA14 and Spotify pre-installed
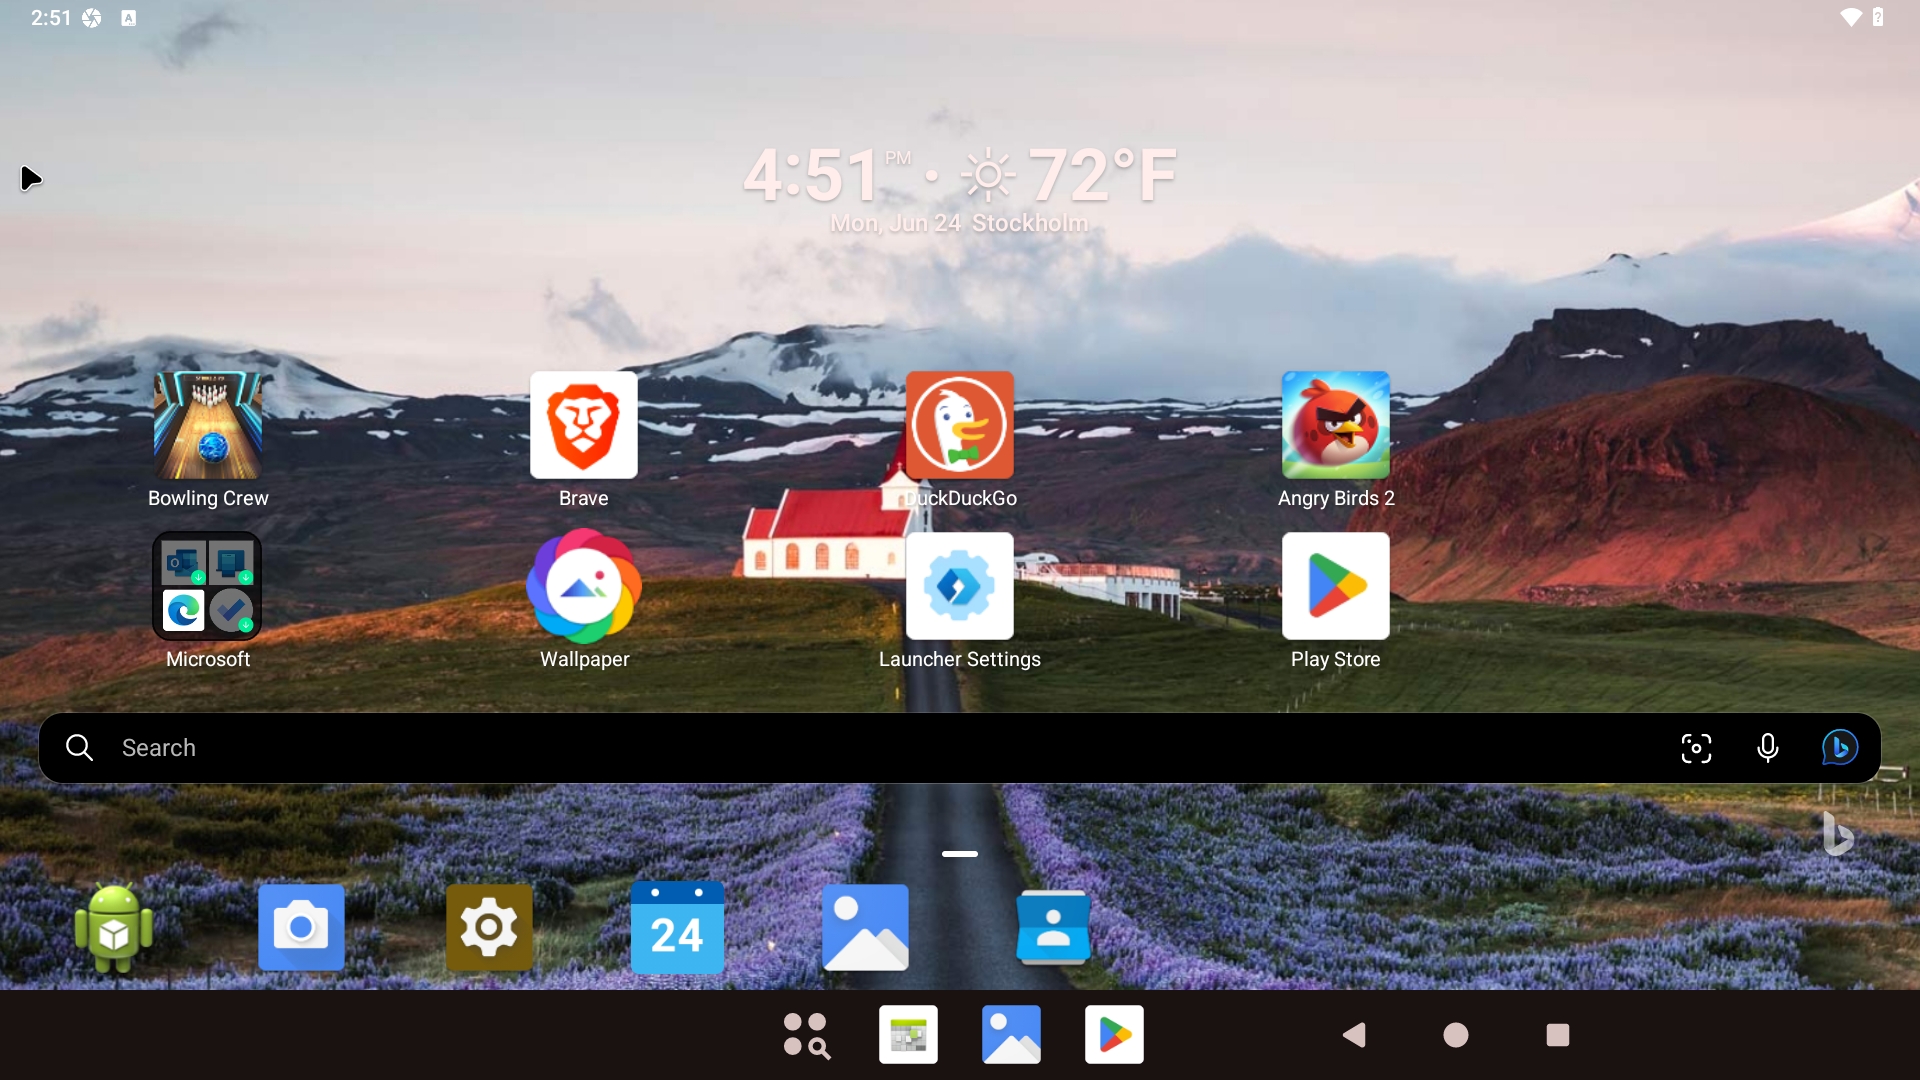
2. The Desktop using Microsoft Launcher – pre-installed
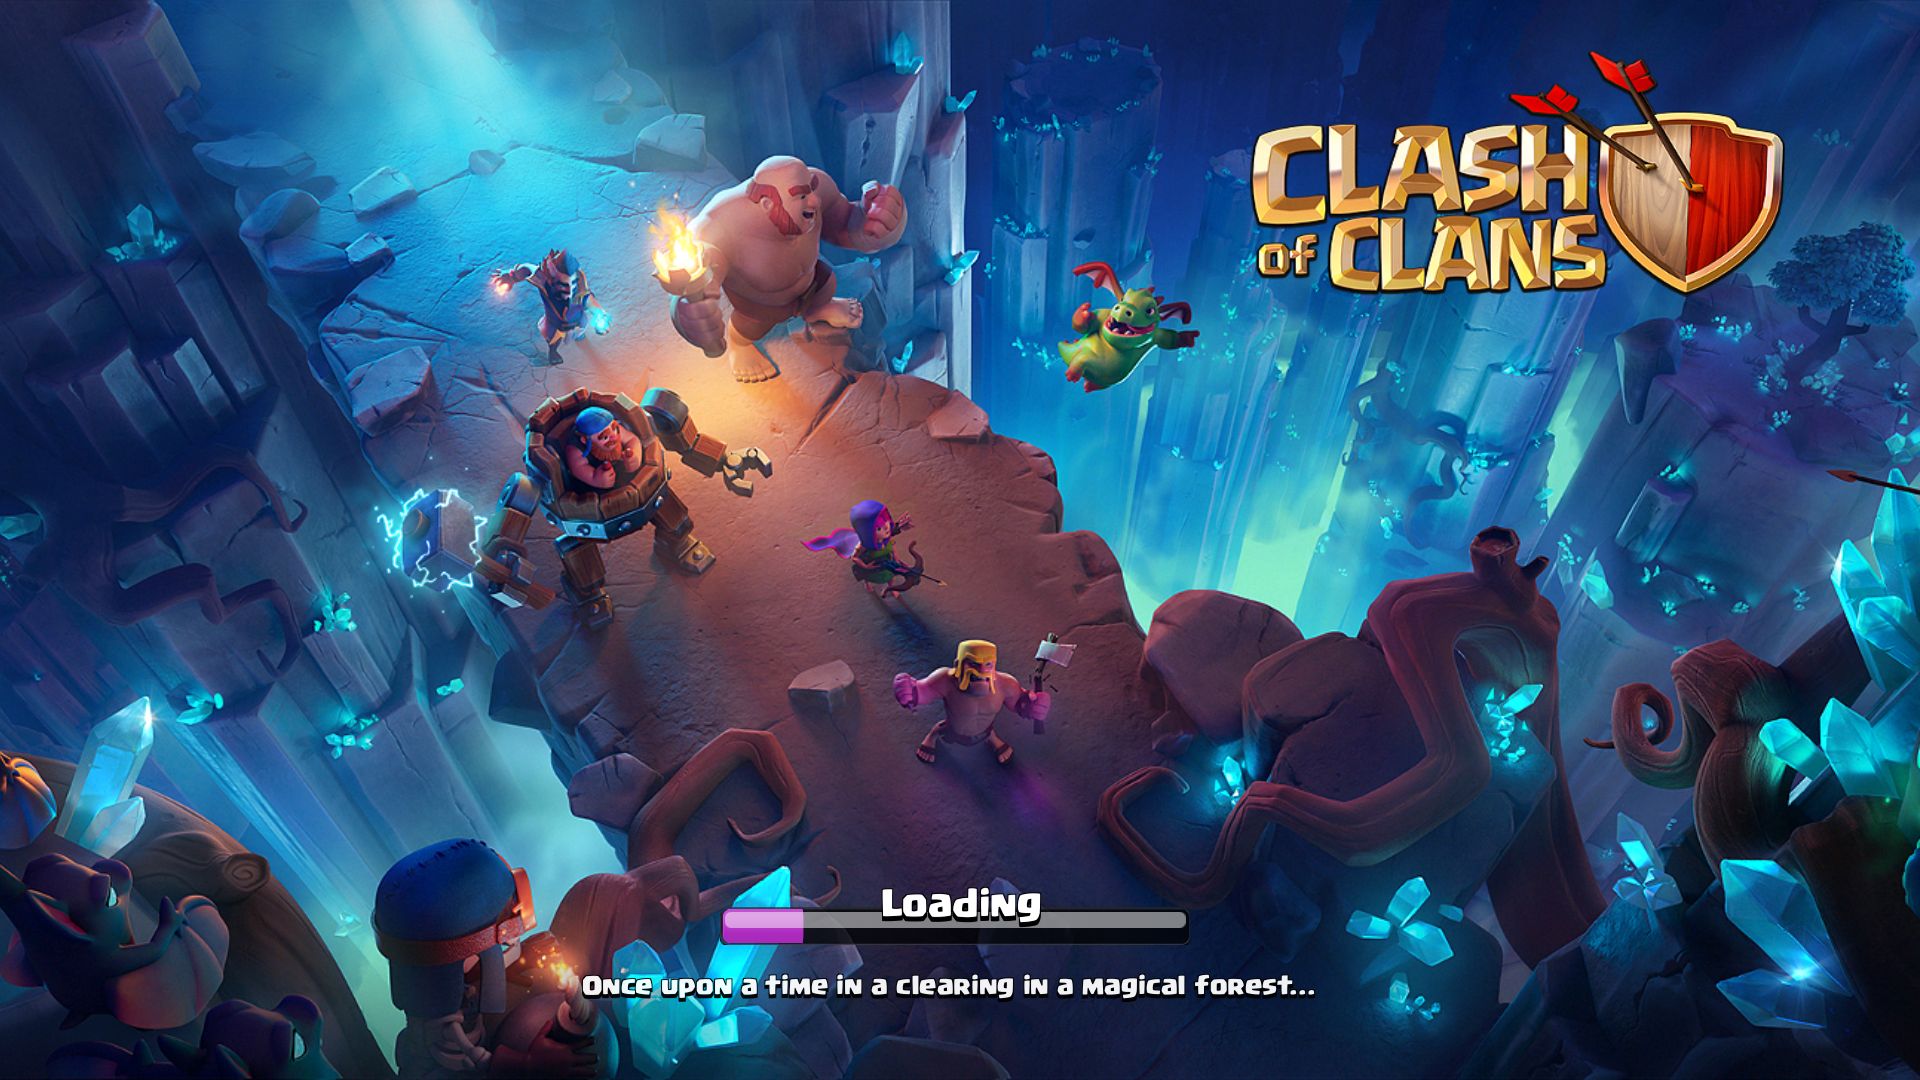
3. Race Max Pro running – not pre-installed
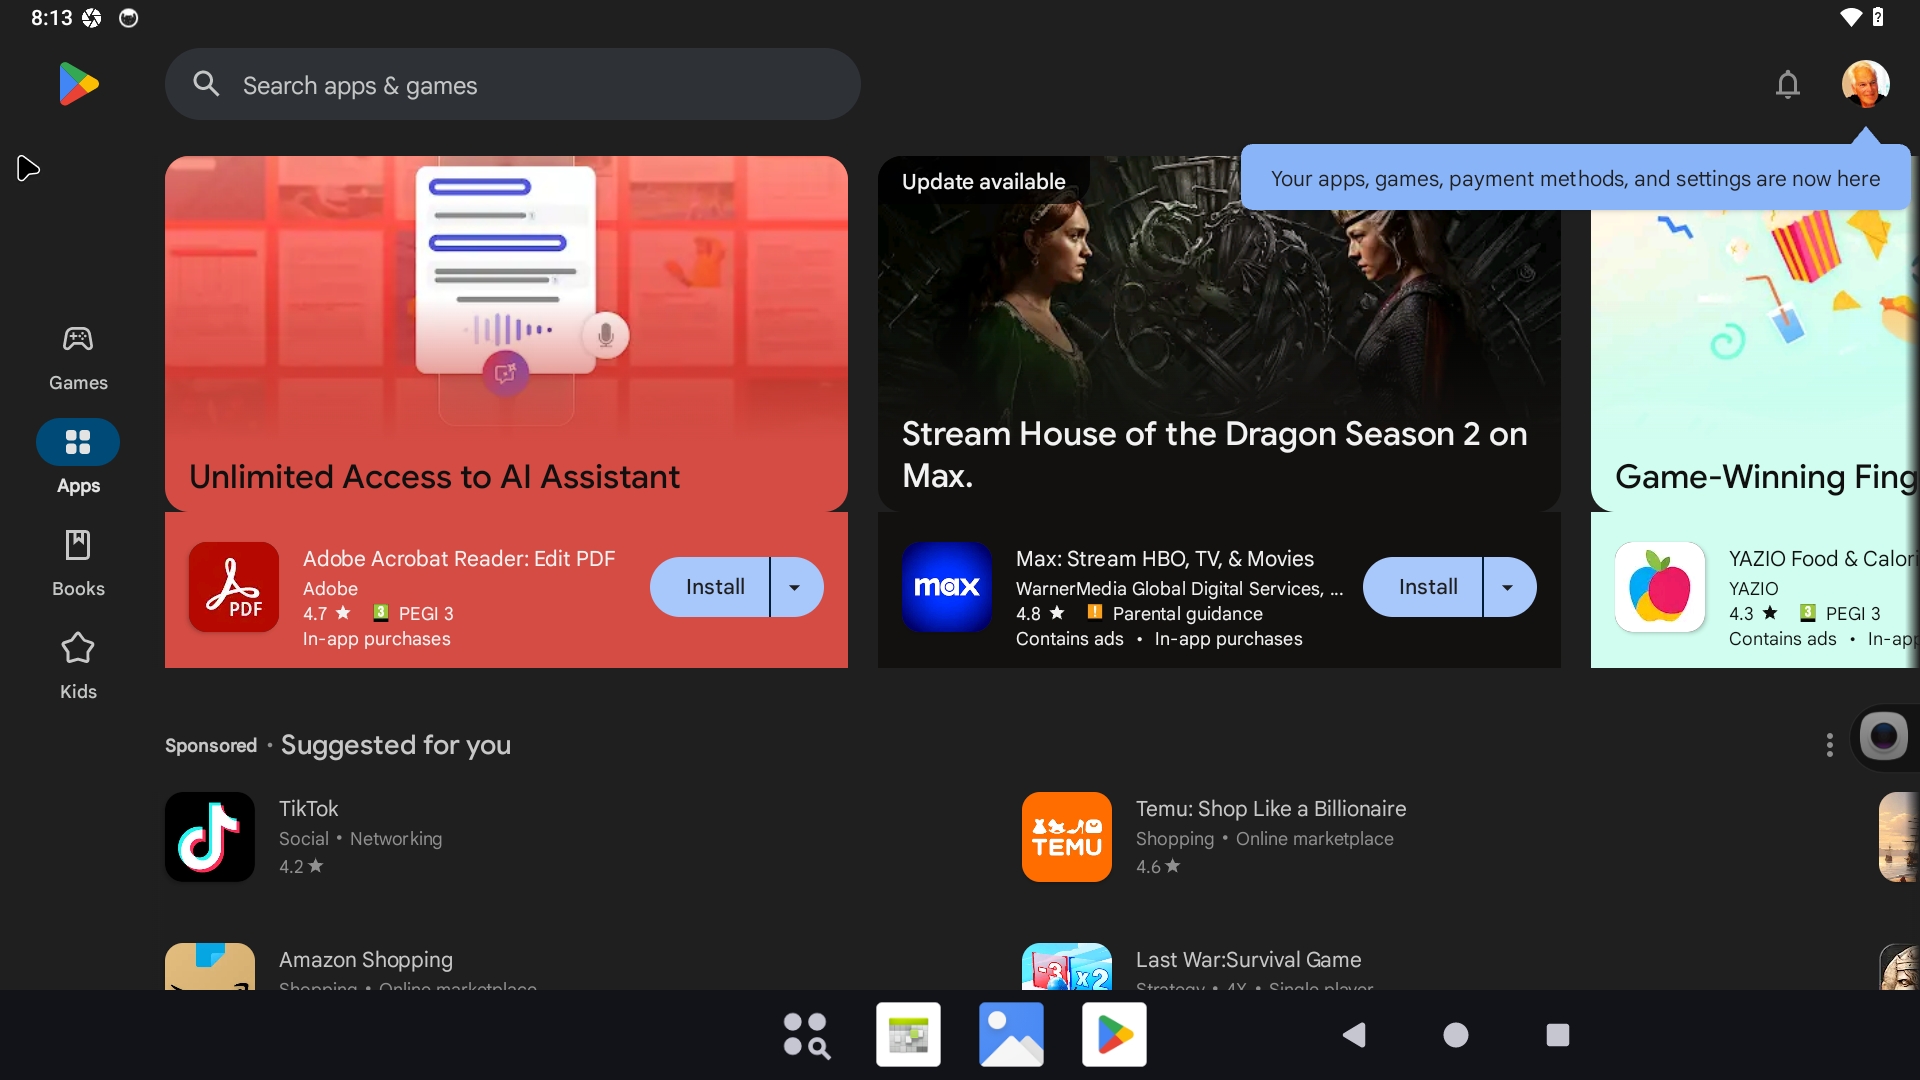
4. Google Play Store running
5. Spotify running
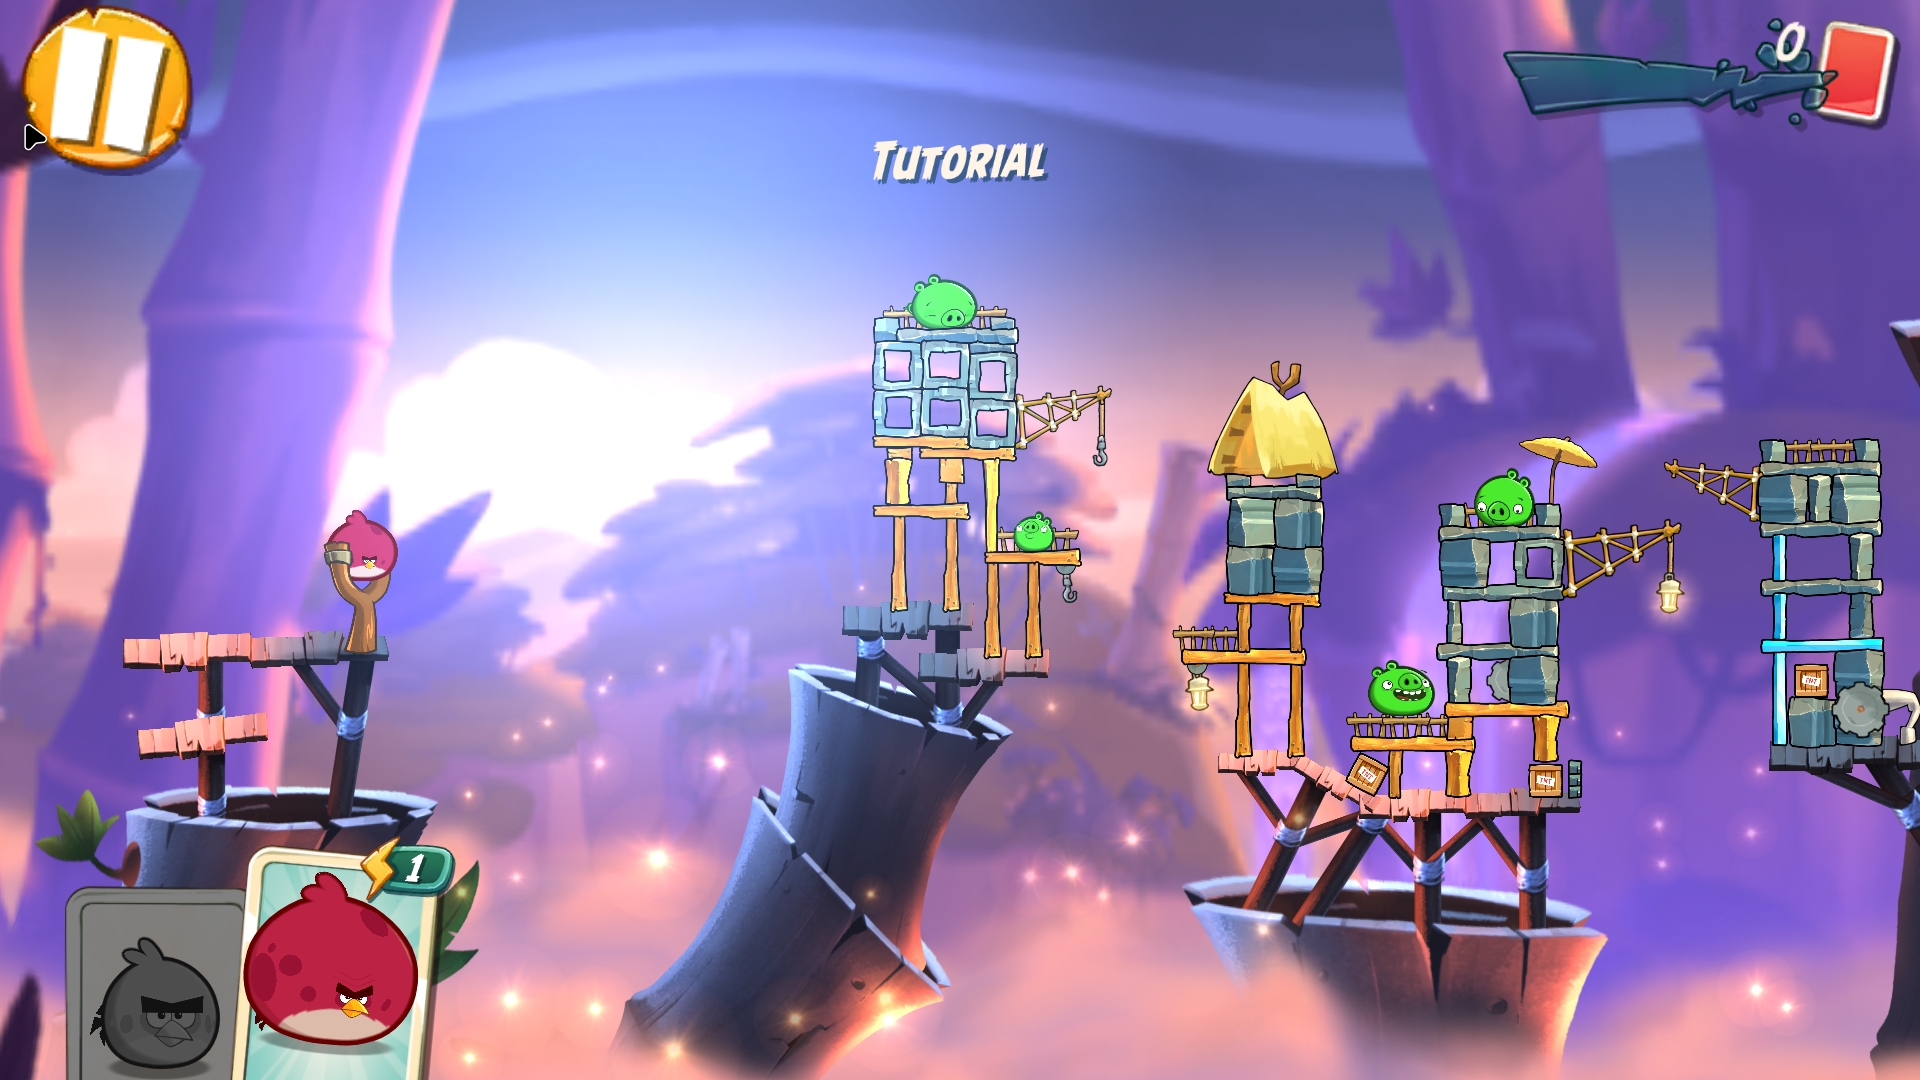
6. Running Angry Birds2 – not pre-installed
7. The Desktop using Computer Launcher Pro – not pre-installed
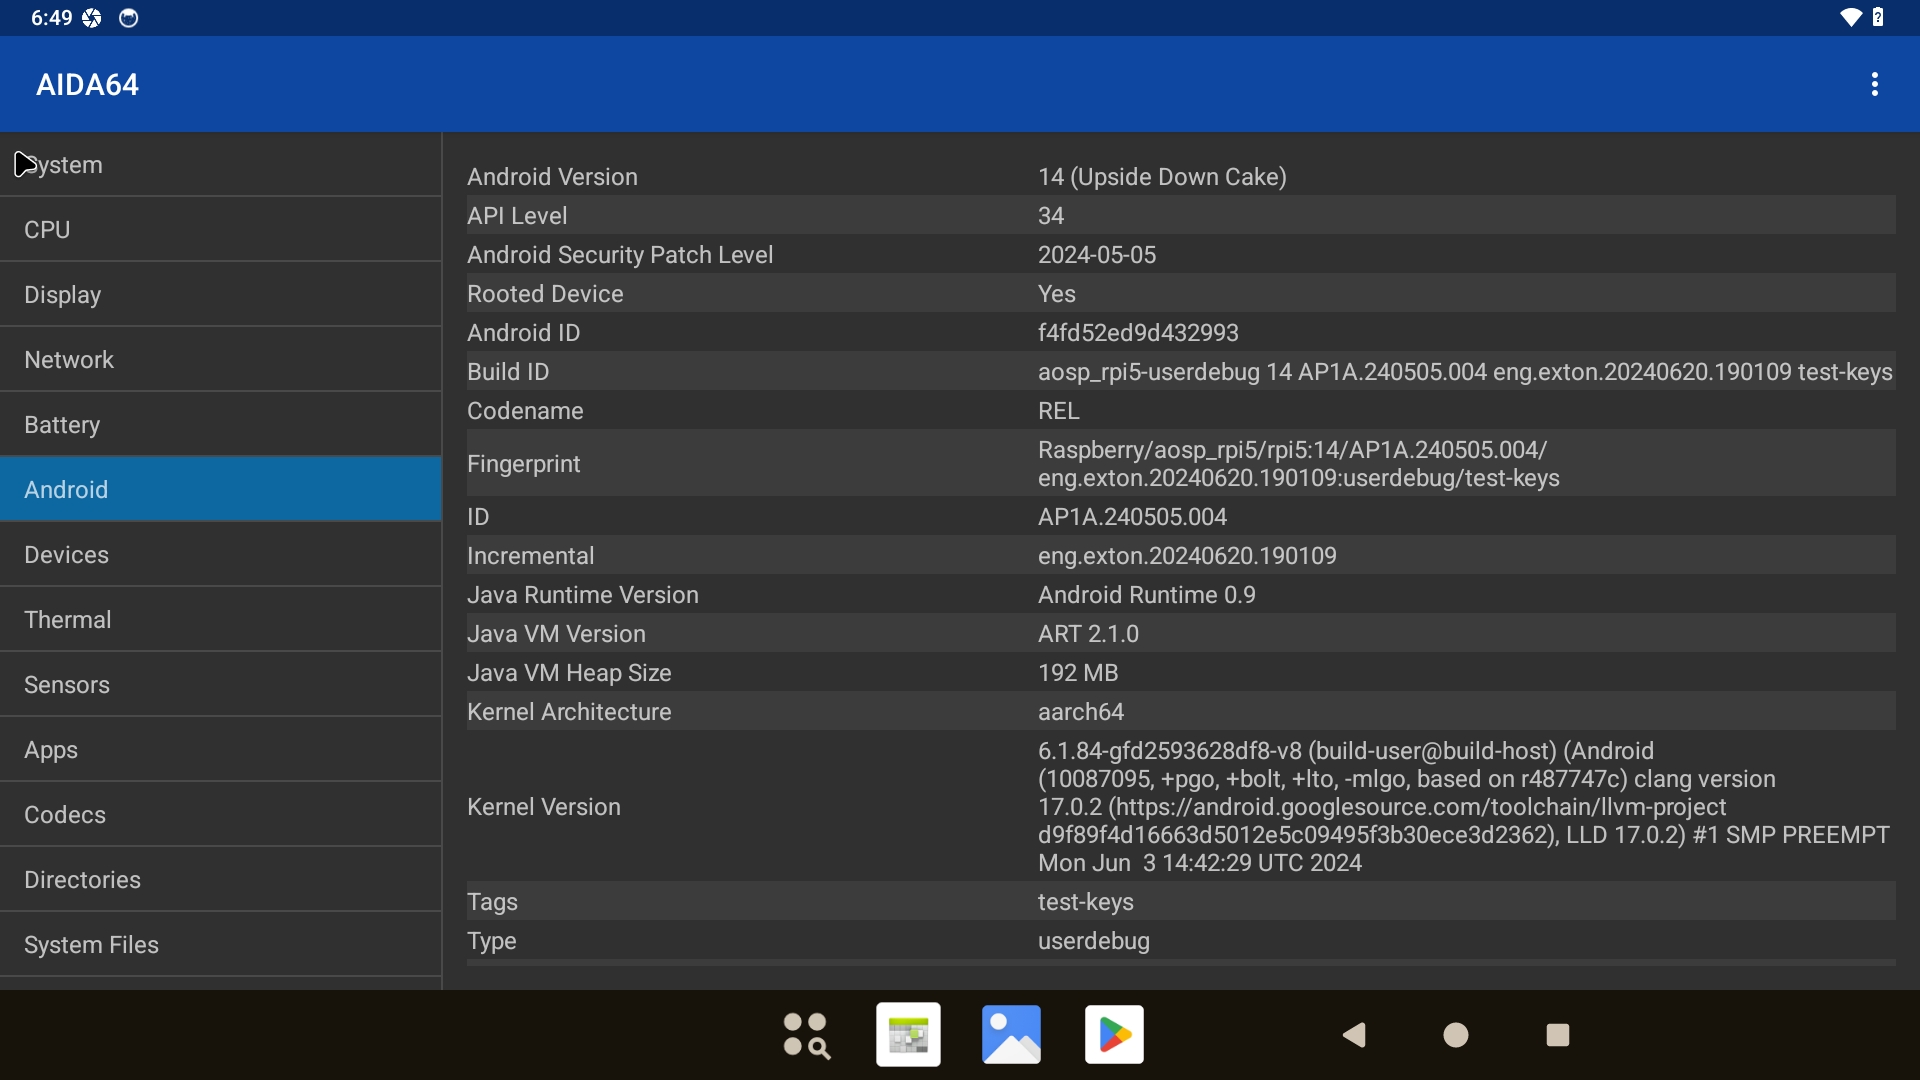
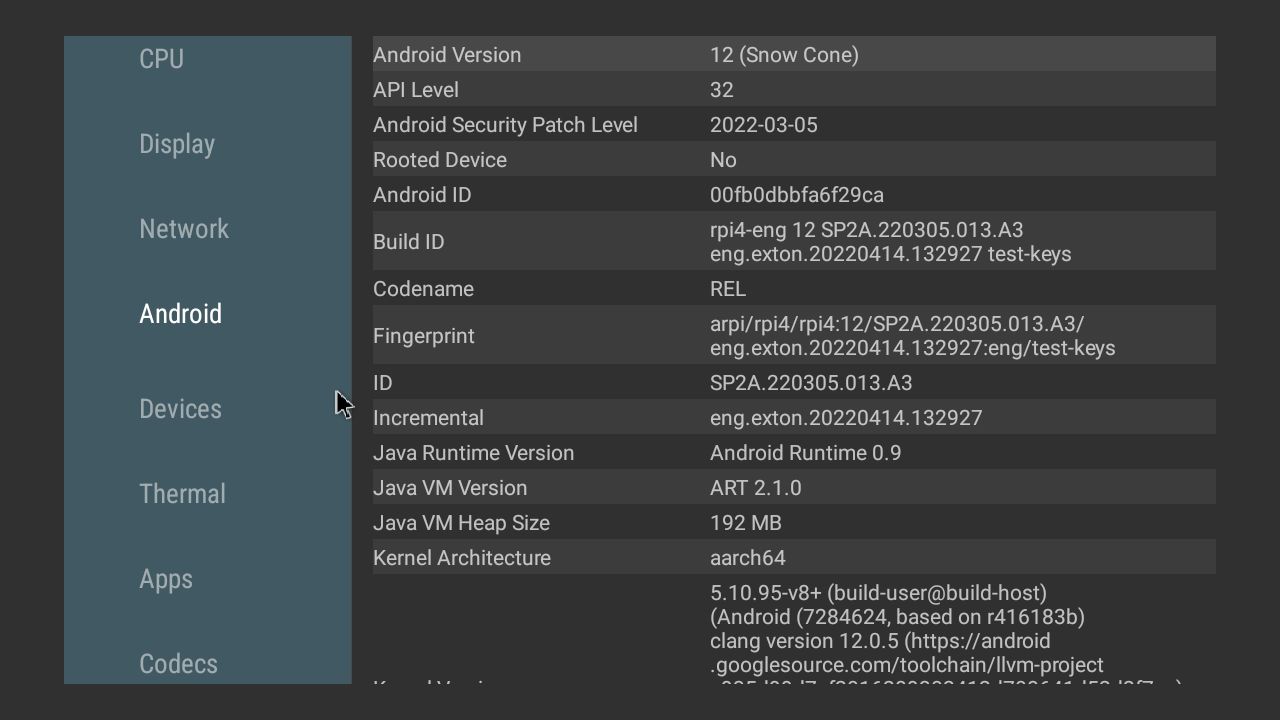
8. AIDA64 running showing the System specifications
DOWNLOAD
raspand-android-14-rpi5-1060mb-240625.zip
![]()
md5sum for RaspAnd 14 – Build 240625
Android is a trademark of Google Inc.
Raspberry Pi is a trademark of Raspberry Pi Foundation
andex.exton.net – latest is AndEX 10 (with GAPPS) and AndEX Pie 9.0 (also with GAPPS)!
and
about my Android 14, 12, 11, 10, Pie, Oreo, Nougat, Marshmallow and Lollipop versions for Raspberry Pi 5, 4 and 3/2 at
raspex.exton.se – latest is RaspAnd 14 (with GAPPS), RaspAnd 12 (without GAPPS), RaspAnd 11 (with GAPPS) and RaspAnd Oreo 8.1 (also with GAPPS)!


