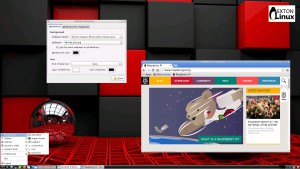
 RaspArch is a “remaster” of Arch Linux ARM. The original compressed system is of 231 MB. After I have added the LXDE Desktop environment, Firefox and Gimp the system increased to 665 MB. RaspArch is a “ready-to-go” ARM system. It must be installed on a Raspberry Pi 2 computer.
What is Raspberry Pi?
The Raspberry Pi is a low cost, credit-card sized computer that plugs into a computer monitor or TV, and uses a standard keyboard and mouse. It is a capable little device that enables people of all ages to explore computing, and to learn how to program in languages like Scratch and Python. It’s capable of doing everything you’d expect a desktop computer to do, from browsing the internet and playing high-definition video, to making spreadsheets, word-processing, and playing games.
Read more about Raspberry Pi…
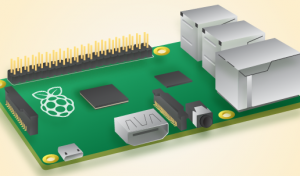
Raspberry Pi model B made in February 2015. It has a 900MHz quad-core ARM Cortex-A7 CPU and 1GB RAM. Read more…
More about RaspArch
When you have installed RaspArch to your Micro SD Card you can use the system like any other Arch Linux system. I.e. install new programs etc. Arch motto is KISS (Keep It Simple Stupid). RaspArch uses kernel 3.18.11-2-ARCH and the LXDE Desktop environment.
Program Management in Arch Linux
Arch Linux uses a proprietary system called Pacman. It is similar to that found in CRUX Linux. Read about Pacman.
You can also read all the documentation on Arch Linux. Four commands are basically the only ones you need to use:
1) pacman -Sy (update the packages database)
2) pacman -Syu (upgrading the whole system)
3) pacman -S MyUsefulProgram (the package installation command)
4) pacman -R UnnecessaryProgram (uninstall a package).
Very simple!
How do I install RaspArch?
Almost like any other Raspberry system. The installation has to take place in Linux though. (From hard drive or while running a live Linux system from a CD or a USB stick). Follow this instruction. The whole thing has to be done exactly like this.
1. Unpack the downloaded file rasparch-exton-665mb-150414.tar.gz with tar zxvf rasparch-exton-665mb-150414.tar.gz. You will get the folder rasparch-exton. Run the following commands as root. (Do not use Sudo).
2. Start fdisk to partition the SD card:
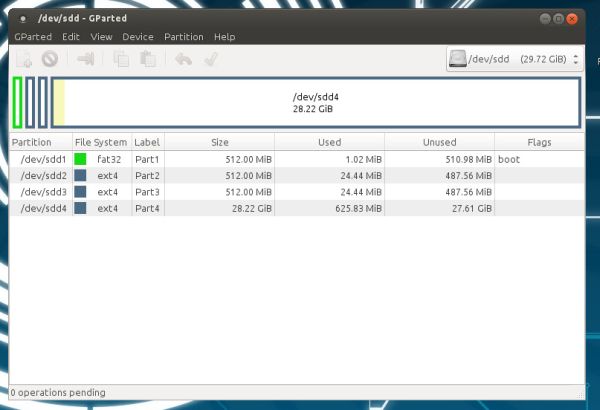
fdisk /dev/sdd (example; be sure to check which name your SD-card got. I.e. /dev/sdd, /dev/sdc, /dev/sdb or…)
3. At the fdisk prompt, delete old partitions and create a new one:
a. Type o. This will clear out any partitions on the drive.
b. Type p to list partitions. There should be no partitions left.
c. Type n, then p for primary, 1 for the first partition on the drive, press ENTER to accept the default first sector, then type +100M for the last sector.
d. Type t, then c to set the first partition to type W95 FAT32 (LBA).
e. Type n, then p for primary, 2 for the second partition on the drive, and then press ENTER twice to accept the default first and last sector.
f. Write the partition table and exit by typing w.
g. Create and mount the FAT filesystem:
mkfs.vfat /dev/sdd1
mkdir boot
mount /dev/sdd1 boot
4. Create and mount the ext4 filesystem:
mkfs.ext4 /dev/sdd2
mkdir root
mount /dev/sdd2 root
5. cp -av rasparch-exton/* root
6. sync
7. Move boot files to the first partition:
mv root/boot/* boot
8. Unmount the two partitions:
umount boot root
9. Insert the SD card into the Raspberry Pi, connect ethernet, and apply 5V power.
10. You will after a few seconds end up in console mode. Log in as root. The default root password is root. Enter X/LXDE with the command startx
The above instruction (slightly modified) is from the Arch Linux ARM site.
WHO should run Arch Linux?
My answer: The system fits the “advanced” Linux user/enthusiast, who would be willing to run an occasional command from time to time.
BENEFITS of Arch Linux
“Cutting Edge”-software and speed. A member on this site recently wrote this about RaspArch: I’ve used Slackware, Debian, Gentoo, Ubuntu & Arch. I prefer Arch. Ubuntu is easier to install, Arch is easier to keep up to date. You do not go through big, painful, changes every year instead you just update, once in a while, make changes if instructed. Arch has most of the benefits of Gentoo without the pain of recompiling _everything_. When you do need to build a package in Arch its painless especially if you use one of the tools that support Aur (I like yaourt). Arch avoids the politics of Debian and Ubuntu and delivers a great Linux distribution. RaspArch now brings these advantages to the PI 2.
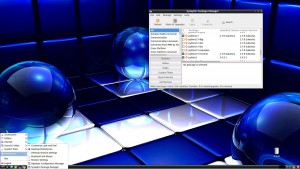
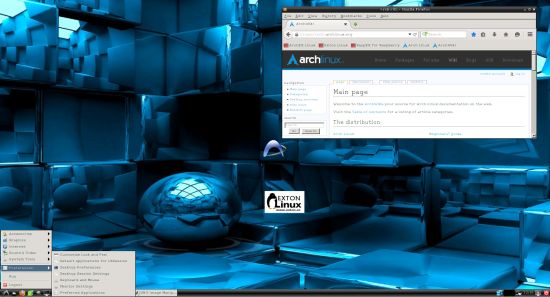
Screenshot of RaspArch’s Desktop
Compatibility :: February 2016
Unfortunately not all systems made for Raspberry Pi 2 will run on the new Pi 3. They need to be upgraded with a new kernel. I therefore have to upgrade the systems I distribute. I.e. RaspEX, RaspEX with OpenCPN, RaspAnd and RaspArch. I have now (160312) upgraded all but RaspAnd. Read about the new Raspberry Pi 3…
DOWNLOAD
This build has been replaced by Build 161205


